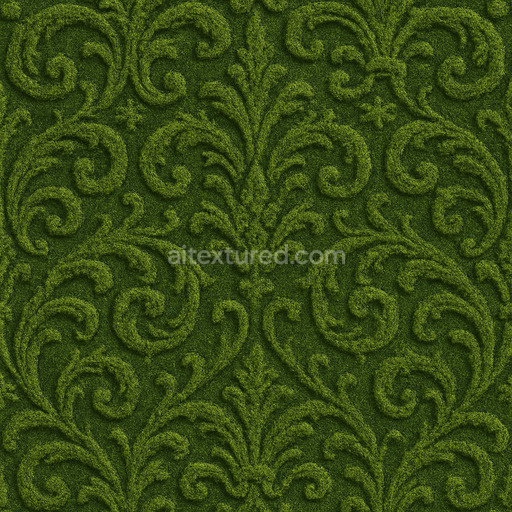
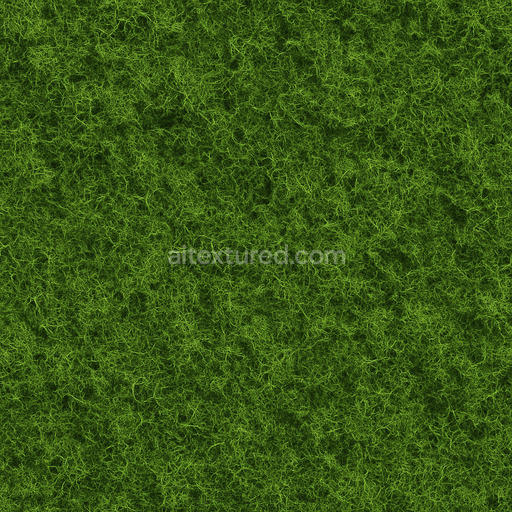
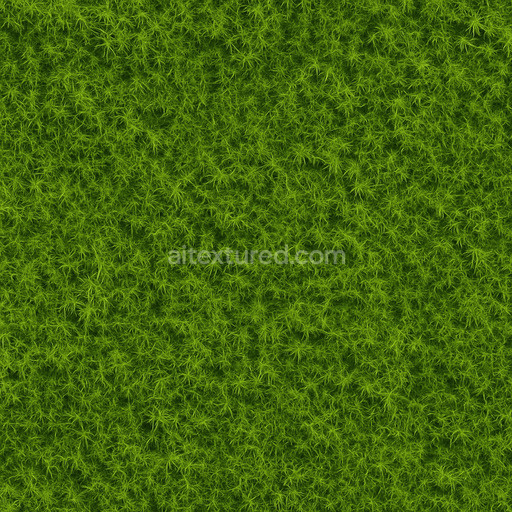
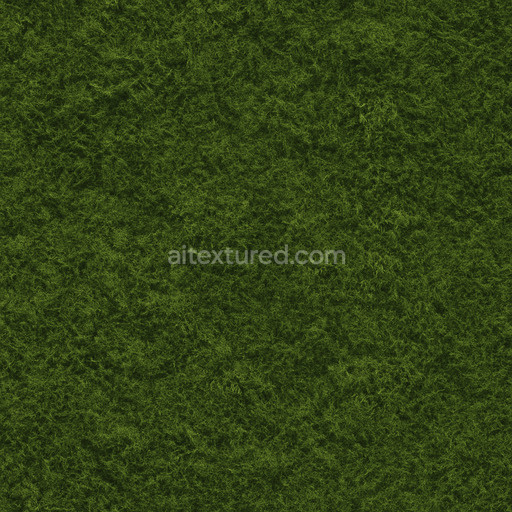
Ornate Green Moss Seamless Texture
Seamless texture (tileable) · PNG, WEBP, PBR ZIP. License: AITextured Free Commercial License (FCL) v1.1. Free personal and commercial use. Raw resale, standalone redistribution, mirroring/scraping, competing asset packs, and AI/ML training are not allowed without written permission. Attribution is not required, but appreciated..

| ID | polished-green-moss-texture-seamless |
|---|---|
| Category | Moss |
| Formats | PNG, WEBP, PBR ZIP |
| Size | 1k (1024x1024px), 2k (2048x2048px), 4k (4096x4096px), 8k (8192x8192px) |
| Color | sRGB |
| Tileable | Yes |
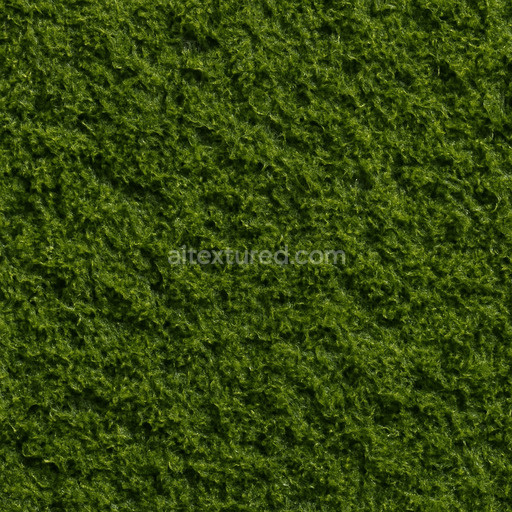
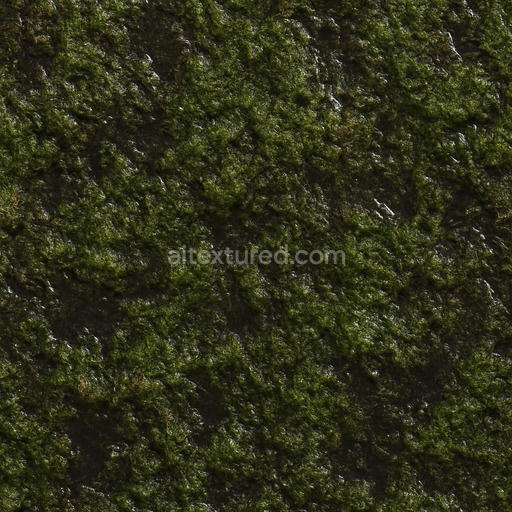
The polished green moss texture seamless high resolution up to 8K is a meticulously crafted digital material that replicates the complex organic surface of dense living moss mats. This natural-looking texture simulates moss growing atop substrates such as mineral-rich soil or decayed wood featuring fine fibrous aggregates and subtle variations in porosity that convey natural weathering and moisture retention. The polished finish accentuates vibrant green pigments derived from chlorophyll analogs harmonized with earthy undertones that represent organic decay and mineral deposits. This intricate interplay forms a rich dynamic base color (Albedo) channel that breathes life into 3D surfaces with consistent visual appeal across large seamless tileable areas ideal for environmental and digital design applications.
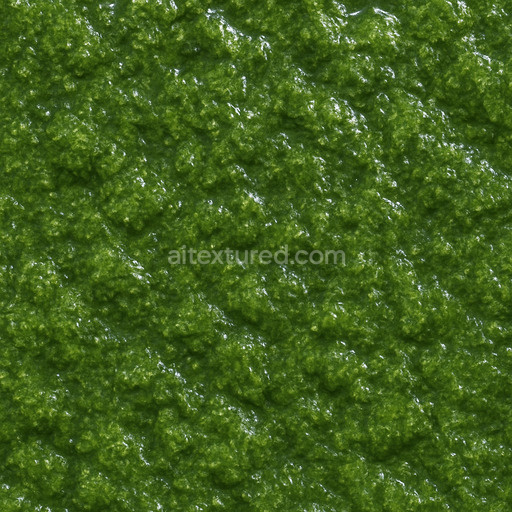
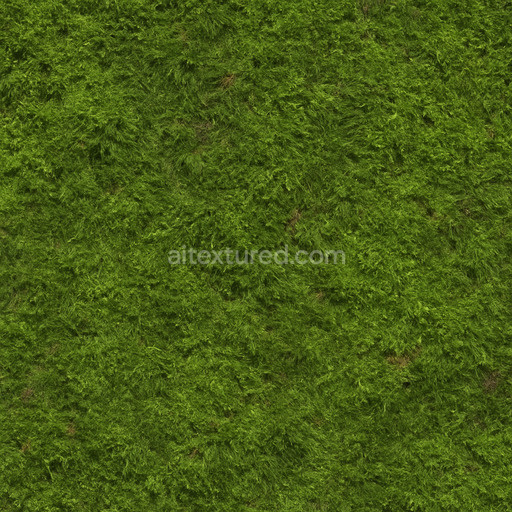
From a materials perspective the texture’s surface exhibits micro-structured ridges and depressions reflecting uneven moss growth and the underlying natural substrate. These details are captured in the Normal map providing fine micro-detail essential for realistic shading and light interaction. The Roughness channel is calibrated to replicate a slightly dewy semi-matte appearance reflecting how light naturally interacts with moist moss without appearing overly glossy. As expected for an organic material the Metallic channel remains neutral emphasizing the non-metallic nature of moss. Ambient Occlusion enhances depth in clustered moss tufts and shadowed crevices while Height and Displacement maps encode subtle elevation changes enabling convincing parallax effects in both close-up renders and real-time engines. The seamless polished green moss texture seamless high resolution up to 8K ensures no visible tiling artifacts supporting large-scale scenes in Blender Unreal Engine and Unity with high-fidelity visuals.
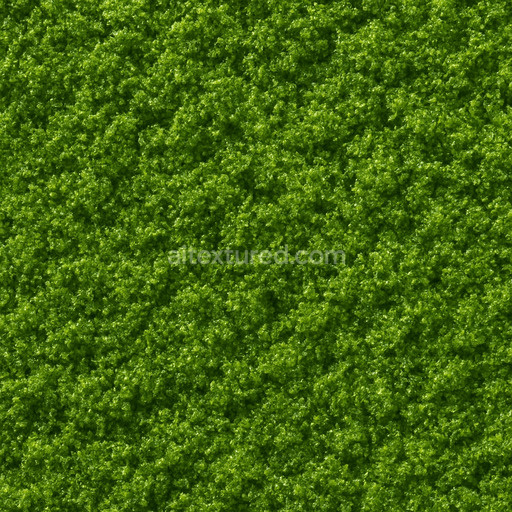
Designed for versatility and realism this tileable polished green moss texture seamless high resolution up to 8K offers exceptional detail suitable for cinematic rendering real-time environments level dressing and material studies. When integrating this PBR material polished green moss texture seamless high resolution up to 8K into your projects it is advisable to adjust the roughness and normal map intensities to suit your specific lighting conditions preventing unnatural flatness or excessive glossiness. Additionally fine-tuning the UV scale allows precise control over moss density ensuring that the texture complements both close-up shots and wide environmental views seamlessly. The included 3D preview facilitates accurate material assessment making this polished green moss texture seamless high resolution up to 8K an invaluable asset for realistic organic surface creation in modern 3D workflows.
Import the texture maps into Blender with sRGB color space for albedo/base color and Non-Color for normal, roughness, metallic, AO, height, and ORM maps. Connect normal maps through a Normal Map node, then adjust UV scale with a Mapping node so the material repeats naturally on your model.
For the full step-by-step setup, see How to Use Seamless Textures in Blender. Browse related material examples in wood, concrete, and metal.
Yes. This texture is designed as a seamless tileable PBR material, so it can repeat across large surfaces without visible borders.
You can download PNG/WEBP versions and use 1K, 2K, 4K and 8K download options when available on the page.
Yes. The download options and engine-mapped ZIP workflow are designed for Blender, Unreal Engine, Unity Standard, URP and HDRP material pipelines.
Yes. The texture is available under the AITextured free commercial license. Review the license page for redistribution and AI-training restrictions.

Build, preview, and export seamless PBR materials. Generate full map sets from a single image, inspect them in a real-time WebGL viewer, and re-package maps for Unreal, Unity, and Blender—directly in your browser.
AI text-to-texture: type a prompt and get a seamless, tileable base image ready for PBR workflows (great starting point for materials).
Create a full PBR set (Normal, Roughness, AO, Metallic, etc.) from a single image. Seamless and tiling-friendly.
Instant WebGL viewer: inspect materials on a sphere, plane, and cube. Check tiling and lighting in real time.
Re-packages maps per engine: Unreal (BaseColor + ORM), Unity (Mask/MetallicSmoothness), Blender (separate channels).
PNG ↔ JPG ↔ SVG: fast convert, SVG rasterize, embed/trace options, quality & background controls.