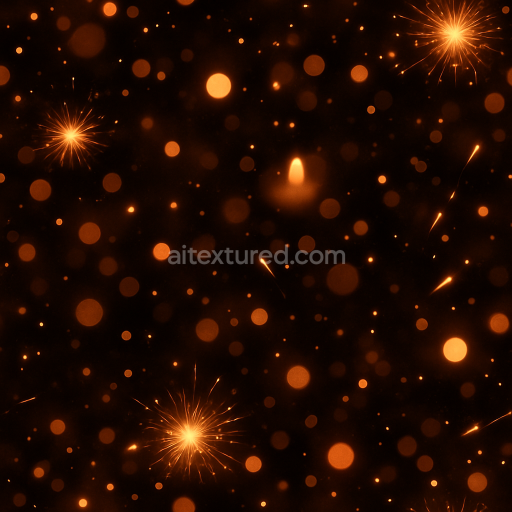
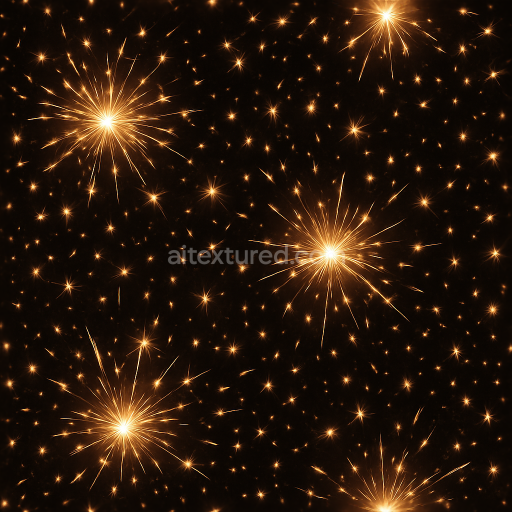
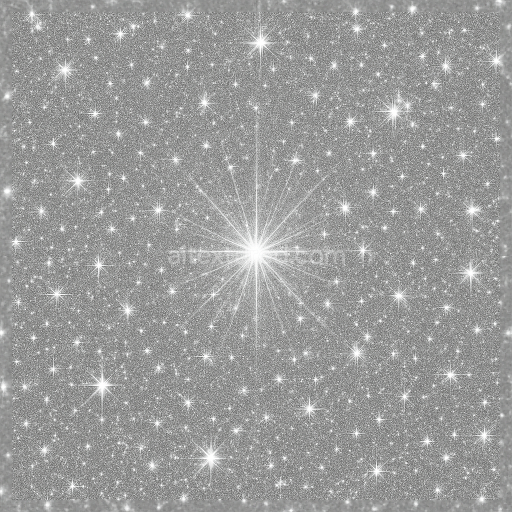
Glowing Embers Firework Bursts Warm Candlelight
Seamless texture (tileable) · PNG, WEBP, PBR ZIP. License: AITextured Free Commercial License (FCL) v1.1. Free personal and commercial use. Raw resale, standalone redistribution, mirroring/scraping, competing asset packs, and AI/ML training are not allowed without written permission. Attribution is not required, but appreciated..

| ID | seamless-3d-texture-pbr-8k-glowing-lanterns-and-festive-lights-sparkle-effect-for-new-year |
|---|---|
| Category | New Year |
| Formats | PNG, WEBP, PBR ZIP |
| Size | 1k (1024x1024px), 2k (2048x2048px), 4k (4096x4096px), 8k (8192x8192px) |
| Color | sRGB |
| Tileable | Yes |
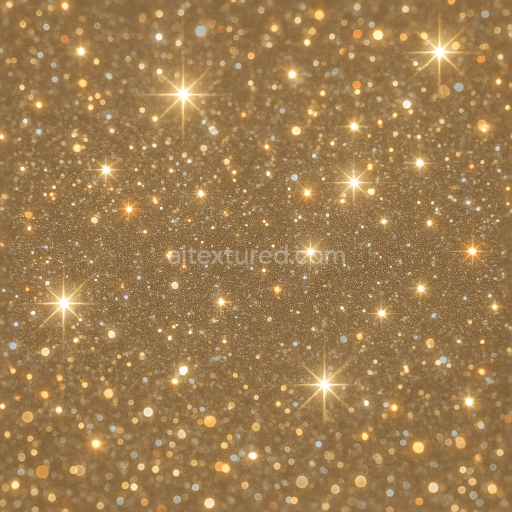
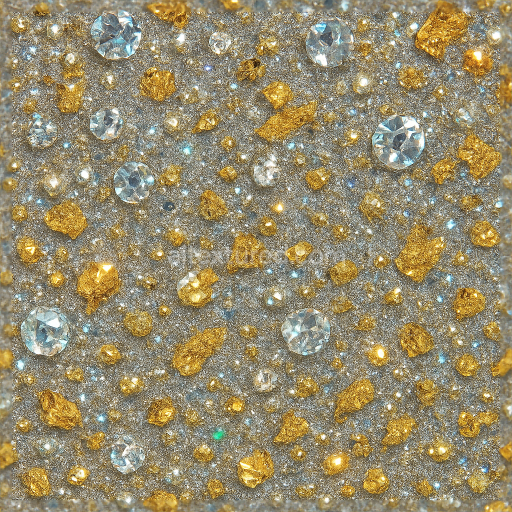
This seamless 3D texture, rendered at an impressive 8K resolution, features a richly detailed pattern of glowing lanterns intertwined with festive lights and delicate sparkle effects, perfectly suited for New Year celebrations. The base material mimics a fine woven fabric substrate, reminiscent of traditional silk or linen, providing a subtle texture that supports the luminous elements without overpowering them. The fabric’s weave structure is visible through the BaseColor (Albedo) map, which displays warm hues of deep reds, golds, and soft ambers, evoking a cozy holiday glow. Embedded within this textile base are the intricate geometric forms of lantern shapes and light bulbs, appearing as gently embossed motifs enhanced through the Normal and Height maps to create a convincing three-dimensional relief effect.
The glowing lanterns and festive lights are represented using layered materials that simulate translucent glass and polished metal components. The metallic parts, such as lantern frames and wire fixtures, are defined in the Metallic channel with mid to high values, reflecting subtle reflections consistent with brass or copper finishes. The Roughness map varies across the texture, rendering the lantern glass surfaces with a low roughness for a smooth, glossy appearance, while the fabric areas have a higher roughness to maintain a matte, tactile feel. Sparkle effects and celebration sparkles are integrated as tiny reflective particles scattered over the surface, contributing to a delicate party glitter effect. These elements are visually enhanced by the Ambient Occlusion map, which adds soft shadows in crevices and around light sources, increasing depth and realism.
The overall composition balances porosity and surface finish; the fabric substrate exhibits slight natural irregularities and a brushed texture to suggest wear and tactile softness, whereas the lanterns’ glass is polished and slightly frosted to diffuse light elegantly. Colorants in the texture use warm pigments that create a harmonious palette of glowing yellows, oranges, and subtle reds, emphasizing the holiday glow. The Height map supports fine elevation differences between fabric weave and decorative elements, allowing for effective parallax mapping or displacement in rendering engines. This makes the texture highly versatile for photorealistic applications in Blender, Unreal Engine, and Unity, where lighting and shader setups can maximize the sparkle dust and twinkling lights effects.
For practical use, it is recommended to carefully adjust the UV scale to maintain the intricate detail of the lanterns and sparkle effects without pixelation or blurring. Additionally, fine-tuning the roughness channel can help balance reflections between the fabric and metallic/glass components depending on scene lighting. Blending height and normal maps thoughtfully can enhance the perceived depth of the lanterns and lights, improving immersion in close-up views or dynamic environments. This texture is optimized for seamless tiling, ensuring smooth repetition across large surfaces without visible seams, making it ideal for creating inviting, festive atmospheres in digital scenes and interactive experiences.
Import the texture maps into Blender with sRGB color space for albedo/base color and Non-Color for normal, roughness, metallic, AO, height, and ORM maps. Connect normal maps through a Normal Map node, then adjust UV scale with a Mapping node so the material repeats naturally on your model.
For the full step-by-step setup, see How to Use Seamless Textures in Blender. Browse related material examples in wood, concrete, and metal.
Yes. This texture is designed as a seamless tileable PBR material, so it can repeat across large surfaces without visible borders.
You can download PNG/WEBP versions and use 1K, 2K, 4K and 8K download options when available on the page.
Yes. The download options and engine-mapped ZIP workflow are designed for Blender, Unreal Engine, Unity Standard, URP and HDRP material pipelines.
Yes. The texture is available under the AITextured free commercial license. Review the license page for redistribution and AI-training restrictions.


Build, preview, and export seamless PBR materials. Generate full map sets from a single image, inspect them in a real-time WebGL viewer, and re-package maps for Unreal, Unity, and Blender—directly in your browser.
AI text-to-texture: type a prompt and get a seamless, tileable base image ready for PBR workflows (great starting point for materials).
Create a full PBR set (Normal, Roughness, AO, Metallic, etc.) from a single image. Seamless and tiling-friendly.
Instant WebGL viewer: inspect materials on a sphere, plane, and cube. Check tiling and lighting in real time.
Re-packages maps per engine: Unreal (BaseColor + ORM), Unity (Mask/MetallicSmoothness), Blender (separate channels).
PNG ↔ JPG ↔ SVG: fast convert, SVG rasterize, embed/trace options, quality & background controls.