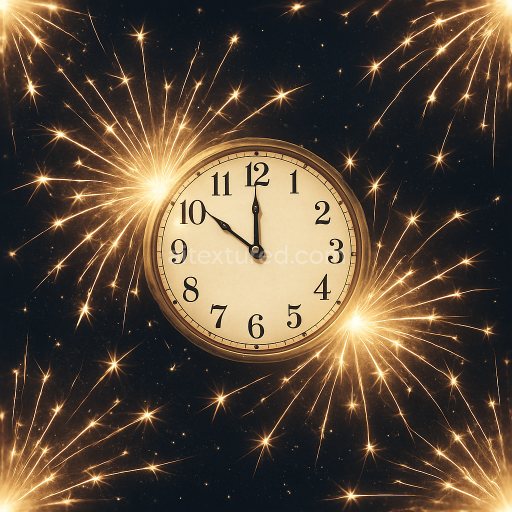
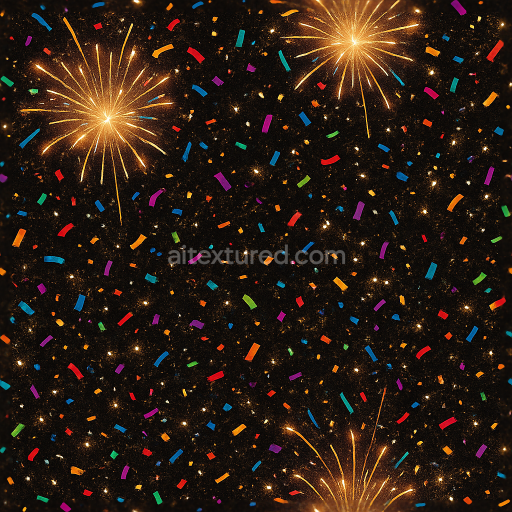
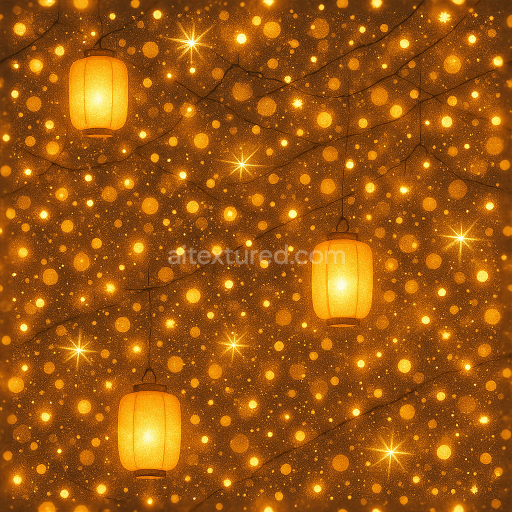
Clock Face And Countdown Timer With Glowing Fireworks Sparks For New Year
Seamless texture (tileable) · PNG, WEBP, PBR ZIP. License: AITextured Free Commercial License (FCL) v1.1. Free personal and commercial use. Raw resale, standalone redistribution, mirroring/scraping, competing asset packs, and AI/ML training are not allowed without written permission. Attribution is not required, but appreciated..

| ID | seamless-3d-texture-pbr-8k-sparkling-fireworks-celebration-glow-for-new-year |
|---|---|
| Category | New Year |
| Formats | PNG, WEBP, PBR ZIP |
| Size | 1k (1024x1024px), 2k (2048x2048px), 4k (4096x4096px), 8k (8192x8192px) |
| Color | sRGB |
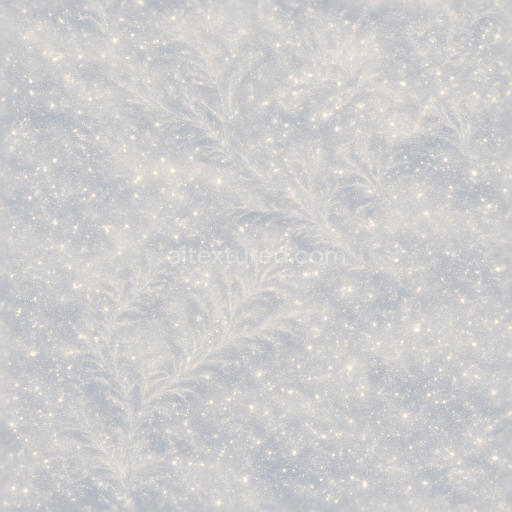
| Tileable | Yes |
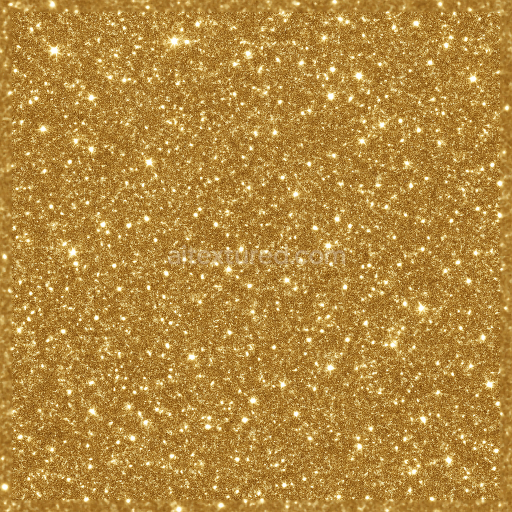
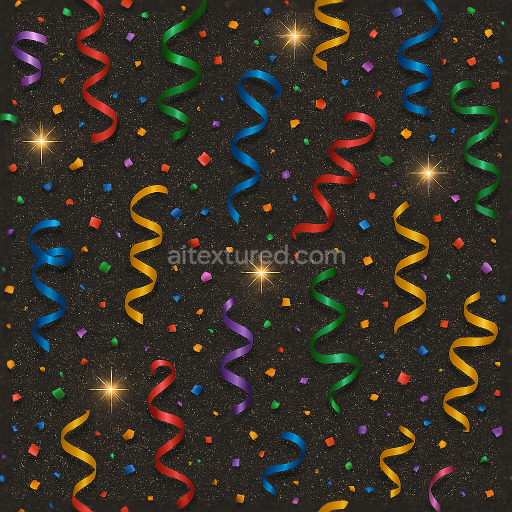
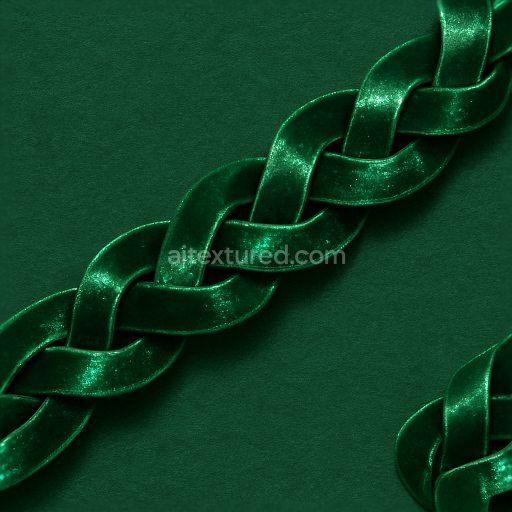
This seamless 3D texture, rendered in an impressive 8K resolution, simulates a sophisticated material designed to evoke the energy and vibrancy of a New Year celebration through photorealistic fireworks and sparkling glow effects. The underlying base material can be described as a finely woven synthetic fabric or polymer substrate, providing a smooth yet subtly textured canvas. This substrate acts as the foundation, embedded with microscopic reflective particles and layered sparkler trails that mimic the light bursts and confetti typical of festive scenes. The geometric form follows a repeating, hexagonal tessellation pattern, ensuring seamless tiling without visible edges, which is ideal for large-scale digital environments.
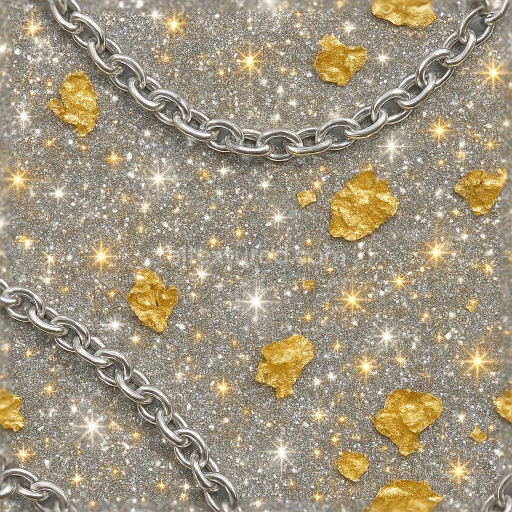
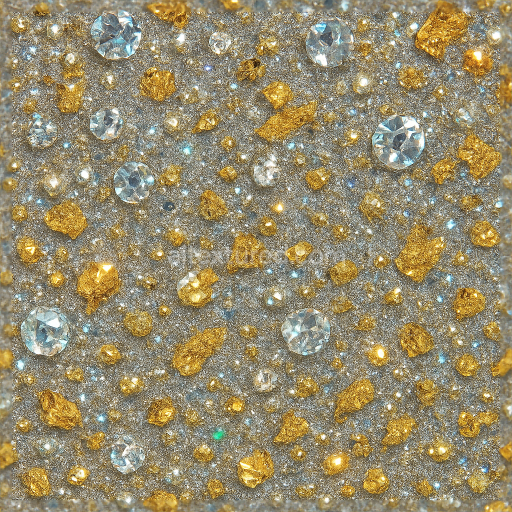
Compositionally, the texture integrates binders akin to clear acrylic or polyvinyl adhesives that secure the sparkle dust and tiny reflective aggregates uniformly across the surface. These aggregates resemble microscopic glass beads or metallic flakes, contributing to the dynamic interplay of light and color seen in the BaseColor (Albedo) channel. The texture’s porosity is minimal, reflecting a polished finish that enhances the luminous quality of light bursts and celebration glow effects. Subtle weathering is introduced through soft gradations in the Roughness map, allowing for variation in reflectivity that captures the shimmer of sparklers and party confetti against the darker backdrop of new year lights.
The Normal and Height/Displacement maps emphasize the delicate relief of sparkler trails and light bursts, producing a convincing three-dimensional feel that enhances depth perception in 3D applications. Ambient Occlusion is finely tuned to accentuate the micro-shadows beneath the clustered sparkle dust and confetti particles, adding realism by simulating the ambient light obstruction in these densely packed areas. The Metallic channel remains mostly subdued, reflecting the non-metallic nature of the base fabric while selectively highlighting the reflective aggregates to simulate metallic sparkles, contributing to the overall festive allure.
Designed for seamless integration within physically based rendering (PBR) workflows, this texture is fully compatible with Blender, Unreal Engine, and Unity, providing artists and developers with a high-quality resource that maintains fidelity across diverse rendering platforms. The 8K resolution ensures exceptional detail, allowing for close-up inspection without loss of clarity or sharpness. For optimal use, it is recommended to carefully adjust the UV scale to balance detail density and coverage, and to fine-tune the Roughness parameter to modulate the sparkle intensity, enhancing subtle light reflections without overpowering the scene. Blending the Height map with Normal information can further refine the perceived depth of sparkler trails, creating a more immersive and visually dynamic effect.
Import the texture maps into Blender with sRGB color space for albedo/base color and Non-Color for normal, roughness, metallic, AO, height, and ORM maps. Connect normal maps through a Normal Map node, then adjust UV scale with a Mapping node so the material repeats naturally on your model.
For the full step-by-step setup, see How to Use Seamless Textures in Blender. Browse related material examples in wood, concrete, and metal.
Yes. This texture is designed as a seamless tileable PBR material, so it can repeat across large surfaces without visible borders.
You can download PNG/WEBP versions and use 1K, 2K, 4K and 8K download options when available on the page.
Yes. The download options and engine-mapped ZIP workflow are designed for Blender, Unreal Engine, Unity Standard, URP and HDRP material pipelines.
Yes. The texture is available under the AITextured free commercial license. Review the license page for redistribution and AI-training restrictions.


Build, preview, and export seamless PBR materials. Generate full map sets from a single image, inspect them in a real-time WebGL viewer, and re-package maps for Unreal, Unity, and Blender—directly in your browser.
AI text-to-texture: type a prompt and get a seamless, tileable base image ready for PBR workflows (great starting point for materials).
Create a full PBR set (Normal, Roughness, AO, Metallic, etc.) from a single image. Seamless and tiling-friendly.
Instant WebGL viewer: inspect materials on a sphere, plane, and cube. Check tiling and lighting in real time.
Re-packages maps per engine: Unreal (BaseColor + ORM), Unity (Mask/MetallicSmoothness), Blender (separate channels).
PNG ↔ JPG ↔ SVG: fast convert, SVG rasterize, embed/trace options, quality & background controls.