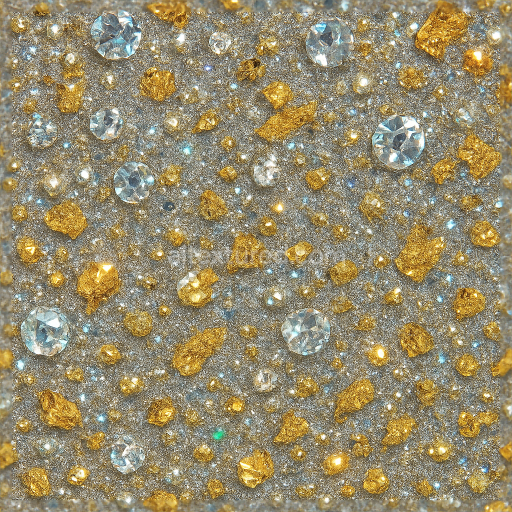
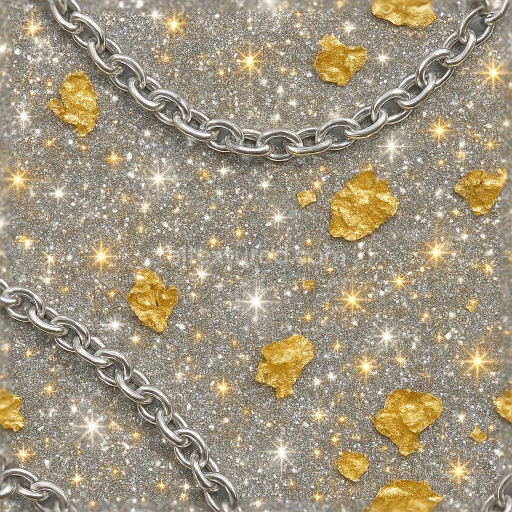
Sparkling Gems Reflective Glitter Metallic Flakes
Seamless texture (tileable) · PNG, WEBP, PBR ZIP. License: AITextured Free Commercial License (FCL) v1.1. Free personal and commercial use. Raw resale, standalone redistribution, mirroring/scraping, competing asset packs, and AI/ML training are not allowed without written permission. Attribution is not required, but appreciated..

| ID | seamless-3d-texture-pbr-8k-silver-foil-metallic-confetti-and-party-popper-sparkle-effect-for-new-year |
|---|---|
| Category | New Year |
| Formats | PNG, WEBP, PBR ZIP |
| Size | 1k (1024x1024px), 2k (2048x2048px), 4k (4096x4096px), 8k (8192x8192px) |
| Color | sRGB |
| Tileable | Yes |
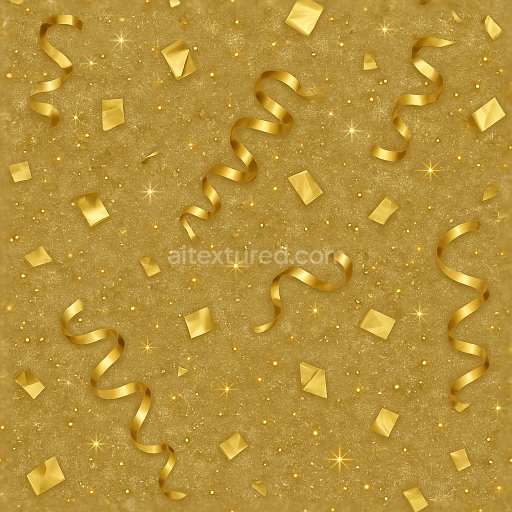
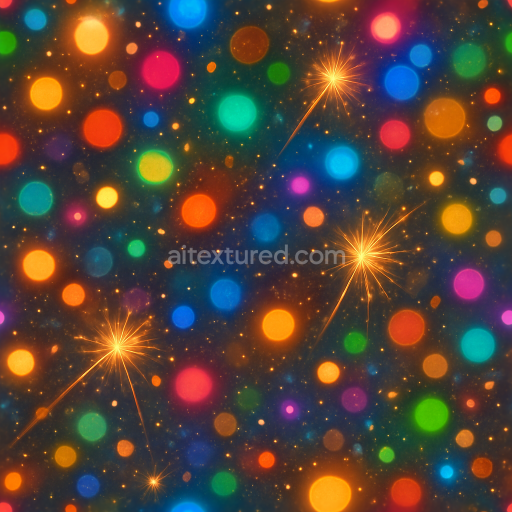
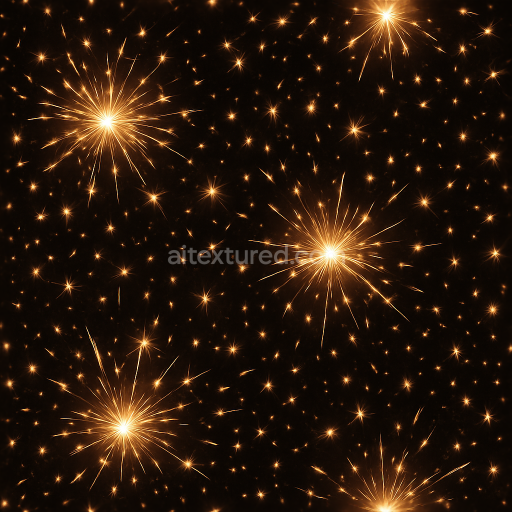
This seamless 3D texture presents a meticulously crafted silver foil metallic confetti pattern interspersed with party popper shapes and lively sparkle effects, designed specifically for festive New Year scenes. The base material simulates a thin, reflective silver foil substrate, characterized by a smooth yet subtly crinkled surface that mimics the natural folds and creases of real metallic wrapping paper. Embedded within this foil are scattered metallic confetti pieces shaped as small geometric shards and circular flakes, producing a dynamic tessellation that enhances visual interest. The texture incorporates festive ribbons with delicate curvature, adding a layered form that appears to gently twist and curl, contributing to an organic complexity in the overall pattern.
From a material composition standpoint, the silver foil acts as the primary substrate, exhibiting a high metallic content reflected in the PBR Metallic channel. This foil substrate is modeled to have a near-polished finish with slight micro-textural imperfections that introduce subtle roughness variations across the surface, captured in the Roughness map. The confetti and party popper elements utilize a blend of fine particulate binders and thin adhesive films that simulate the layered accumulation of sparkle dust and celebration sparks, creating a nuanced interplay between glossy highlights and matte regions. The texture’s porosity is minimal, with the surface demonstrating a dense, continuous metallic sheet punctuated by fine creases and tiny embossments, which are effectively represented in the Height and Normal maps to convey depth and relief without compromising seamless tiling.
Color-wise, the BaseColor (Albedo) channel focuses on a reflective silver tone with subtle gradients to capture light interactions on the metallic foil and confetti edges. Sparkle dust and party glitter are rendered through specular highlights and bright accent points, enhancing the festive sparkle effect. Ambient Occlusion maps emphasize the subtle shadows around the creases and overlapping ribbons, lending realism to the texture's layered geometry. The Height/Displacement maps define the raised folds and embossed party popper details, enabling parallax and displacement effects in rendering engines. The texture’s high resolution at 8K ensures crisp detail preservation, making it suitable for close-up renders in Blender, Unreal Engine, and Unity, where precision and photorealism are paramount.
For practical application, it is recommended to carefully adjust the UV scale to maintain natural proportions of the confetti and ribbons in relation to the 3D model. Additionally, fine-tuning the Roughness map can help balance the reflective qualities, allowing the silver foil to shine without overwhelming glare. When integrating the height data, blending it with normal maps can yield enhanced surface intricacies while avoiding excessive displacement artifacts. This attention to detail ensures the texture performs optimally across different lighting conditions and rendering environments, making it a versatile asset for digital celebrations, party-themed scenes, or decorative elements requiring high-quality metallic finishes.
Import the texture maps into Blender with sRGB color space for albedo/base color and Non-Color for normal, roughness, metallic, AO, height, and ORM maps. Connect normal maps through a Normal Map node, then adjust UV scale with a Mapping node so the material repeats naturally on your model.
For the full step-by-step setup, see How to Use Seamless Textures in Blender. Browse related material examples in wood, concrete, and metal.
Yes. This texture is designed as a seamless tileable PBR material, so it can repeat across large surfaces without visible borders.
You can download PNG/WEBP versions and use 1K, 2K, 4K and 8K download options when available on the page.
Yes. The download options and engine-mapped ZIP workflow are designed for Blender, Unreal Engine, Unity Standard, URP and HDRP material pipelines.
Yes. The texture is available under the AITextured free commercial license. Review the license page for redistribution and AI-training restrictions.


Build, preview, and export seamless PBR materials. Generate full map sets from a single image, inspect them in a real-time WebGL viewer, and re-package maps for Unreal, Unity, and Blender—directly in your browser.
AI text-to-texture: type a prompt and get a seamless, tileable base image ready for PBR workflows (great starting point for materials).
Create a full PBR set (Normal, Roughness, AO, Metallic, etc.) from a single image. Seamless and tiling-friendly.
Instant WebGL viewer: inspect materials on a sphere, plane, and cube. Check tiling and lighting in real time.
Re-packages maps per engine: Unreal (BaseColor + ORM), Unity (Mask/MetallicSmoothness), Blender (separate channels).
PNG ↔ JPG ↔ SVG: fast convert, SVG rasterize, embed/trace options, quality & background controls.