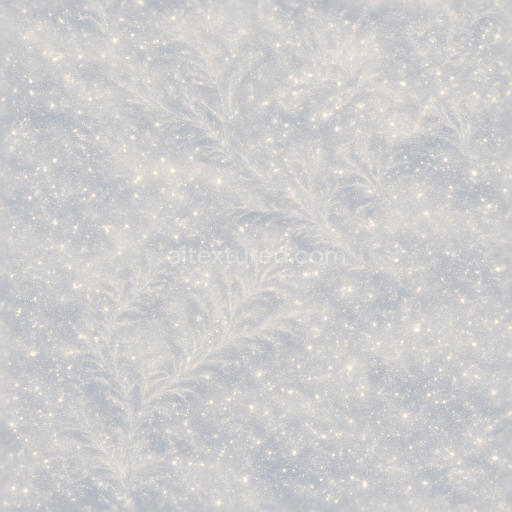
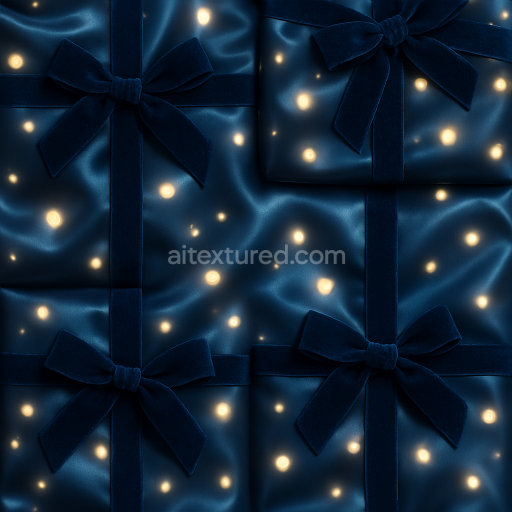
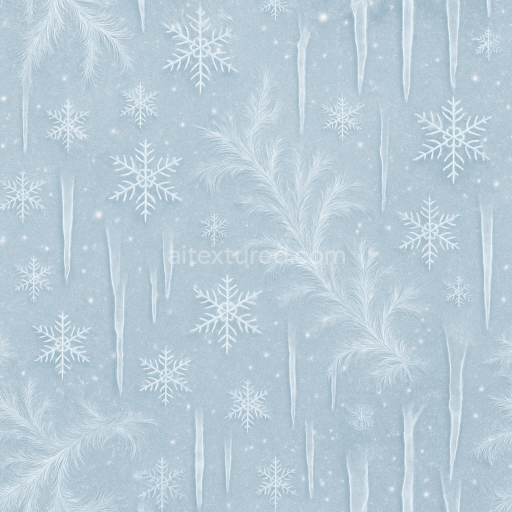
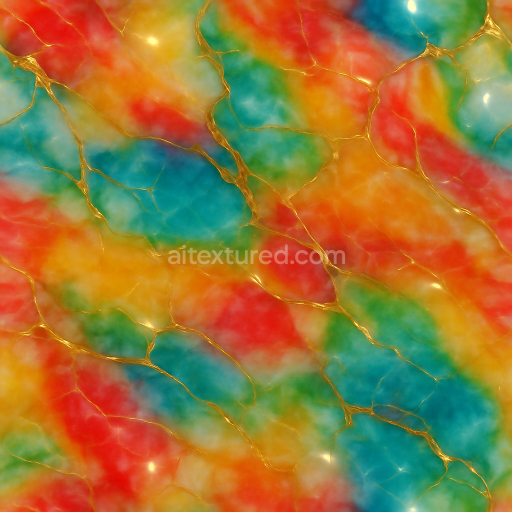
Snow Texture With Shimmering Snow And Frost Patterns For New Year
Seamless texture (tileable) · PNG, WEBP, PBR ZIP. License: AITextured Free Commercial License (FCL) v1.1. Free personal and commercial use. Raw resale, standalone redistribution, mirroring/scraping, competing asset packs, and AI/ML training are not allowed without written permission. Attribution is not required, but appreciated..

| ID | seamless-3d-texture-pbr-8k-champagne-bubbles-closeup-sparkling-celebration-for-new-year |
|---|---|
| Category | New Year |
| Formats | PNG, WEBP, PBR ZIP |
| Size | 1k (1024x1024px), 2k (2048x2048px), 4k (4096x4096px), 8k (8192x8192px) |
| Color | sRGB |
| Tileable | Yes |
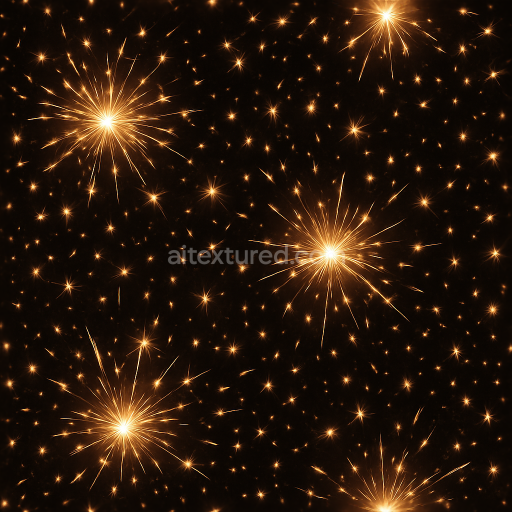
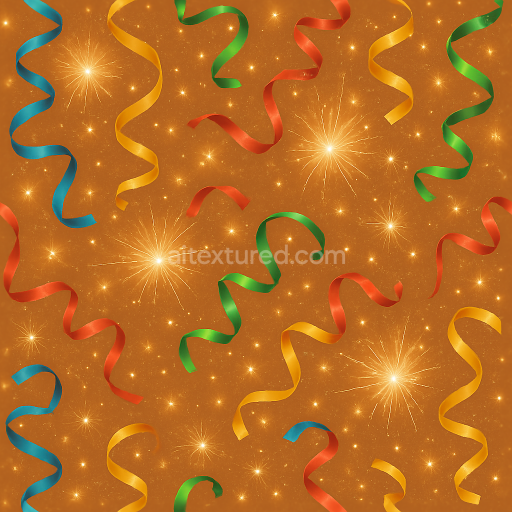
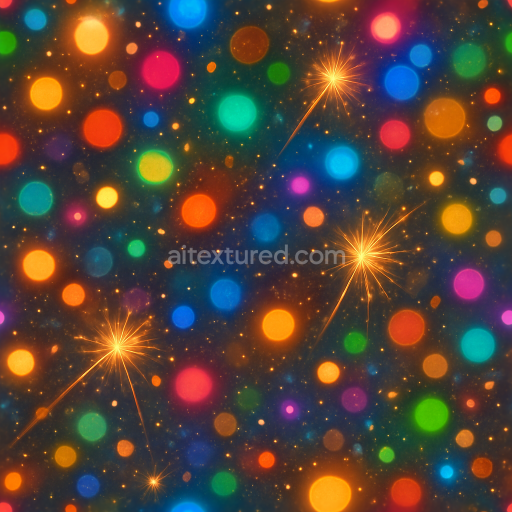
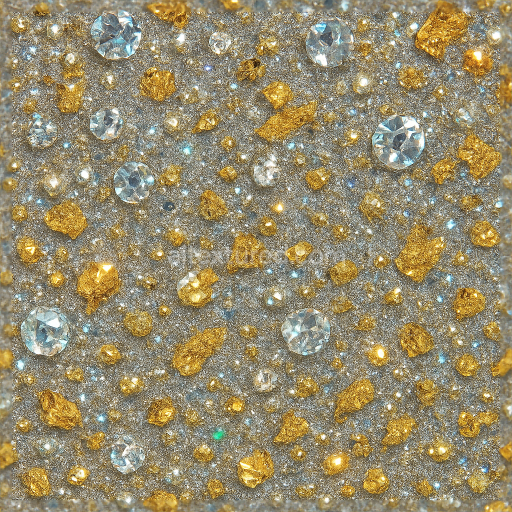
This seamless 3D texture presents a highly detailed closeup view of champagne bubbles, meticulously crafted to replicate the intricate materials and forms found in celebratory glassware filled with sparkling champagne. The base material simulates a transparent glass substrate, characterized by its smooth, polished finish and subtle micro-scratches that add realism without detracting from clarity. Embedded within the glass are countless spherical gas bubbles, varying slightly in size and distribution to mimic natural effervescence. These bubbles create a dynamic pattern of convex shapes with glossy surfaces, generating complex light reflections and refractions typical of champagne. The texture captures the interplay of light as it interacts with both the transparent glass and the semi-translucent gas pockets, producing a celebration glow accented by sparkle flares and festive highlights reminiscent of sparklers and party poppers.
From a materials perspective, the texture’s composition includes a glass-like substrate with high specular reflection and low roughness, enabling sharp light reflections and a polished appearance. The bubbles themselves act as micro-lenses within the glass, contributing to ambient occlusion effects that enhance depth and realism. The PBR workflow maps these properties across several channels: the BaseColor (Albedo) channel is nearly transparent with subtle pale gold tinting to evoke champagne’s warm hue. The Normal map encodes the convex geometry of the bubbles and the slight surface imperfections of the glass. Roughness is finely tuned to low values on the glass and bubbles, allowing crisp reflections, while the Metallic channel is minimal, reflecting the non-metallic nature of both glass and liquid. Ambient Occlusion intensifies the visual depth around bubble edges, and the Height/Displacement map subtly models the curvature and elevation variance of bubbles to assist in parallax effects.
Rendered at an ultra-high 8K resolution, this texture provides exceptional detail, capturing the smallest light flares and the delicate shimmer of champagne’s surface sparkle. It is optimized for use in modern 3D engines such as Blender, Unreal Engine, and Unity, ensuring seamless integration and photorealistic rendering in both real-time and offline workflows. The seamless tiling allows for continuous application across large surfaces without visible repetition, making it ideal for modeling realistic champagne glasses, bottles, or festive environmental elements in party scenes celebrating the New Year.
For practical usage, it is recommended to adjust the UV scale carefully to maintain the natural size and distribution of bubbles without distortion. Additionally, fine-tuning the roughness values can help control the intensity of reflections and sparkle flares to match specific lighting conditions. When working with displacement or parallax mapping, blending the height map subtly with the normal map ensures smooth transitions and avoids harsh geometric artifacts, enhancing the overall realism of the bubbly champagne surface.
Import the texture maps into Blender with sRGB color space for albedo/base color and Non-Color for normal, roughness, metallic, AO, height, and ORM maps. Connect normal maps through a Normal Map node, then adjust UV scale with a Mapping node so the material repeats naturally on your model.
For the full step-by-step setup, see How to Use Seamless Textures in Blender. Browse related material examples in wood, concrete, and metal.
Yes. This texture is designed as a seamless tileable PBR material, so it can repeat across large surfaces without visible borders.
You can download PNG/WEBP versions and use 1K, 2K, 4K and 8K download options when available on the page.
Yes. The download options and engine-mapped ZIP workflow are designed for Blender, Unreal Engine, Unity Standard, URP and HDRP material pipelines.
Yes. The texture is available under the AITextured free commercial license. Review the license page for redistribution and AI-training restrictions.


Build, preview, and export seamless PBR materials. Generate full map sets from a single image, inspect them in a real-time WebGL viewer, and re-package maps for Unreal, Unity, and Blender—directly in your browser.
AI text-to-texture: type a prompt and get a seamless, tileable base image ready for PBR workflows (great starting point for materials).
Create a full PBR set (Normal, Roughness, AO, Metallic, etc.) from a single image. Seamless and tiling-friendly.
Instant WebGL viewer: inspect materials on a sphere, plane, and cube. Check tiling and lighting in real time.
Re-packages maps per engine: Unreal (BaseColor + ORM), Unity (Mask/MetallicSmoothness), Blender (separate channels).
PNG ↔ JPG ↔ SVG: fast convert, SVG rasterize, embed/trace options, quality & background controls.