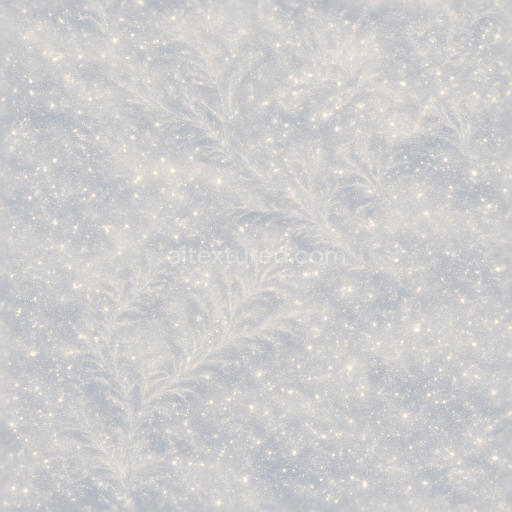
Snow Texture With Shimmering Snow And Frost Patterns For New Year
Seamless texture (tileable) · PNG, WEBP, PBR ZIP. License: AITextured Free Commercial License (FCL) v1.1. Free personal and commercial use. Raw resale, standalone redistribution, mirroring/scraping, competing asset packs, and AI/ML training are not allowed without written permission. Attribution is not required, but appreciated..

| ID | seamless-3d-texture-pbr-8k-glossy-enamel-festive-baubles-shining-beads |
|---|---|
| Category | New Year |
| Formats | PNG, WEBP, PBR ZIP |
| Size | 1k (1024x1024px), 2k (2048x2048px), 4k (4096x4096px), 8k (8192x8192px) |
| Color | sRGB |
| Tileable | Yes |
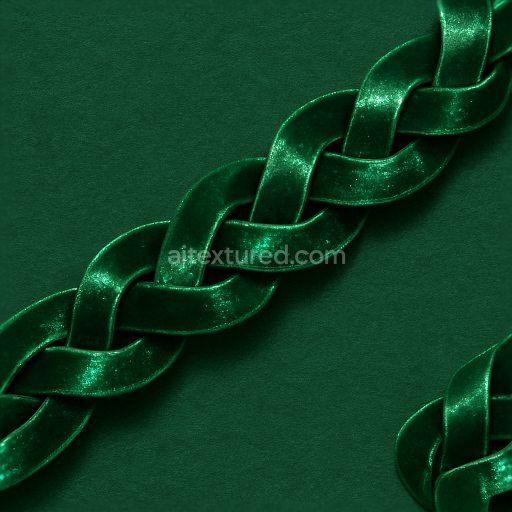
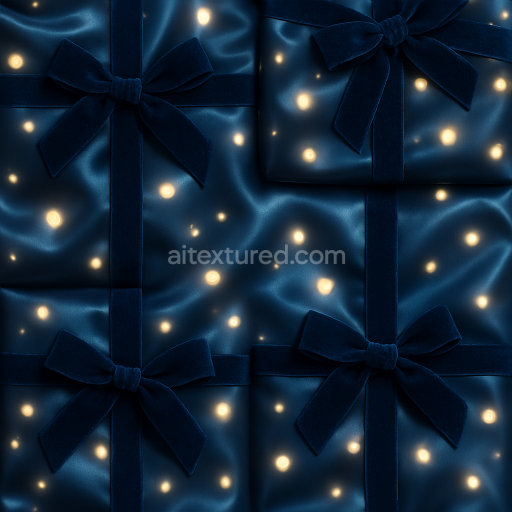
This seamless 3D texture features a highly detailed glossy enamel surface crafted to replicate the lustrous finish of polished holiday ornaments. The base material simulates a ceramic or glass substrate coated with a smooth enamel layer enhanced with vibrant pigments that create rich reflective colorations. Embedded within the enamel are intricate metallic chains and shining beads representing finely wrought festive baubles. These ornamental details are subtly captured through the texture’s normal and height maps adding depth and realistic surface relief. The enamel’s reflective quality is emphasized in the metallic and roughness channels where the surface shows low roughness for a mirror-like gloss and moderate metallic values to simulate the interplay between enamel and metal elements while ambient occlusion enhances the perception of crevices and fine details.
Rendered at an impressive 8K resolution this texture ensures exceptional clarity and sharpness making it ideal for photorealistic digital decorations and holiday-themed product renders. Its precision in PBR channels allows for accurate simulation of light interactions from the soft diffuse glow of enamel pigments in the BaseColor/Albedo map to the subtle micro-surface variations visible in the roughness and normal maps. The height/displacement channel captures the raised beads and chain details adding convincing dimensionality when used with parallax or tessellation techniques. Designed for seamless tiling this texture integrates flawlessly into Unreal Engine Blender and Unity projects providing artists and developers with a versatile high-quality material that enhances festive visuals without visible repeating seams.
For optimal results it is recommended to adjust the UV scale to maintain the intricate bead and chain patterns at a realistic size relative to the scene’s scale. Fine-tuning the roughness parameter can also help balance the enamel’s glossiness against the metallic highlights ensuring the baubles reflect light naturally without appearing overly polished or dull. This texture is especially suited for creating holiday ornaments decorative surfaces and product visualization where a combination of glossy enamel and metallic ornamental details is desired delivering a rich festive aesthetic with a high degree of realism and material accuracy.
Import the texture maps into Blender with sRGB color space for albedo/base color and Non-Color for normal, roughness, metallic, AO, height, and ORM maps. Connect normal maps through a Normal Map node, then adjust UV scale with a Mapping node so the material repeats naturally on your model.
For the full step-by-step setup, see How to Use Seamless Textures in Blender. Browse related material examples in wood, concrete, and metal.
Yes. This texture is designed as a seamless tileable PBR material, so it can repeat across large surfaces without visible borders.
You can download PNG/WEBP versions and use 1K, 2K, 4K and 8K download options when available on the page.
Yes. The download options and engine-mapped ZIP workflow are designed for Blender, Unreal Engine, Unity Standard, URP and HDRP material pipelines.
Yes. The texture is available under the AITextured free commercial license. Review the license page for redistribution and AI-training restrictions.

Build, preview, and export seamless PBR materials. Generate full map sets from a single image, inspect them in a real-time WebGL viewer, and re-package maps for Unreal, Unity, and Blender—directly in your browser.
AI text-to-texture: type a prompt and get a seamless, tileable base image ready for PBR workflows (great starting point for materials).
Create a full PBR set (Normal, Roughness, AO, Metallic, etc.) from a single image. Seamless and tiling-friendly.
Instant WebGL viewer: inspect materials on a sphere, plane, and cube. Check tiling and lighting in real time.
Re-packages maps per engine: Unreal (BaseColor + ORM), Unity (Mask/MetallicSmoothness), Blender (separate channels).
PNG ↔ JPG ↔ SVG: fast convert, SVG rasterize, embed/trace options, quality & background controls.