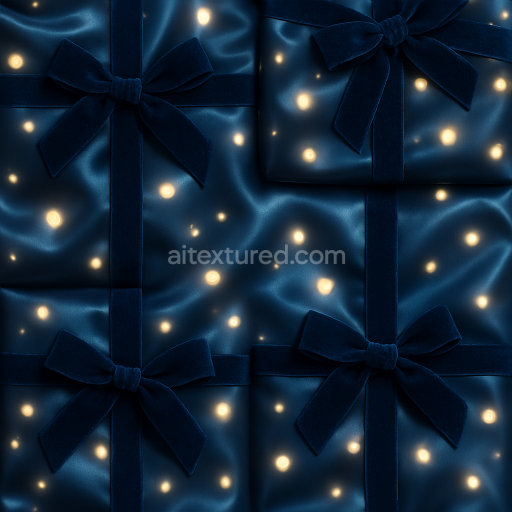
Festive Glittering Tinsel Strands Red Gold Green
Seamless texture (tileable) · PNG, WEBP, PBR ZIP. License: AITextured Free Commercial License (FCL) v1.1. Free personal and commercial use. Raw resale, standalone redistribution, mirroring/scraping, competing asset packs, and AI/ML training are not allowed without written permission. Attribution is not required, but appreciated..

| ID | seamless-3d-texture-pbr-8k-snow-texture-with-shimmering-snow-and-frost-patterns-for-new-year |
|---|---|
| Category | New Year |
| Formats | PNG, WEBP, PBR ZIP |
| Size | 1k (1024x1024px), 2k (2048x2048px), 4k (4096x4096px), 8k (8192x8192px) |
| Color | sRGB |
| Tileable | Yes |
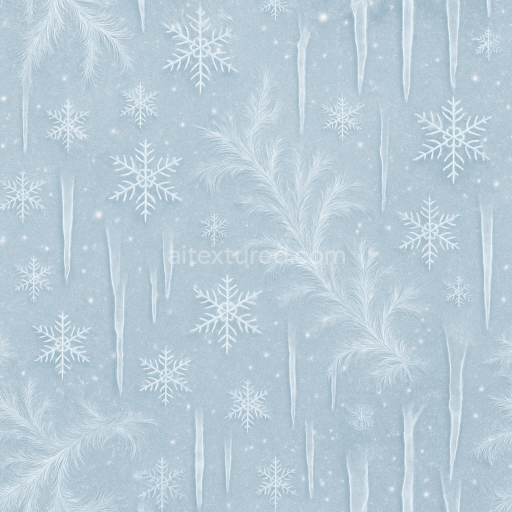
This seamless 3D texture presents a finely detailed snow surface designed for realistic winter scenes, rendered at an ultra-high 8K resolution. The base material simulates compacted snow with a delicate crystalline structure, featuring an intricate network of ice crystals and frost patterns that form naturally on cold surfaces. Geometrically, the texture exhibits a subtle, uneven grain reminiscent of freshly settled snow combined with frosted glass-like veins, creating a visually complex and naturalistic winter frost effect. The substrate mimics dense snow granules bonded by thin ice films, giving rise to micro-aggregates that capture light and cast soft shadows, while maintaining a generally low porosity with small pockets of air trapped between the crystals to enhance volumetric depth.
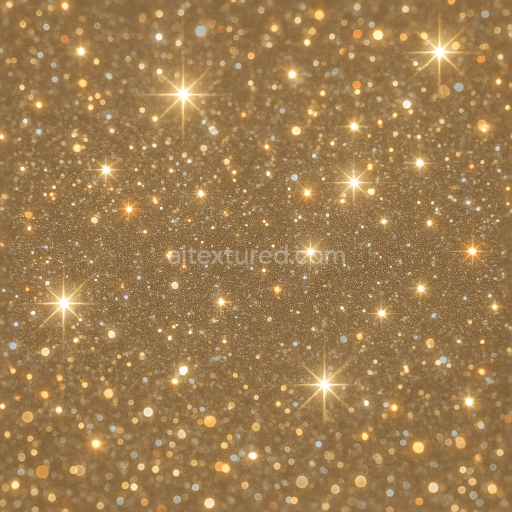
The surface finish is glossy yet diffuse, reflecting the typical holiday glow seen when snow sparkles under ambient light sources. This is achieved by layering fine sparkle dust particles that catch highlights, organically scattered across frost ridges and snowflake edges. The overall coloration is a cool white with subtle bluish undertones and occasional warmer hues where the celebration glow and holiday illumination gently tint the surfaces. The PBR texture set includes a carefully crafted BaseColor (Albedo) map that defines the subtle color variations and soft shadows, while the Normal map captures the intricate frost ridges and snowflake relief. Roughness values vary across the surface, with smoother icy patches contrasted by rougher, powdery snow sections to simulate realistic light diffusion and specular response. The Metallic channel is minimal, reflecting the non-metallic nature of snow and ice, whereas Ambient Occlusion enhances the depth of crevices and frost veins, and the Height/Displacement map adds convincing surface undulations, perfect for parallax effects.
This texture is optimized for seamless tiling, ensuring consistent detail and natural flow across large surfaces without visible repetition. Its high fidelity and layered complexity make it ideal for use in Blender, Unreal Engine, and Unity projects where photorealism and fine detail are paramount. When integrating this texture, it is advisable to carefully adjust the UV scale to balance between close-up detail and overall scene coherence. Additionally, tuning the roughness map can help match the texture’s reflective qualities to specific lighting conditions, while blending the height and normal maps can enhance surface depth without excessive geometry, maximizing performance and visual impact.
Import the texture maps into Blender with sRGB color space for albedo/base color and Non-Color for normal, roughness, metallic, AO, height, and ORM maps. Connect normal maps through a Normal Map node, then adjust UV scale with a Mapping node so the material repeats naturally on your model.
For the full step-by-step setup, see How to Use Seamless Textures in Blender. Browse related material examples in wood, concrete, and metal.
Yes. This texture is designed as a seamless tileable PBR material, so it can repeat across large surfaces without visible borders.
You can download PNG/WEBP versions and use 1K, 2K, 4K and 8K download options when available on the page.
Yes. The download options and engine-mapped ZIP workflow are designed for Blender, Unreal Engine, Unity Standard, URP and HDRP material pipelines.
Yes. The texture is available under the AITextured free commercial license. Review the license page for redistribution and AI-training restrictions.

Build, preview, and export seamless PBR materials. Generate full map sets from a single image, inspect them in a real-time WebGL viewer, and re-package maps for Unreal, Unity, and Blender—directly in your browser.
AI text-to-texture: type a prompt and get a seamless, tileable base image ready for PBR workflows (great starting point for materials).
Create a full PBR set (Normal, Roughness, AO, Metallic, etc.) from a single image. Seamless and tiling-friendly.
Instant WebGL viewer: inspect materials on a sphere, plane, and cube. Check tiling and lighting in real time.
Re-packages maps per engine: Unreal (BaseColor + ORM), Unity (Mask/MetallicSmoothness), Blender (separate channels).
PNG ↔ JPG ↔ SVG: fast convert, SVG rasterize, embed/trace options, quality & background controls.