
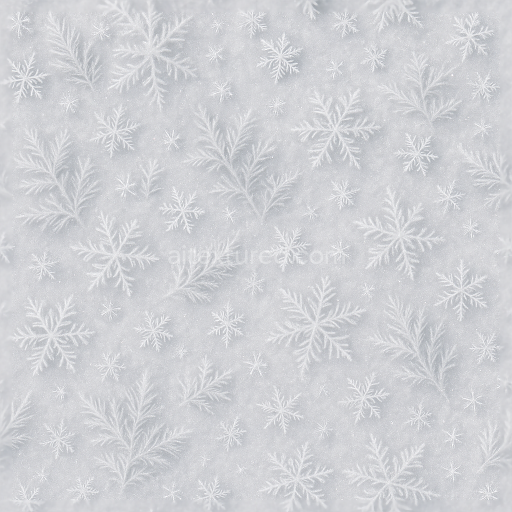
Frosted Glass And Ice Crystals Winter Frost For New Year
Seamless texture (tileable) · PNG, WEBP, PBR ZIP. License: AITextured Free Commercial License (FCL) v1.1. Free personal and commercial use. Raw resale, standalone redistribution, mirroring/scraping, competing asset packs, and AI/ML training are not allowed without written permission. Attribution is not required, but appreciated..

| ID | seamless-3d-texture-pbr-8k-clock-face-and-countdown-timer-with-glowing-fireworks-sparks-for-new-year |
|---|---|
| Category | New Year |
| Formats | PNG, WEBP, PBR ZIP |
| Size | 1k (1024x1024px), 2k (2048x2048px), 4k (4096x4096px), 8k (8192x8192px) |
| Color | sRGB |
| Tileable | Yes |
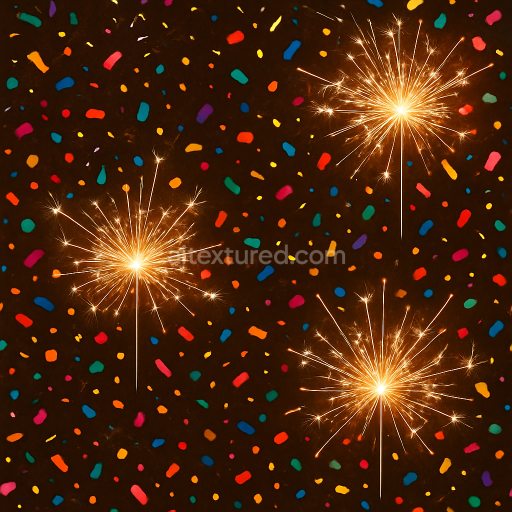
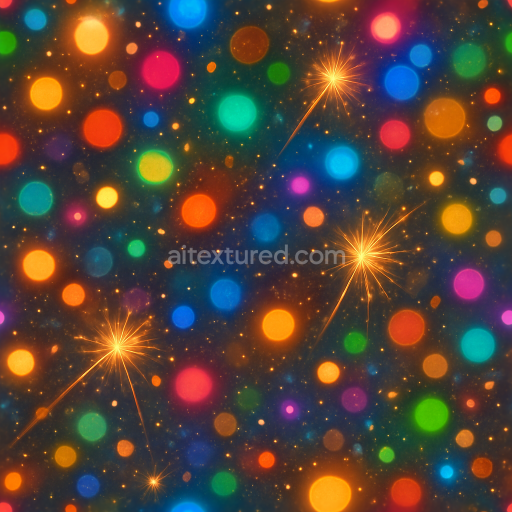
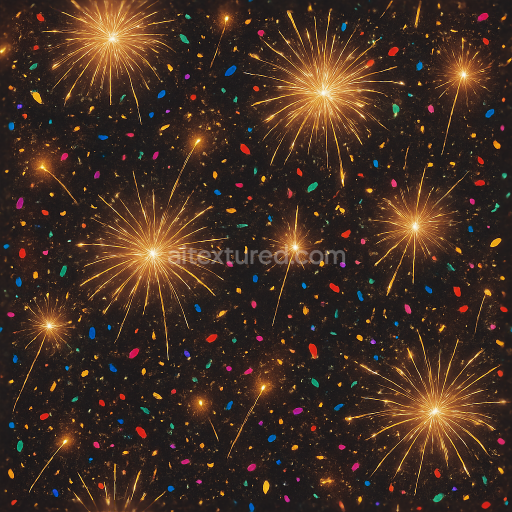
This seamless 3D texture features a finely detailed clock face and countdown timer set against a dynamic backdrop of glowing fireworks sparks, designed specifically for New Year’s celebrations. The base material resembles a smooth, polished metallic substrate, likely brass or brushed steel, lending a subtle golden sheen that enhances the sense of luxury and festivity. The clock face geometry is composed of concentric circular grooves and engraved numerals, creating a tactile depth that is accurately captured through a high-resolution normal map. The countdown timer elements are inset slightly, with a precise bevel that catches light realistically, while the metallic surface exhibits moderate roughness to soften reflections and add authenticity.
The texture’s composition includes a thin layer of glossy lacquer acting as a binder, protecting the metal surface and intensifying the celebration glow seen in the BaseColor (Albedo) channel. Embedded within this lacquer are fine aggregates mimicking tiny sparkler particles, which appear as delicate sparkle flares and light bursts across the surface. These elements are further emphasized through the emissive channel, simulating the luminous quality of fireworks sparks and sparklers trails, while subtle ambient occlusion enhances the depth around engraved details and recessed timer digits. The height map effectively conveys the relief of the clock’s etched numbers and the layered arrangement of sparks, creating a convincing parallax effect in interactive applications.
The surrounding night sky stars are represented with a finely grained, almost matte finish that contrasts with the polished clock face, imparting a sense of atmospheric depth and distance. This star field uses a low-metallic, high-roughness profile to prevent unwanted reflections, maintaining a natural night sky appearance. The overall surface finish balances metallic shine and diffuse glow, producing a realistic interplay of light and shadow, which the PBR setup captures with precision across all channels—Metallic, Roughness, Normal, Height, and Ambient Occlusion.
Rendered at an impressive 8K resolution, this texture is optimized for seamless tiling without visible repetition, making it highly suitable for detailed 3D scenes in Blender, Unreal Engine, and Unity. To achieve the best visual fidelity, it is recommended to carefully adjust the UV scale to maintain the clarity of fine sparkler trails and clock face details. Additionally, tuning the roughness slightly higher in post-processing can help reduce over-shiny areas under intense lighting, while blending height and normal maps can enhance the perceived depth of the engraved elements and dynamic fireworks effects, creating a more immersive New Year countdown experience.
Import the texture maps into Blender with sRGB color space for albedo/base color and Non-Color for normal, roughness, metallic, AO, height, and ORM maps. Connect normal maps through a Normal Map node, then adjust UV scale with a Mapping node so the material repeats naturally on your model.
For the full step-by-step setup, see How to Use Seamless Textures in Blender. Browse related material examples in wood, concrete, and metal.
Yes. This texture is designed as a seamless tileable PBR material, so it can repeat across large surfaces without visible borders.
You can download PNG/WEBP versions and use 1K, 2K, 4K and 8K download options when available on the page.
Yes. The download options and engine-mapped ZIP workflow are designed for Blender, Unreal Engine, Unity Standard, URP and HDRP material pipelines.
Yes. The texture is available under the AITextured free commercial license. Review the license page for redistribution and AI-training restrictions.
Build, preview, and export seamless PBR materials. Generate full map sets from a single image, inspect them in a real-time WebGL viewer, and re-package maps for Unreal, Unity, and Blender—directly in your browser.
AI text-to-texture: type a prompt and get a seamless, tileable base image ready for PBR workflows (great starting point for materials).
Create a full PBR set (Normal, Roughness, AO, Metallic, etc.) from a single image. Seamless and tiling-friendly.
Instant WebGL viewer: inspect materials on a sphere, plane, and cube. Check tiling and lighting in real time.
Re-packages maps per engine: Unreal (BaseColor + ORM), Unity (Mask/MetallicSmoothness), Blender (separate channels).
PNG ↔ JPG ↔ SVG: fast convert, SVG rasterize, embed/trace options, quality & background controls.