
Shiny Paper Seamless Texture
Seamless texture (tileable) · PNG, WEBP, PBR ZIP. License: AITextured Free Commercial License (FCL) v1.1. Free personal and commercial use. Raw resale, standalone redistribution, mirroring/scraping, competing asset packs, and AI/ML training are not allowed without written permission. Attribution is not required, but appreciated..

| ID | foil-laminated-paper-reflective |
|---|---|
| Category | Paper |
| Formats | PNG, WEBP, PBR ZIP |
| Size | 1k (1024x1024px), 2k (2048x2048px), 4k (4096x4096px), 8k (8192x8192px) |
| Color | sRGB |
| Tileable | Yes |
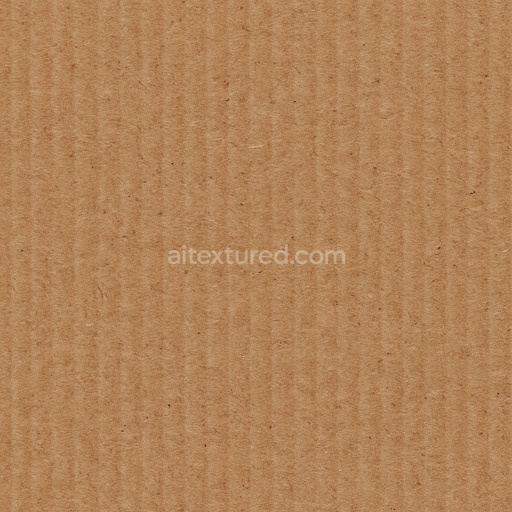
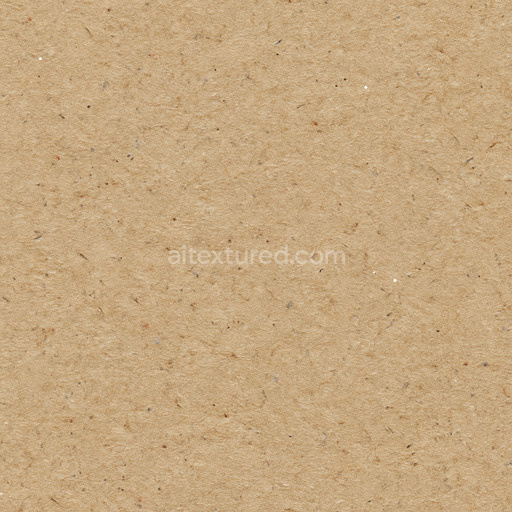
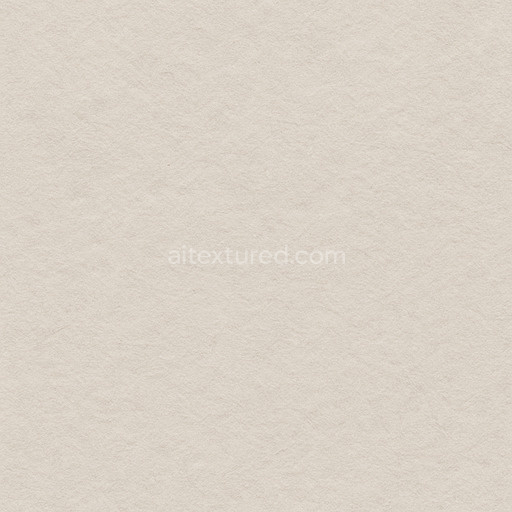
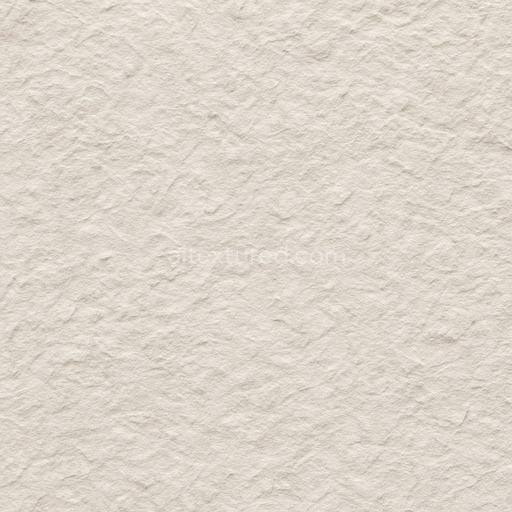
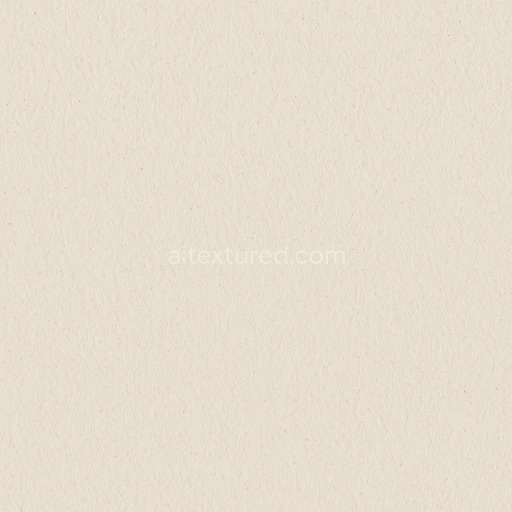
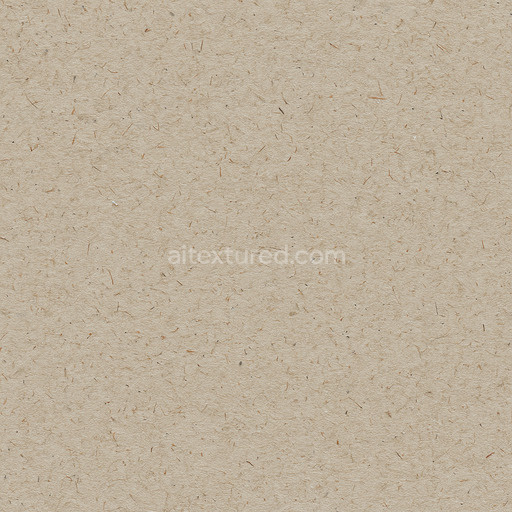
The foil laminated paper reflective texture is a sophisticated composite material expertly combining a high-quality organic paper substrate with a thin metallic foil layer to produce a visually striking and functionally durable surface finish. The base substrate consists of densely compacted natural fibers forming a smooth yet subtly fibrous sheet that retains slight porosity and a natural grain. This paper layer serves as the foundation offering a matte contrast to the reflective foil overlay. The foil—commonly aluminum or a similar alloy—is securely bonded to the paper using a specialized adhesive creating a laminated structure that balances flexibility with resilience. The metallic foil imparts a polished glossy surface with mirror-like reflectivity which varies dynamically with lighting and viewing angle. Embedded pigments and dyes in the paper contribute nuanced color tones beneath the reflective layer enhancing the depth and realism across various digital visualization environments.
When used in physically based rendering (PBR) workflows this seamless foil laminated paper reflective texture excels in capturing the material’s complex nature through a comprehensive set of texture maps. The BaseColor or Albedo channel reveals the intricate interplay of colored paper fibers beneath the reflective highlights of the foil. The Normal map faithfully recreates the fine grain orientation and subtle surface irregularities at the foil-paper interface preserving essential micro-details that elevate close-up realism. Roughness values are carefully calibrated to reflect the smooth glossy finish of the foil contrasted against the slightly rougher paper substrate. The Metallic channel distinctly identifies the conductive metal layer while Ambient Occlusion enhances depth perception by shading subtle creases and folds where layers meet. The Height or Displacement map provides realistic surface relief emphasizing the delicate undulations of the foil and the natural texture of the paper resulting in photorealistic renderings across diverse lighting conditions.
Optimized for seamless tiling and high-resolution output up to 8K this tileable foil laminated paper reflective texture integrates effortlessly with leading 3D engines such as Blender Unreal Engine and Unity supporting both real-time and offline rendering pipelines. Its seamless design ensures flawless coverage of large surfaces without visible repetition or distortion maintaining consistent detail and realism. For optimal results it is recommended to maintain uniform UV scaling to prevent texture stretching and to fine-tune the roughness map carefully to balance the laminated foil’s glossy highlights with the underlying paper’s matte qualities. Additionally leveraging the height or parallax displacement maps adds subtle depth and dimensionality perfectly capturing the layered structure and reflective nuances of this advanced PBR texture foil laminated paper reflective material as showcased in the provided 3D preview for accurate PBR visualization.
Import the texture maps into Blender with sRGB color space for albedo/base color and Non-Color for normal, roughness, metallic, AO, height, and ORM maps. Connect normal maps through a Normal Map node, then adjust UV scale with a Mapping node so the material repeats naturally on your model.
For the full step-by-step setup, see How to Use Seamless Textures in Blender. Browse related material examples in wood, concrete, and metal.
Yes. This texture is designed as a seamless tileable PBR material, so it can repeat across large surfaces without visible borders.
You can download PNG/WEBP versions and use 1K, 2K, 4K and 8K download options when available on the page.
Yes. The download options and engine-mapped ZIP workflow are designed for Blender, Unreal Engine, Unity Standard, URP and HDRP material pipelines.
Yes. The texture is available under the AITextured free commercial license. Review the license page for redistribution and AI-training restrictions.


Build, preview, and export seamless PBR materials. Generate full map sets from a single image, inspect them in a real-time WebGL viewer, and re-package maps for Unreal, Unity, and Blender—directly in your browser.
AI text-to-texture: type a prompt and get a seamless, tileable base image ready for PBR workflows (great starting point for materials).
Create a full PBR set (Normal, Roughness, AO, Metallic, etc.) from a single image. Seamless and tiling-friendly.
Instant WebGL viewer: inspect materials on a sphere, plane, and cube. Check tiling and lighting in real time.
Re-packages maps per engine: Unreal (BaseColor + ORM), Unity (Mask/MetallicSmoothness), Blender (separate channels).
PNG ↔ JPG ↔ SVG: fast convert, SVG rasterize, embed/trace options, quality & background controls.