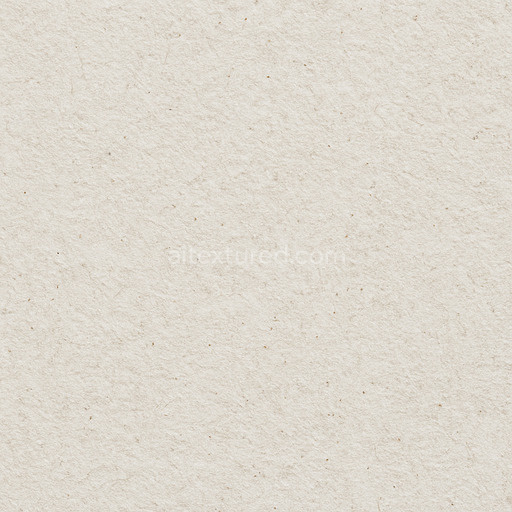
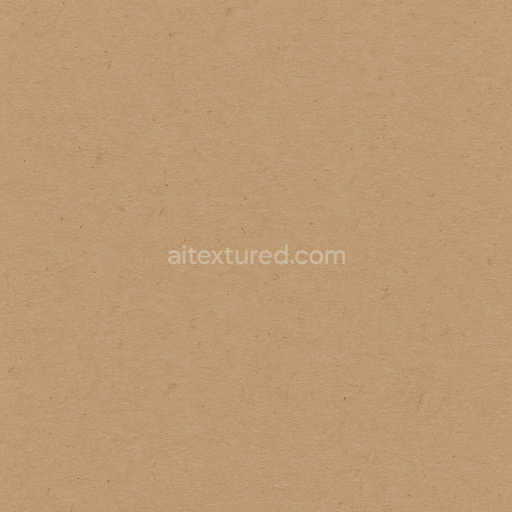
Granular Paper Seamless Texture
Seamless texture (tileable) · PNG, WEBP, PBR ZIP. License: AITextured Free Commercial License (FCL) v1.1. Free personal and commercial use. Raw resale, standalone redistribution, mirroring/scraping, competing asset packs, and AI/ML training are not allowed without written permission. Attribution is not required, but appreciated..

| ID | ripped-or-torn-cardboard-paper-texture-free-pbr |
|---|---|
| Category | Paper |
| Formats | PNG, WEBP, PBR ZIP |
| Size | 1k (1024x1024px), 2k (2048x2048px), 4k (4096x4096px), 8k (8192x8192px) |
| Color | sRGB |
| Tileable | Yes |
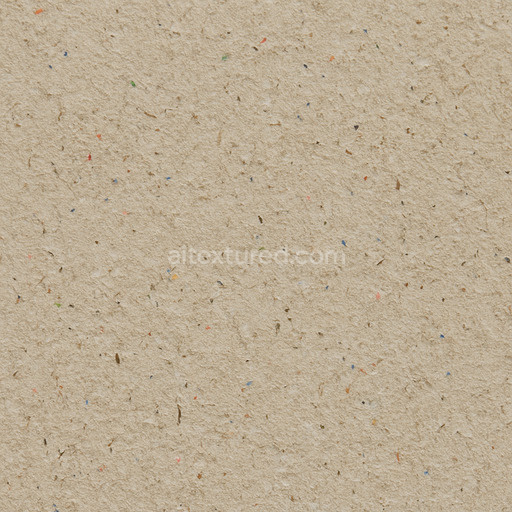
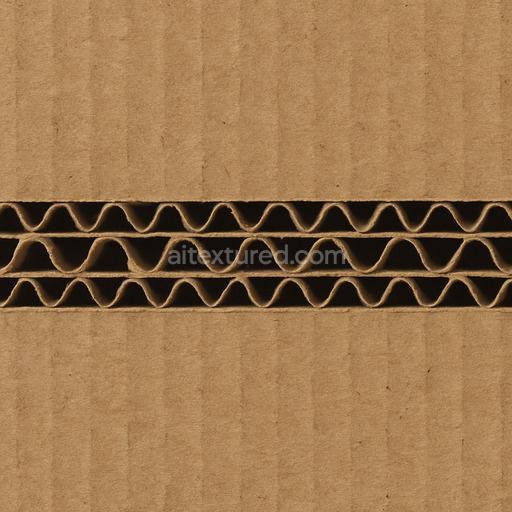
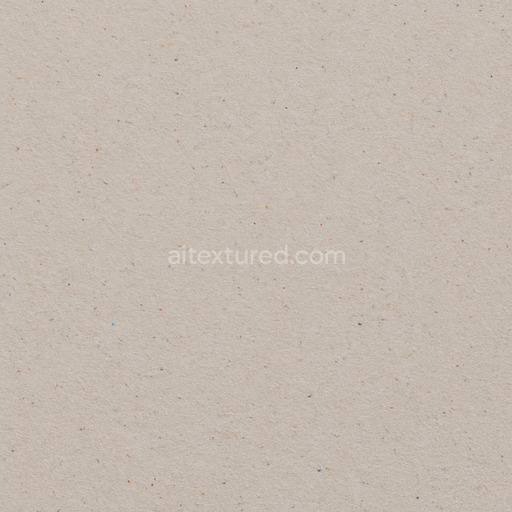
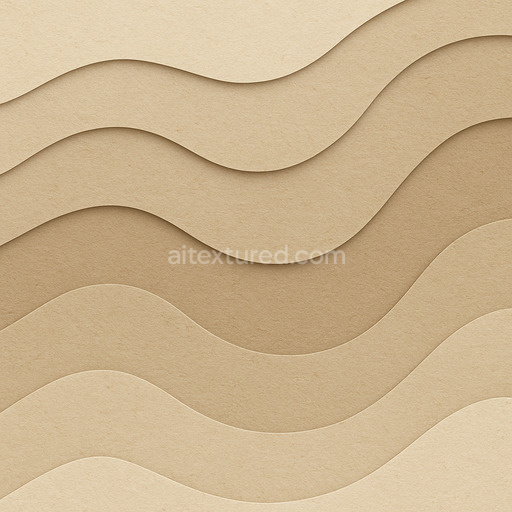
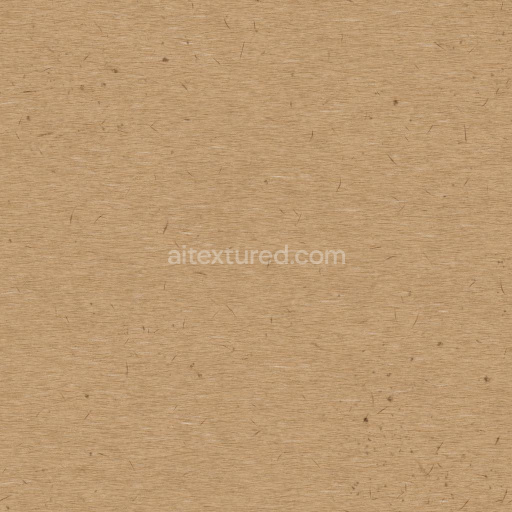
This ripped or torn cardboard paper texture highlights the organic and fibrous nature characteristic of premium cardboard materials. The base substrate is primarily composed of cellulose fibers derived from wood pulp, which are intricately bonded together using a combination of natural adhesives and synthetic binders. This process results in a lightweight yet durable sheet, exhibiting a distinct fibrous structure with irregular grain orientation. The manual tearing exposes compressed fiber layers and subtle porosity throughout the material, accentuating the natural roughness and depth of the surface. Color-wise, the texture displays natural brownish-beige tones with slight variations caused by uneven pigment distribution and environmental weathering, such as faint discoloration and wear marks that add authenticity to the material’s appearance.
Within the PBR workflow, the BaseColor or Albedo channel captures the muted earth tones along with delicate fiber details, bringing out the natural subtleties of the torn cardboard surface. The Normal map enhances the tactile quality by emphasizing the torn edges and fibrous relief, providing realistic surface depth and texture. The Roughness map reflects the matte, untreated finish typical of cardboard, promoting diffuse light scattering without any metallic shine. As expected for an organic and non-metallic material, the Metallic channel remains near zero, while the Ambient Occlusion channel deepens shadows within crevices and torn areas, adding visual depth. The Height or Displacement map provides micro-geometry for superior parallax effects, making the torn edges appear more tactile and convincingly worn. This texture is meticulously crafted at up to 8K resolution, ensuring extraordinary detail and crispness even in close-up renders.
Optimized for seamless tiling and compatibility with leading 3D software such as Blender, Unreal Engine, and Unity, this high-resolution ripped cardboard paper texture is ideal for a wide range of applications including environmental design, packaging visualization, and game asset creation. For optimal results, adjusting the UV scale can help balance the level of detail repetition across larger surfaces, while fine-tuning the roughness value allows precise control over surface reflectivity to adapt to various lighting scenarios. Utilizing the Height map combined with parallax occlusion mapping can dramatically enhance the perception of depth and realism along the torn edges, making the cardboard appear tactile and authentically aged under diverse environmental conditions.
Import the texture maps into Blender with sRGB color space for albedo/base color and Non-Color for normal, roughness, metallic, AO, height, and ORM maps. Connect normal maps through a Normal Map node, then adjust UV scale with a Mapping node so the material repeats naturally on your model.
For the full step-by-step setup, see How to Use Seamless Textures in Blender. Browse related material examples in wood, concrete, and metal.
Yes. This texture is designed as a seamless tileable PBR material, so it can repeat across large surfaces without visible borders.
You can download PNG/WEBP versions and use 1K, 2K, 4K and 8K download options when available on the page.
Yes. The download options and engine-mapped ZIP workflow are designed for Blender, Unreal Engine, Unity Standard, URP and HDRP material pipelines.
Yes. The texture is available under the AITextured free commercial license. Review the license page for redistribution and AI-training restrictions.


Build, preview, and export seamless PBR materials. Generate full map sets from a single image, inspect them in a real-time WebGL viewer, and re-package maps for Unreal, Unity, and Blender—directly in your browser.
AI text-to-texture: type a prompt and get a seamless, tileable base image ready for PBR workflows (great starting point for materials).
Create a full PBR set (Normal, Roughness, AO, Metallic, etc.) from a single image. Seamless and tiling-friendly.
Instant WebGL viewer: inspect materials on a sphere, plane, and cube. Check tiling and lighting in real time.
Re-packages maps per engine: Unreal (BaseColor + ORM), Unity (Mask/MetallicSmoothness), Blender (separate channels).
PNG ↔ JPG ↔ SVG: fast convert, SVG rasterize, embed/trace options, quality & background controls.