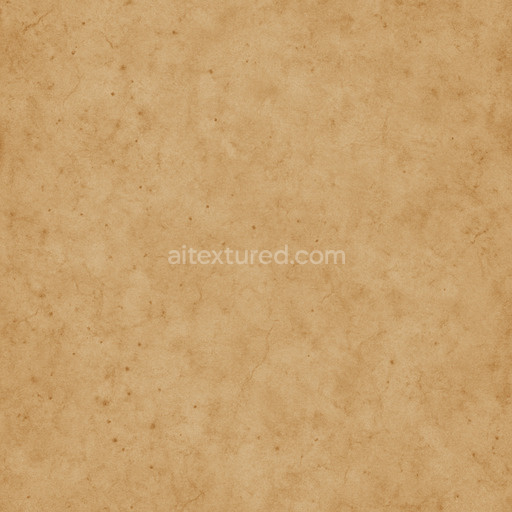
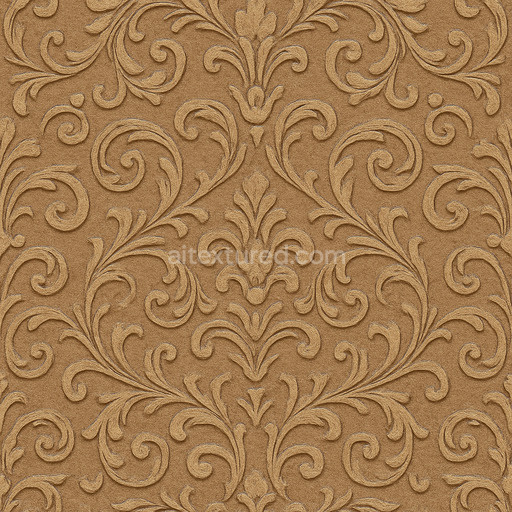
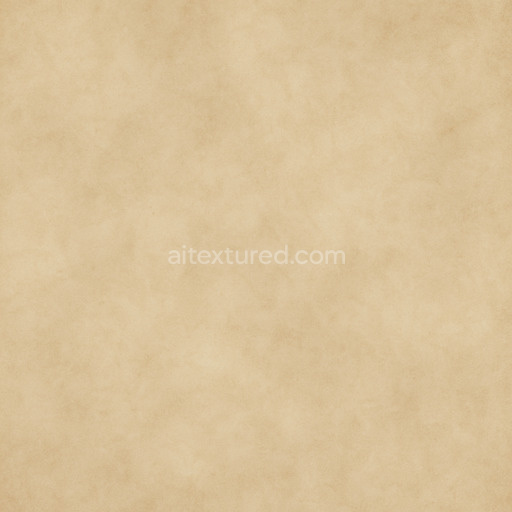
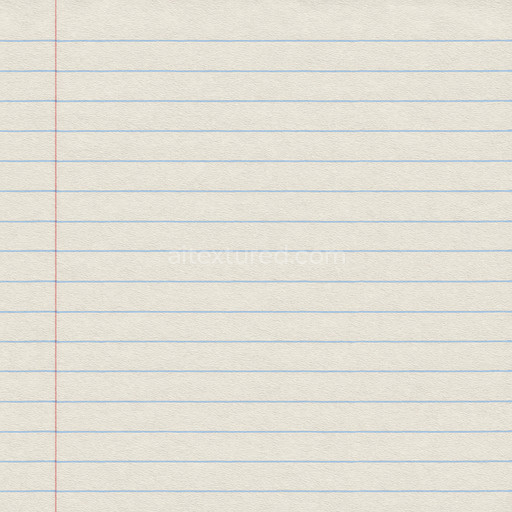
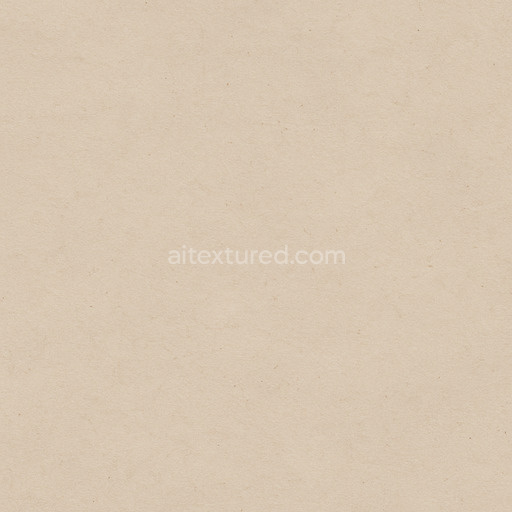
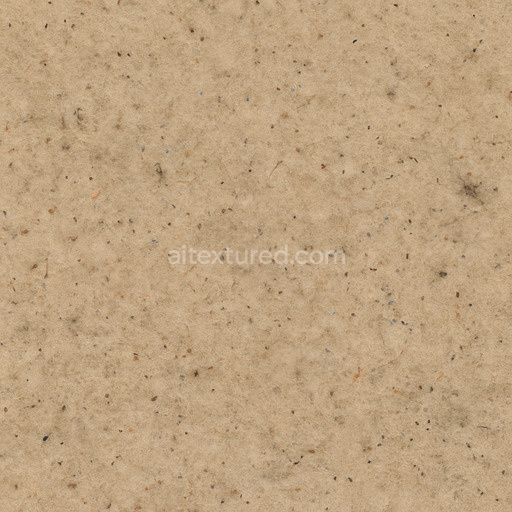
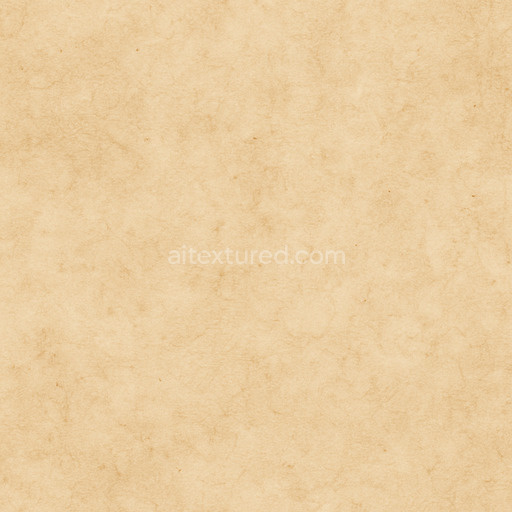
Ancient Paper Seamless Texture
Seamless texture (tileable) · PNG, WEBP, PBR ZIP. License: AITextured Free Commercial License (FCL) v1.1. Free personal and commercial use. Raw resale, standalone redistribution, mirroring/scraping, competing asset packs, and AI/ML training are not allowed without written permission. Attribution is not required, but appreciated..

| ID | hollow-cube-pattern-wallpaper-free-pbr |
|---|---|
| Category | Paper |
| Formats | PNG, WEBP, PBR ZIP |
| Size | 1k (1024x1024px), 2k (2048x2048px), 4k (4096x4096px), 8k (8192x8192px) |
| Color | sRGB |
| Tileable | Yes |
The Hollow Cube Pattern Wallpaper (Paper 0034) presents a refined monochrome geometric design featuring interlocking hollow cubes that create a visually compelling texture. This wallpaper is expertly crafted on a polymer-based substrate, chosen for its excellent durability and flexibility, making it suitable for both interior décor and digital environments. The surface is finished with a finely textured matte sheen, achieved through a carefully balanced blend of synthetic binders and premium pigments. These selected colorants ensure consistent monochrome coloration while minimizing glare, allowing the subtle depth of the cube faces and edges to stand out without excessive reflectivity. The polymer matrix contributes to a low-porosity, smooth surface that supports excellent adhesion and long-lasting performance in diverse conditions.*
Material composition plays a crucial role in how this wallpaper texture translates into realistic digital applications. The texture’s dimensionality is accentuated through precise grain orientation and relief that mimics natural material roughness at a micro level. This effect is effectively captured across the PBR channels: the BaseColor (Albedo) channel delivers the clean monochrome palette, while the Normal map enhances the perception of depth and fine surface detail around the hollow cube geometry. The Roughness map controls the varied matte finish of cube faces, producing subtle shifts between soft and semi-gloss areas that respond authentically to lighting. Reflectivity is minimized in the Metallic channel, consistent with the non-metallic polymer substrate, while the Ambient Occlusion channel deepens shadowed intersections to further emphasize spatial relationships. Height or Displacement maps provide intricate surface relief, supporting high-fidelity 3D rendering and tactile simulation in real-time engines.*
Offered in an ultra-high 8K resolution, this seamless hollow cube pattern wallpaper texture ensures exceptional clarity and detail even on expansive surfaces or close-up views. It is optimized for seamless integration with leading 3D software platforms such as Blender, Unreal Engine, and Unity, facilitating realistic material representation in both virtual and augmented environments. For optimal usage, it is recommended to carefully adjust the UV scale to maintain proportional cube sizing without distortion. Additionally, tuning the Roughness channel can help adapt the wallpaper’s appearance across varied lighting conditions, from soft indoor illumination to sharper directional light, enhancing its versatility and visual appeal in any scene.*
Import the texture maps into Blender with sRGB color space for albedo/base color and Non-Color for normal, roughness, metallic, AO, height, and ORM maps. Connect normal maps through a Normal Map node, then adjust UV scale with a Mapping node so the material repeats naturally on your model.
For the full step-by-step setup, see How to Use Seamless Textures in Blender. Browse related material examples in wood, concrete, and metal.
Yes. This texture is designed as a seamless tileable PBR material, so it can repeat across large surfaces without visible borders.
You can download PNG/WEBP versions and use 1K, 2K, 4K and 8K download options when available on the page.
Yes. The download options and engine-mapped ZIP workflow are designed for Blender, Unreal Engine, Unity Standard, URP and HDRP material pipelines.
Yes. The texture is available under the AITextured free commercial license. Review the license page for redistribution and AI-training restrictions.


Build, preview, and export seamless PBR materials. Generate full map sets from a single image, inspect them in a real-time WebGL viewer, and re-package maps for Unreal, Unity, and Blender—directly in your browser.
AI text-to-texture: type a prompt and get a seamless, tileable base image ready for PBR workflows (great starting point for materials).
Create a full PBR set (Normal, Roughness, AO, Metallic, etc.) from a single image. Seamless and tiling-friendly.
Instant WebGL viewer: inspect materials on a sphere, plane, and cube. Check tiling and lighting in real time.
Re-packages maps per engine: Unreal (BaseColor + ORM), Unity (Mask/MetallicSmoothness), Blender (separate channels).
PNG ↔ JPG ↔ SVG: fast convert, SVG rasterize, embed/trace options, quality & background controls.