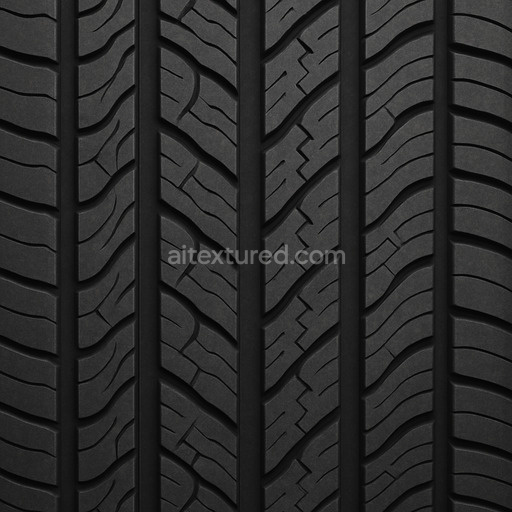
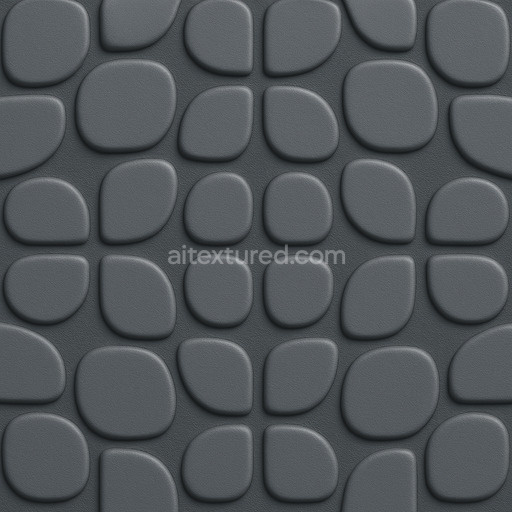
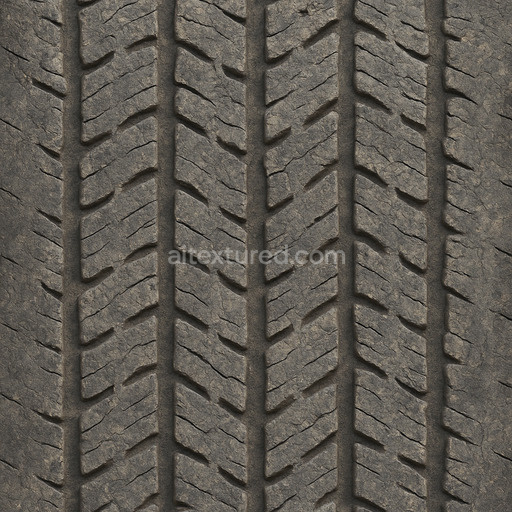
Natural Tire Tread Rubber Seamless Texture
Seamless texture (tileable) · PNG, WEBP, PBR ZIP. License: AITextured Free Commercial License (FCL) v1.1. Free personal and commercial use. Raw resale, standalone redistribution, mirroring/scraping, competing asset packs, and AI/ML training are not allowed without written permission. Attribution is not required, but appreciated..

| ID | rubber-conveyor-belt-woven-imprint |
|---|---|
| Category | Rubber |
| Formats | PNG, WEBP, PBR ZIP |
| Size | 1k (1024x1024px), 2k (2048x2048px), 4k (4096x4096px), 8k (8192x8192px) |
| Color | sRGB |
| Tileable | Yes |
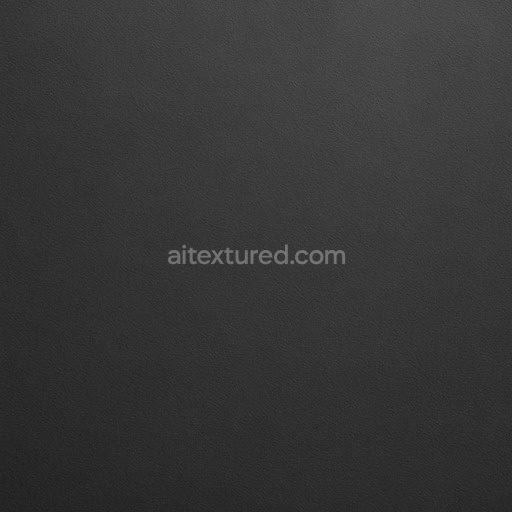
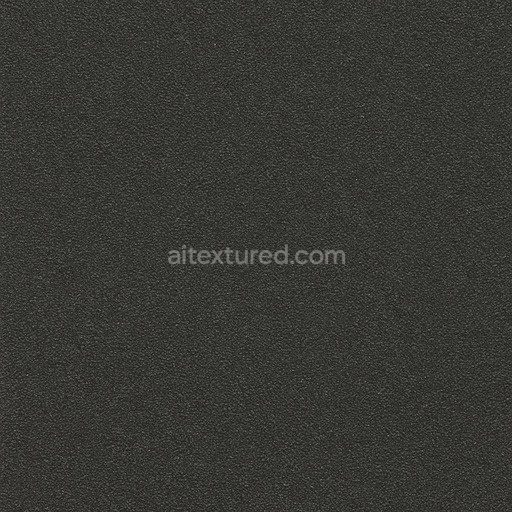
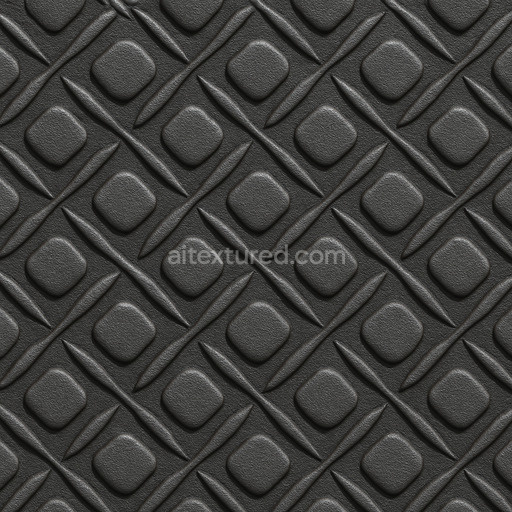
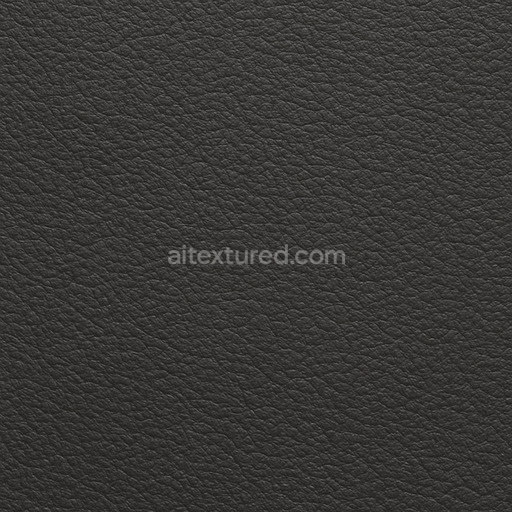
The rubber conveyor belt woven imprint texture is a meticulously AI-generated seamless pattern designed to authentically replicate the complex surface of industrial rubber conveyor belts. At its foundation this material simulates a polymer-based rubber substrate reinforced with interlaced woven fibers creating a durable composite structure commonly found in heavy-duty conveyor belts. The woven imprint pattern reveals the precise orientation of fibers embedded within the rubber matrix characterized by subtle raised ridges and fine grooves that form a tactile micro-structure. The surface finish presents a matte appearance with slight roughness capturing the natural texture of black rubber combined with the distinctive imprint of woven fibers. Deep black coloration results from carefully simulated pigments and carbon black additives while the texture’s porosity and weathering effects are conveyed through delicate displacement and ambient occlusion details simulating realistic surface wear and nuanced light absorption variations typical of industrial settings.
This tileable rubber conveyor belt woven imprint texture set is optimized for physically based rendering (PBR) workflows including a comprehensive suite of maps: BaseColor (Albedo) Normal Roughness Metallic Ambient Occlusion and Height/Displacement. The BaseColor channel accurately portrays the uniform black rubber tone enhanced by subtle fiber shadows and pigment granularity. The Normal map accentuates the raised woven fibers and micro surface irregularities adding depth and structural detail. Roughness values are carefully calibrated to reflect the matte slightly rough finish of rubber with nuanced differences between raised fiber areas and recessed zones. The Metallic channel remains minimal consistent with the non-metallic nature of rubber materials. Ambient Occlusion enriches shadowing within the weave’s crevices enhancing realism by simulating natural light occlusion. The Height/Displacement map provides subtle elevation differences that emphasize the tactile quality of the woven imprint ideal for close-up renders and detailed surface complexity.
Available in resolutions up to 8K this seamless rubber conveyor belt woven imprint texture ensures that every detail of the fiber structure and rubber surface remains crisp and consistent even when applied over large areas without visible repetition. It is fully compatible with major 3D software platforms such as Blender Unreal Engine and Unity making it a versatile asset for a wide range of projects—from real-time environments and cinematic visualization to material studies requiring authentic rubber textures. For best results adjusting the UV scale to maintain proportional pattern size relative to your 3D mesh is recommended preserving the natural appearance of the woven imprint. Additionally fine-tuning roughness and normal map intensity can enhance how the material interacts with environmental lighting ensuring it integrates convincingly into your scene.
Designed to meet the needs of professional 3D artists and developers this texture rubber conveyor belt woven imprint combines technical accuracy with artistic detail to deliver realistic rubber textures featuring complex woven patterns. Its seamless tileability high-resolution output and detailed map set provide a reliable foundation for creating authentic rubber materials that hold up under close scrutiny. Incorporating height or displacement maps further elevates tactile realism in close-up views enabling efficient production of high-quality renders and immersive 3D previews across diverse rendering workflows and projects.
Import the texture maps into Blender with sRGB color space for albedo/base color and Non-Color for normal, roughness, metallic, AO, height, and ORM maps. Connect normal maps through a Normal Map node, then adjust UV scale with a Mapping node so the material repeats naturally on your model.
For the full step-by-step setup, see How to Use Seamless Textures in Blender. Browse related material examples in wood, concrete, and metal.
Yes. This texture is designed as a seamless tileable PBR material, so it can repeat across large surfaces without visible borders.
You can download PNG/WEBP versions and use 1K, 2K, 4K and 8K download options when available on the page.
Yes. The download options and engine-mapped ZIP workflow are designed for Blender, Unreal Engine, Unity Standard, URP and HDRP material pipelines.
Yes. The texture is available under the AITextured free commercial license. Review the license page for redistribution and AI-training restrictions.
Build, preview, and export seamless PBR materials. Generate full map sets from a single image, inspect them in a real-time WebGL viewer, and re-package maps for Unreal, Unity, and Blender—directly in your browser.
AI text-to-texture: type a prompt and get a seamless, tileable base image ready for PBR workflows (great starting point for materials).
Create a full PBR set (Normal, Roughness, AO, Metallic, etc.) from a single image. Seamless and tiling-friendly.
Instant WebGL viewer: inspect materials on a sphere, plane, and cube. Check tiling and lighting in real time.
Re-packages maps per engine: Unreal (BaseColor + ORM), Unity (Mask/MetallicSmoothness), Blender (separate channels).
PNG ↔ JPG ↔ SVG: fast convert, SVG rasterize, embed/trace options, quality & background controls.