
Rough Smooth Bubbled Fluid Liquid Organic Metallic Iridescent Translucent
Seamless texture (tileable) · PNG, WEBP, PBR ZIP. License: AITextured Free Commercial License (FCL) v1.1. Free personal and commercial use. Raw resale, standalone redistribution, mirroring/scraping, competing asset packs, and AI/ML training are not allowed without written permission. Attribution is not required, but appreciated..

| ID | seamless-3d-texture-pbr-8k-pastel-watercolor-oil-paint-impressionist-cubist-minimalist-brushed-metal-oxidized-rusted |
|---|---|
| Category | Abstract |
| Formats | PNG, WEBP, PBR ZIP |
| Size | 1k (1024x1024px), 2k (2048x2048px), 4k (4096x4096px), 8k (8192x8192px) |
| Color | sRGB |
| Tileable | Yes |
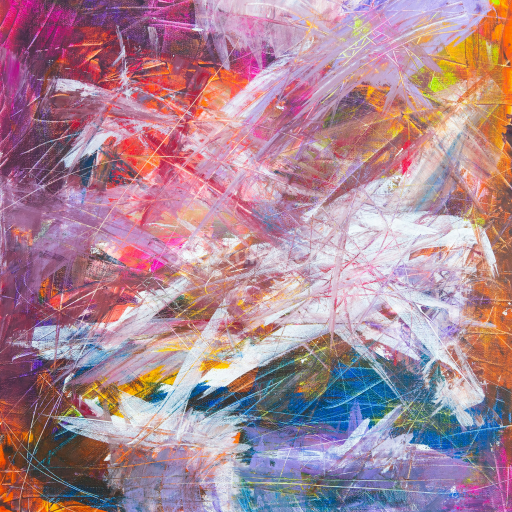
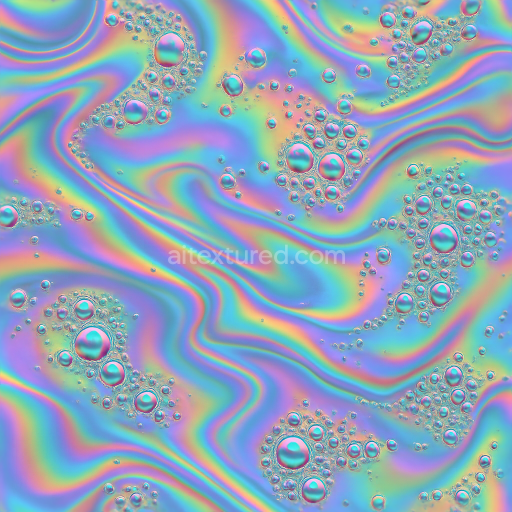
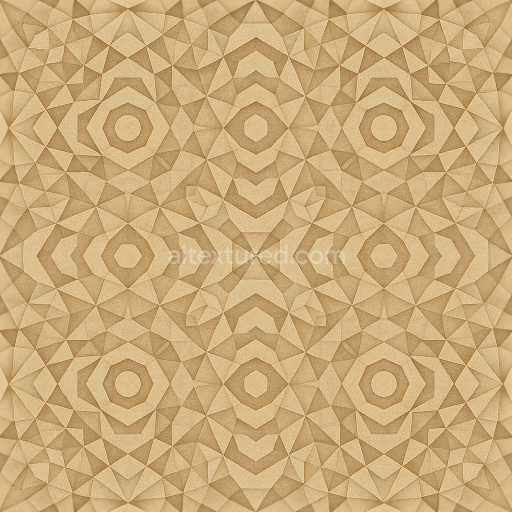
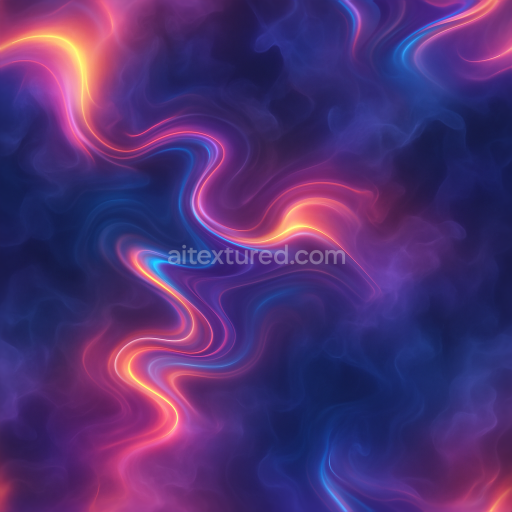
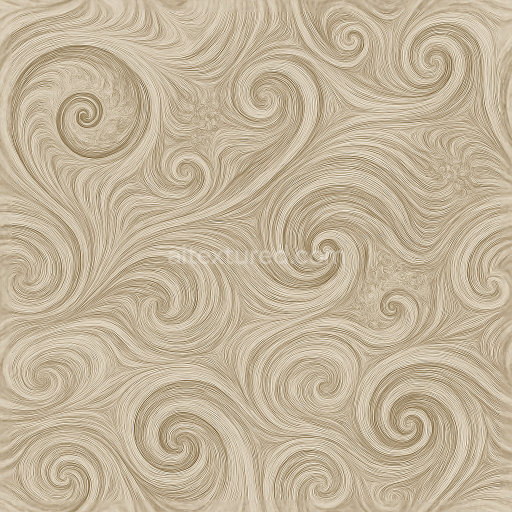
This seamless 3D PBR texture at 8K resolution presents a unique fusion of artistic and industrial elements, combining pastel watercolor and oil paint aesthetics with impressionist and cubist design principles. The base material simulates a layered substrate composed of a fine-grained canvas or paper, enhanced by subtle fibers and pigments typical of watercolor and oil media. The underlying surface suggests a lightly textured weave that captures the porous nature of traditional painting supports, allowing the pigments to diffuse and blend softly. Over this, abstract geometric forms inspired by cubism introduce angular, minimalist shapes, creating a balanced interplay between organic brushstrokes and sharp edges.
The composition incorporates multiple binders and adhesives, mimicking the layering effect of oil paint applied over watercolor washes. Pigments are mixed with pastel tones, providing a muted yet vibrant color palette that emphasizes subtle tonal transitions typical of impressionist brushwork. The surface finish cleverly integrates a brushed metal effect with oxidized and rusted details, adding depth and tactile contrast. This metallic overlay suggests a weathered patina, where oxidation and corrosion create varying degrees of roughness and metallicity, enhancing the texture’s realism and complexity.
From a PBR workflow perspective, the BaseColor (Albedo) channel captures the soft pastel hues and nuanced pigment distribution, while the Normal map reflects the interplay of brush strokes, canvas grain, and metal surface irregularities. The Roughness map varies dynamically, representing glossy oil paint areas alongside matte watercolor patches and rough oxidized metal. The Metallic channel highlights the brushed metal elements with subtle corrosion, and Ambient Occlusion adds depth to the recessed geometric facets and the porous substrate. Height and Displacement maps accentuate the physical layering of paint and metal corrosion, contributing to the tactile feel and photorealistic shading.
Optimized for use in Blender, Unreal Engine, and Unity, this texture maintains its clarity and detail even at close camera distances due to its ultra-high 8K resolution. For practical application, it is advisable to adjust the UV scale thoughtfully to preserve the balance between the fine brushstroke details and the larger geometric forms. Additionally, fine-tuning the roughness channel can help emphasize either the soft paint surfaces or the oxidized metal highlights depending on lighting conditions, while blending height and normal maps can enhance surface depth without causing excessive displacement artifacts.
Import the texture maps into Blender with sRGB color space for albedo/base color and Non-Color for normal, roughness, metallic, AO, height, and ORM maps. Connect normal maps through a Normal Map node, then adjust UV scale with a Mapping node so the material repeats naturally on your model.
For the full step-by-step setup, see How to Use Seamless Textures in Blender. Browse related material examples in wood, concrete, and metal.
Yes. This texture is designed as a seamless tileable PBR material, so it can repeat across large surfaces without visible borders.
You can download PNG/WEBP versions and use 1K, 2K, 4K and 8K download options when available on the page.
Yes. The download options and engine-mapped ZIP workflow are designed for Blender, Unreal Engine, Unity Standard, URP and HDRP material pipelines.
Yes. The texture is available under the AITextured free commercial license. Review the license page for redistribution and AI-training restrictions.


Generate, preview, and export seamless PBR materials for Blender, Unity, and Unreal Engine—directly in your browser.
AI text-to-texture: type a prompt and get a seamless, tileable base image ready for PBR workflows (great starting point for materials).
Create a full PBR set (Normal, Roughness, AO, Metallic, etc.) from a single image. Seamless and tiling-friendly.
Instant WebGL viewer: inspect materials on a sphere, plane, and cube. Check tiling and lighting in real time.
Re-packages maps per engine: Unreal (BaseColor + ORM), Unity (Mask/MetallicSmoothness), Blender (separate channels).
PNG ↔ JPG ↔ SVG: fast convert, SVG rasterize, embed/trace options, quality & background controls.