
Fragmented Shattered Woven Interlaced Concentric Spiral Tessellated Layered Multilayer
Seamless texture (tileable) · PNG, WEBP, PBR ZIP. License: AITextured Free Commercial License (FCL) v1.1. Free personal and commercial use. Raw resale, standalone redistribution, mirroring/scraping, competing asset packs, and AI/ML training are not allowed without written permission. Attribution is not required, but appreciated..

| ID | seamless-3d-texture-pbr-8k-fractals-symmetry-kaleidoscope-hexagons-triangles-circles-diamond-shapes |
|---|---|
| Category | Abstract |
| Formats | PNG, WEBP, PBR ZIP |
| Size | 1k (1024x1024px), 2k (2048x2048px), 4k (4096x4096px), 8k (8192x8192px) |
| Color | sRGB |
| Tileable | Yes |
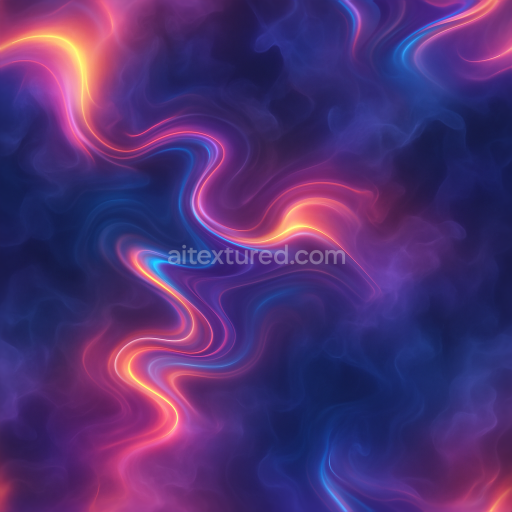
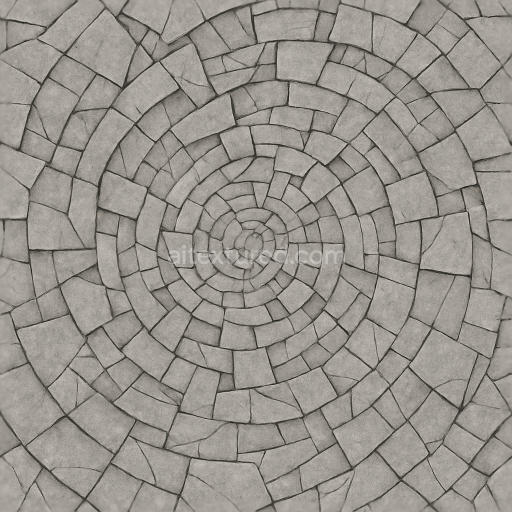
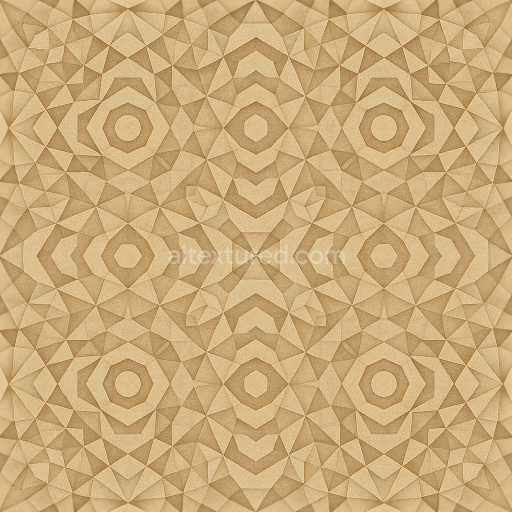
This seamless 3D PBR texture presents a meticulously crafted geometric composition inspired by fractal symmetry and kaleidoscopic patterns, featuring interlocking hexagons, triangles, circles, and diamond shapes. The base material resembles a finely polished ceramic or high-density polymer tile, with a smooth yet subtly varied surface that highlights the intricate tessellation. The substrate appears dense and solid, providing a durable foundation with minimal porosity, while a thin layer of translucent binders or resins creates a glossy finish that enhances light reflection. Pigments embedded in the material deliver a balanced color palette visible in the BaseColor (Albedo) channel, showcasing muted yet distinct shades that emphasize the repeating geometric forms without overwhelming contrast.
The texture’s Normal map captures the precise depth and angular relief of each geometric element, accentuating the three-dimensional quality of the fractal shapes and their seamless interconnections. Subtle height variations are encoded in the Height/Displacement channel, offering an additional layer of physicality ideal for parallax or displacement effects in real-time rendering engines. Roughness values are carefully balanced to reflect the semi-gloss surface: smooth enough to produce soft highlights on the raised facets, yet with enough micro-roughness to prevent excessive glare. The Metallic channel remains near zero, consistent with non-metallic ceramic or polymer materials, while Ambient Occlusion enhances the natural shadowing within the crevices of the pattern, reinforcing the texture’s sense of depth and dimensionality.
Crafted at an ultra-high 8K resolution, this texture ensures exceptional clarity and detail retention, making it suitable for close-up renders and large-scale applications alike. It is optimized for use in Blender, Unreal Engine, and Unity, supporting high-fidelity workflows that demand precise surface interaction and seamless tiling. The carefully tiled pattern maintains perfect continuity across UV seams, allowing for flexible scaling without visible repetition or distortion.
For practical application, it is advisable to experiment with UV scaling to maintain the balance between pattern visibility and overall surface coverage depending on the project scale. Adjusting the Roughness channel can finely tune the surface reflectivity to suit different lighting scenarios, while blending the Height and Normal maps can enhance the perception of depth without incurring high computational costs. This texture is particularly well-suited for abstract architectural facades, detailed environment backgrounds, or any project requiring mathematically inspired, visually complex surfaces with a modern and precise aesthetic.
Import the texture maps into Blender with sRGB color space for albedo/base color and Non-Color for normal, roughness, metallic, AO, height, and ORM maps. Connect normal maps through a Normal Map node, then adjust UV scale with a Mapping node so the material repeats naturally on your model.
For the full step-by-step setup, see How to Use Seamless Textures in Blender. Browse related material examples in wood, concrete, and metal.
Yes. This texture is designed as a seamless tileable PBR material, so it can repeat across large surfaces without visible borders.
You can download PNG/WEBP versions and use 1K, 2K, 4K and 8K download options when available on the page.
Yes. The download options and engine-mapped ZIP workflow are designed for Blender, Unreal Engine, Unity Standard, URP and HDRP material pipelines.
Yes. The texture is available under the AITextured free commercial license. Review the license page for redistribution and AI-training restrictions.


Generate, preview, and export seamless PBR materials for Blender, Unity, and Unreal Engine—directly in your browser.
AI text-to-texture: type a prompt and get a seamless, tileable base image ready for PBR workflows (great starting point for materials).
Create a full PBR set (Normal, Roughness, AO, Metallic, etc.) from a single image. Seamless and tiling-friendly.
Instant WebGL viewer: inspect materials on a sphere, plane, and cube. Check tiling and lighting in real time.
Re-packages maps per engine: Unreal (BaseColor + ORM), Unity (Mask/MetallicSmoothness), Blender (separate channels).
PNG ↔ JPG ↔ SVG: fast convert, SVG rasterize, embed/trace options, quality & background controls.