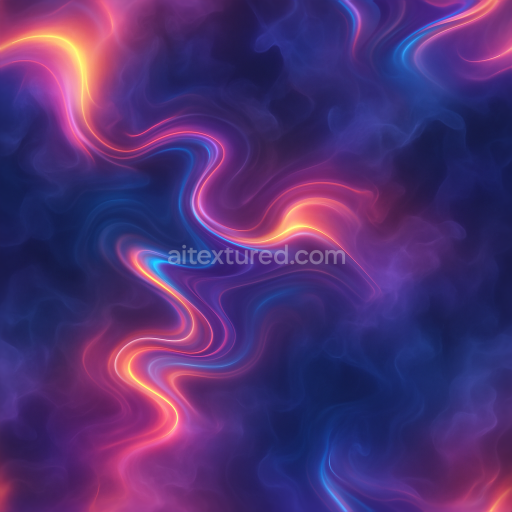
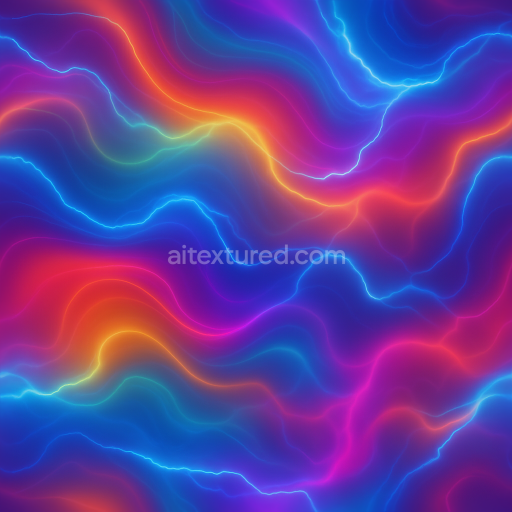
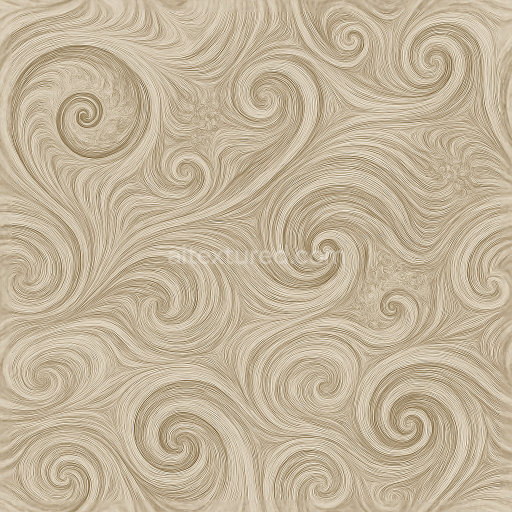
Light Leak Double Exposure Glow Neon Vortex Liquid Metal Smoke Ink Charcoal
Seamless texture (tileable) · PNG, WEBP, PBR ZIP. License: AITextured Free Commercial License (FCL) v1.1. Free personal and commercial use. Raw resale, standalone redistribution, mirroring/scraping, competing asset packs, and AI/ML training are not allowed without written permission. Attribution is not required, but appreciated..
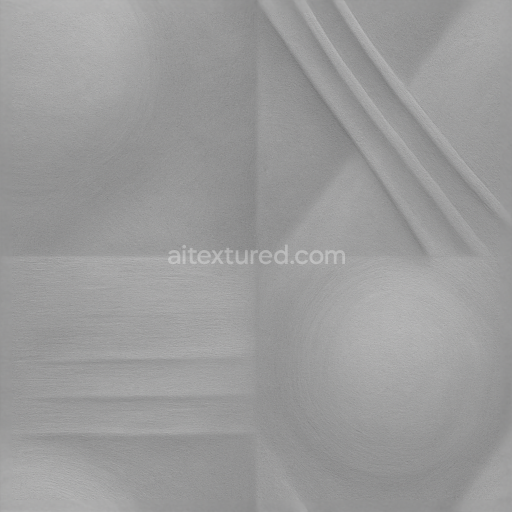
| ID | seamless-3d-texture-pbr-8k-glitch-art-digital-noise-pixelated-distortion-static-interference |
|---|---|
| Category | Abstract |
| Formats | PNG, WEBP, PBR ZIP |
| Size | 1k (1024x1024px), 2k (2048x2048px), 4k (4096x4096px), 8k (8192x8192px) |
| Color | sRGB |
| Tileable | Yes |
This seamless 3D PBR texture presents a complex digital surface inspired by glitch art and static interference, rendered at an impressive 8K resolution for exceptional detail and clarity. The base material can be conceptualized as a synthetic polymer substrate, akin to a matte-finished composite panel, designed to emulate disrupted digital screens or pixelated display surfaces. The form is inherently geometric yet irregular, featuring a finely pixelated grid pattern overlaid with dynamic noise grain and fragmented distortion, creating a fractured mesh-like overlay that suggests layered interference patterns and chromatic aberration effects. This interplay of shapes and forms results in a tactile visual landscape that appears both engineered and deteriorated, reflecting the digital decay of corrupted signals.
Compositionally, the texture simulates a layered assembly where the substrate acts as a semi-rigid backing, bound by virtual adhesives that create subtle transitions between smooth and rough areas. The surface integrates fine aggregates of pixel-level noise, which behave like microscopic particles suspended within the polymer matrix, contributing to the overall grainy feel. These aggregates impart controlled porosity, enhancing the irregular reflection and refraction of light. The surface finish combines a low-gloss matte with sporadic micro-glitches that mimic static interference, while chromatic aberration introduces faint color fringes along edges, enriching the visual complexity and simulating a slight distortion in the refractive index across the material’s surface.
Within the PBR framework, the BaseColor (Albedo) map captures the core pixelated patterns and chromatic shifts, providing the fundamental color information devoid of lighting effects. The Normal map encodes the minute surface undulations and digital noise grain, adding depth and dimensionality to the flat pixel grid. Roughness is varied to reflect the interplay between smoother polymer sections and rougher glitch artifacts, producing realistic light scattering and specular highlights. The Metallic channel remains minimal or null, consistent with a non-metallic polymer base, while Ambient Occlusion enhances the perception of depth in crevices and fractured edges. Height or Displacement maps emphasize the subtle relief of distortion lines and interference patterns, allowing the texture to interact convincingly with scene lighting and shadowing in 3D applications.
Designed for seamless tiling, this texture integrates smoothly into 3D environments without visible borders, making it highly suitable for use in Blender, Unreal Engine, and Unity projects. Its ultra-high 8K resolution ensures crispness and fidelity even on large surfaces or close camera angles, preserving the intricate glitch details. For optimal results, it is advisable to adjust the UV scale carefully to maintain the balance between pixel density and noise granularity. Additionally, fine-tuning the roughness map can control the material’s reflectivity, emphasizing either the matte polymer base or the sharper interference highlights. When layering with other height or normal maps, blending modes should be used cautiously to preserve the digital static effect without overwhelming the base geometry.
Import the texture maps into Blender with sRGB color space for albedo/base color and Non-Color for normal, roughness, metallic, AO, height, and ORM maps. Connect normal maps through a Normal Map node, then adjust UV scale with a Mapping node so the material repeats naturally on your model.
For the full step-by-step setup, see How to Use Seamless Textures in Blender. Browse related material examples in wood, concrete, and metal.
Yes. This texture is designed as a seamless tileable PBR material, so it can repeat across large surfaces without visible borders.
You can download PNG/WEBP versions and use 1K, 2K, 4K and 8K download options when available on the page.
Yes. The download options and engine-mapped ZIP workflow are designed for Blender, Unreal Engine, Unity Standard, URP and HDRP material pipelines.
Yes. The texture is available under the AITextured free commercial license. Review the license page for redistribution and AI-training restrictions.


Generate, preview, and export seamless PBR materials for Blender, Unity, and Unreal Engine—directly in your browser.
AI text-to-texture: type a prompt and get a seamless, tileable base image ready for PBR workflows (great starting point for materials).
Create a full PBR set (Normal, Roughness, AO, Metallic, etc.) from a single image. Seamless and tiling-friendly.
Instant WebGL viewer: inspect materials on a sphere, plane, and cube. Check tiling and lighting in real time.
Re-packages maps per engine: Unreal (BaseColor + ORM), Unity (Mask/MetallicSmoothness), Blender (separate channels).
PNG ↔ JPG ↔ SVG: fast convert, SVG rasterize, embed/trace options, quality & background controls.