Splatter Drip Marks Charcoal Strokes Distressed Scuffed Scratches Grunge Brush Strokes
Seamless texture (tileable) · PNG, WEBP, PBR ZIP. License: AITextured Free Commercial License (FCL) v1.1. Free personal and commercial use. Raw resale, standalone redistribution, mirroring/scraping, competing asset packs, and AI/ML training are not allowed without written permission. Attribution is not required, but appreciated..
| ID | seamless-3d-texture-pbr-8k-washed-streaked-swirled-rippled-marbled-cracked-faded-dappled-etched-wavy-veined-pixelated-glitch-static |
|---|---|
| Category | Abstract |
| Formats | PNG, WEBP, PBR ZIP |
| Size | 1k (1024x1024px), 2k (2048x2048px), 4k (4096x4096px), 8k (8192x8192px) |
| Color | sRGB |
| Tileable | Yes |
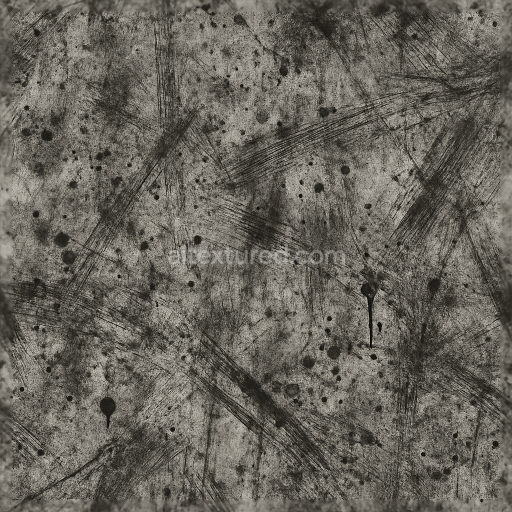
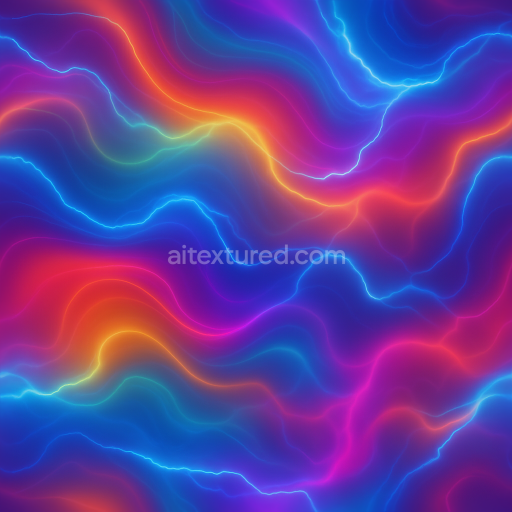
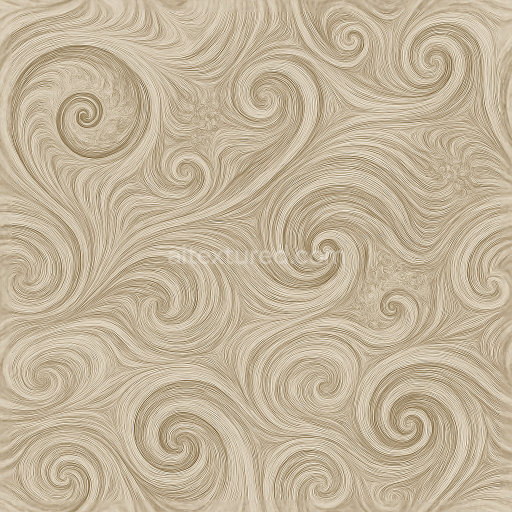
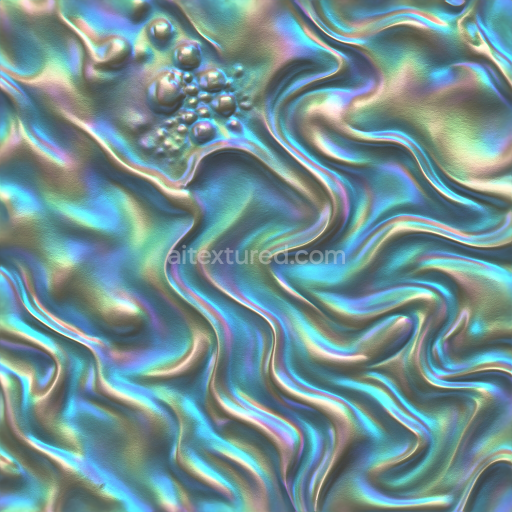
This seamless 3D texture is crafted to emulate a complex abstract material combining multiple natural and synthetic characteristics. The base substrate suggests a composite stone or weathered concrete, integrating marbled and cracked formations that create an intricate network of veins and fissures. These elements imply a mineral-rich aggregate bound within a semi-porous matrix, where fine grains and dappled weathering suggest prolonged exposure to environmental factors. The surface finish appears subtly etched and wavy, as if hand-polished yet eroded, lending a tactile depth that is further enhanced by rippled and swirled patterns reminiscent of sedimentary layering or fluid motion trapped within solid form.
Within the PBR workflow, the BaseColor (Albedo) channel captures a muted palette of washed and faded tones, incorporating streaked and pixelated glitch effects to introduce a controlled digital artifacting that blends seamlessly with the natural swirled veining. The Normal and Height maps emphasize the marbled and cracked topology, sharply defining the etched and rippled surface contours, while moderate Roughness values simulate the interplay between the polished and weathered areas. Metallic influence remains minimal, consistent with mineral and stone-like materials, whereas Ambient Occlusion deepens crevices and accentuates the dappled, layered complexity visible in the texture’s wavy geometry.
Rendered at an ultra-high 8K resolution, this texture ensures exceptional detail fidelity suitable for photorealistic applications across Blender, Unreal Engine, and Unity platforms. The high-resolution maps allow for fine-tuned displacement and parallax effects, enhancing the visual perception of depth on large-scale models without noticeable repetition or pixelation. This makes it ideal for close-up architectural visualizations, organic surface detailing, or stylized digital environments where abstract, naturalistic forms are desired.
For practical use, it is recommended to adjust UV scale carefully to balance the visibility of the intricate veined and cracked details, preventing oversaturation or blurring at different viewing distances. Additionally, blending height and normal maps can optimize the surface relief effect, while fine-tuning roughness can achieve the desired contrast between polished and eroded areas, ensuring the texture responds realistically to varying lighting conditions and material workflows.
Import the texture maps into Blender with sRGB color space for albedo/base color and Non-Color for normal, roughness, metallic, AO, height, and ORM maps. Connect normal maps through a Normal Map node, then adjust UV scale with a Mapping node so the material repeats naturally on your model.
For the full step-by-step setup, see How to Use Seamless Textures in Blender. Browse related material examples in wood, concrete, and metal.
Yes. This texture is designed as a seamless tileable PBR material, so it can repeat across large surfaces without visible borders.
You can download PNG/WEBP versions and use 1K, 2K, 4K and 8K download options when available on the page.
Yes. The download options and engine-mapped ZIP workflow are designed for Blender, Unreal Engine, Unity Standard, URP and HDRP material pipelines.
Yes. The texture is available under the AITextured free commercial license. Review the license page for redistribution and AI-training restrictions.


Build, preview, and export seamless PBR materials. Generate full map sets from a single image, inspect them in a real-time WebGL viewer, and re-package maps for Unreal, Unity, and Blender—directly in your browser.
AI text-to-texture: type a prompt and get a seamless, tileable base image ready for PBR workflows (great starting point for materials).
Create a full PBR set (Normal, Roughness, AO, Metallic, etc.) from a single image. Seamless and tiling-friendly.
Instant WebGL viewer: inspect materials on a sphere, plane, and cube. Check tiling and lighting in real time.
Re-packages maps per engine: Unreal (BaseColor + ORM), Unity (Mask/MetallicSmoothness), Blender (separate channels).
PNG ↔ JPG ↔ SVG: fast convert, SVG rasterize, embed/trace options, quality & background controls.