
Reflective Diffuse Glimmer Shine Sparkle Prismatic Chromatic Holographic
Seamless texture (tileable) · PNG, WEBP, PBR ZIP. License: AITextured Free Commercial License (FCL) v1.1. Free personal and commercial use. Raw resale, standalone redistribution, mirroring/scraping, competing asset packs, and AI/ML training are not allowed without written permission. Attribution is not required, but appreciated..

| ID | seamless-3d-texture-pbr-8k-gradient-mesh-color-splash-waveforms-ripple-effect-plasma-swirl |
|---|---|
| Category | Abstract |
| Formats | PNG, WEBP, PBR ZIP |
| Size | 1k (1024x1024px), 2k (2048x2048px), 4k (4096x4096px), 8k (8192x8192px) |
| Color | sRGB |
| Tileable | Yes |
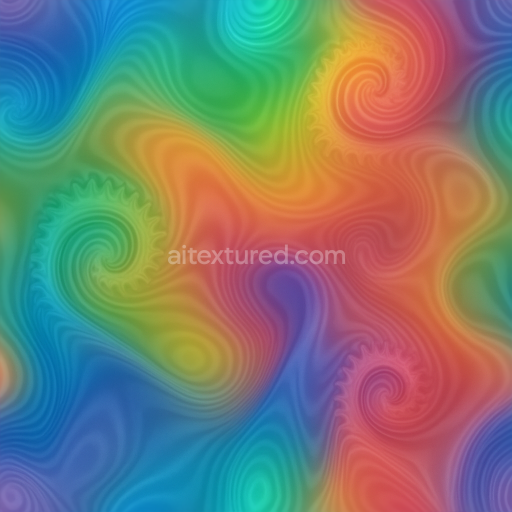
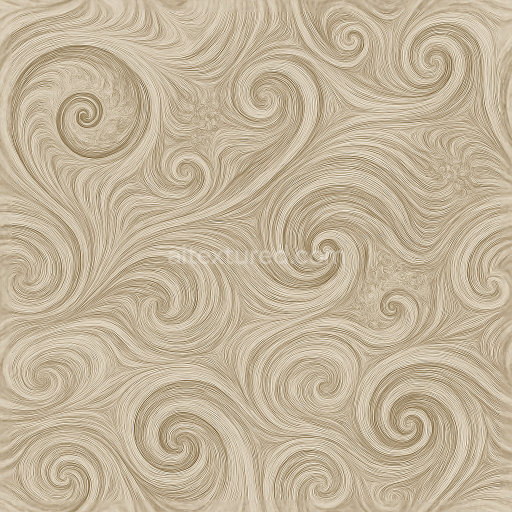
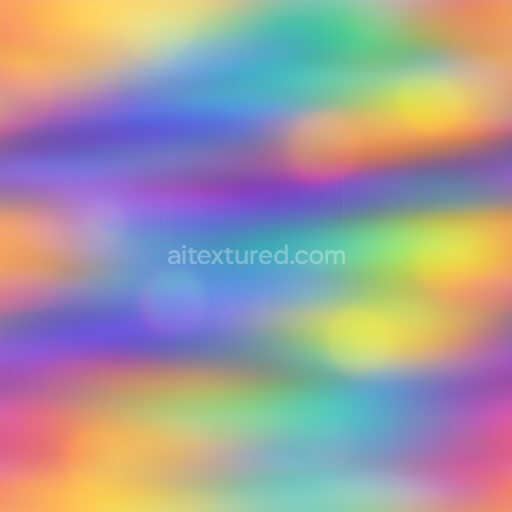
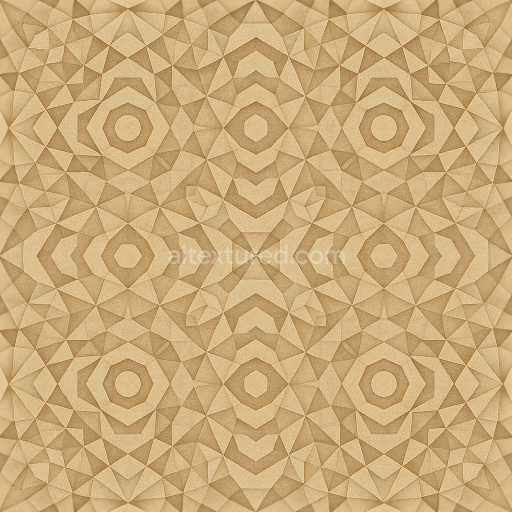
This seamless 3D texture embodies a complex, high-resolution 8K gradient mesh that simulates a fluid, plasma-inspired substrate. The base material resembles a semi-translucent polymer or resin, embedded with dynamic color splashes that mimic pigments suspended within a viscous medium. The pattern is characterized by swirling waveforms and ripple-like undulations, forming an abstract, continuous surface that gives the impression of liquid movement frozen in time. The geometric form is organic and flowing rather than rigid, with smooth gradients and subtle curvature creating a sense of depth and dimensionality, amplified by the gradient mesh that transitions seamlessly between vivid neon hues and softer pastel tones.
The material composition is suggestive of a layered structure: a primary translucent resin base acts as the substrate, bound by a clear adhesive matrix which holds micro-scale pigment aggregates and electrically charged filaments. These fine colorants produce the vibrant color splash effect, while the swirling plasma patterns arise from dynamic dispersions of pigments and iridescent particles. The surface finish is polished and slightly glossy, enhancing the neon glow effect and allowing light to refract subtly through the material. Porosity is minimal, giving the texture a smooth, glass-like feel, yet the ripple effect introduces micro-reliefs that interact with light to produce a realistic interplay of highlights and shadows.
In terms of PBR mapping, the BaseColor (Albedo) channel captures the rich, multi-hued color spectrum from intense electric arcs to soft gradient transitions. The Normal map simulates the intricate surface undulations of the ripple and swirl patterns, adding depth without modifying the underlying mesh. Roughness values are tuned to reflect the polished resin surface, balancing glossiness with soft matte areas to emphasize the texture’s complexity. The Metallic channel remains near zero, consistent with a non-metallic polymer base, while Ambient Occlusion enhances the subtle shadowing within crevices created by the ripple effects. Height and Displacement maps provide fine detail to elevate the waveforms and plasma swirls, contributing to the overall realism and tactile quality.
This texture is fully optimized for use in Blender, Unreal Engine, and Unity, supporting seamless tiling to ensure flawless repetition across large surfaces. The 8K resolution guarantees exceptional detail for close-up renders and high-fidelity visualizations. For practical application, it is recommended to adjust UV scaling carefully to maintain the fluidity of the ripple patterns without distortion. Additionally, fine-tuning the roughness map can help balance reflectivity, allowing artists to emphasize either the neon glow or the softer diffusion effects depending on scene lighting. Blending height and normal maps can also enhance the perception of depth, particularly when used with parallax occlusion mapping in real-time engines.
Import the texture maps into Blender with sRGB color space for albedo/base color and Non-Color for normal, roughness, metallic, AO, height, and ORM maps. Connect normal maps through a Normal Map node, then adjust UV scale with a Mapping node so the material repeats naturally on your model.
For the full step-by-step setup, see How to Use Seamless Textures in Blender. Browse related material examples in wood, concrete, and metal.
Yes. This texture is designed as a seamless tileable PBR material, so it can repeat across large surfaces without visible borders.
You can download PNG/WEBP versions and use 1K, 2K, 4K and 8K download options when available on the page.
Yes. The download options and engine-mapped ZIP workflow are designed for Blender, Unreal Engine, Unity Standard, URP and HDRP material pipelines.
Yes. The texture is available under the AITextured free commercial license. Review the license page for redistribution and AI-training restrictions.


Generate, preview, and export seamless PBR materials for Blender, Unity, and Unreal Engine—directly in your browser.
AI text-to-texture: type a prompt and get a seamless, tileable base image ready for PBR workflows (great starting point for materials).
Create a full PBR set (Normal, Roughness, AO, Metallic, etc.) from a single image. Seamless and tiling-friendly.
Instant WebGL viewer: inspect materials on a sphere, plane, and cube. Check tiling and lighting in real time.
Re-packages maps per engine: Unreal (BaseColor + ORM), Unity (Mask/MetallicSmoothness), Blender (separate channels).
PNG ↔ JPG ↔ SVG: fast convert, SVG rasterize, embed/trace options, quality & background controls.