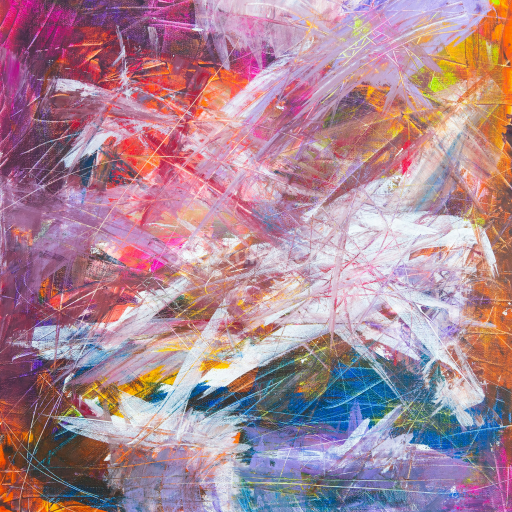
High-Detail Abstract Painted Plaster Texture for PBR 3D Use
Seamless texture (tileable) · PNG, WEBP, PBR ZIP. License: AITextured Free Commercial License (FCL) v1.1. Free personal and commercial use. Raw resale, standalone redistribution, mirroring/scraping, competing asset packs, and AI/ML training are not allowed without written permission. Attribution is not required, but appreciated..
| ID | seamless-3d-texture-pbr-8k-wave-pattern-zigzag-chevron-spirals-vortex-swirls-symmetry-asymmetry |
|---|---|
| Category | Abstract |
| Formats | PNG, WEBP, PBR ZIP |
| Size | 1k (1024x1024px), 2k (2048x2048px), 4k (4096x4096px), 8k (8192x8192px) |
| Color | sRGB |
| Tileable | Yes |
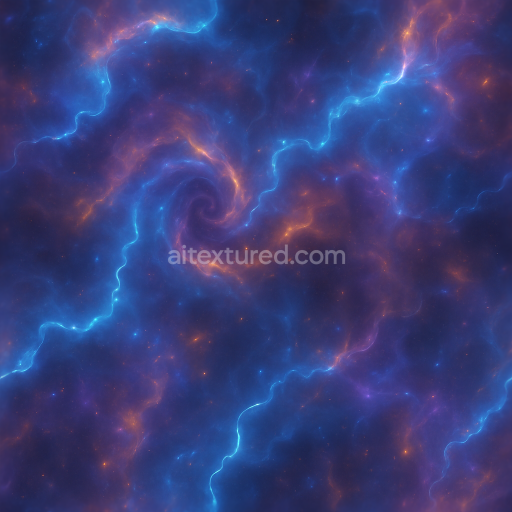
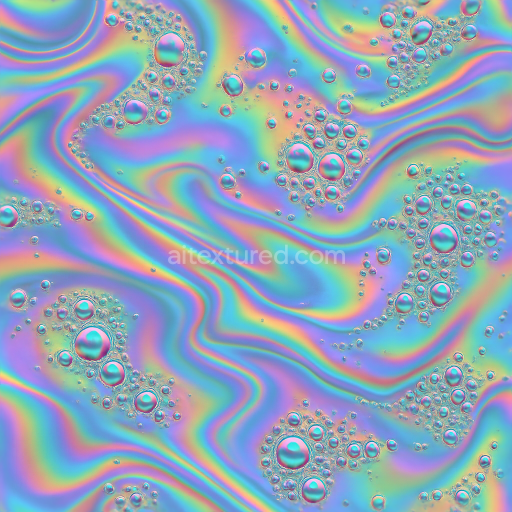
This seamless 8K 3D PBR texture features an intricate abstract pattern that artfully combines wave motifs, zigzag lines, chevron shapes, and spiraling vortex swirls. The design is inspired by a composite geometric form resembling a laminated surface where alternating layers create a dynamic interplay of curves and angular elements. The base material can be envisioned as a finely polished composite resin substrate, embedding subtle fibrous aggregates that add depth and complexity to the surface. These microscopic fibers contribute to the texture’s naturalistic porosity and slight surface irregularities, enhancing realism in rendered scenes.
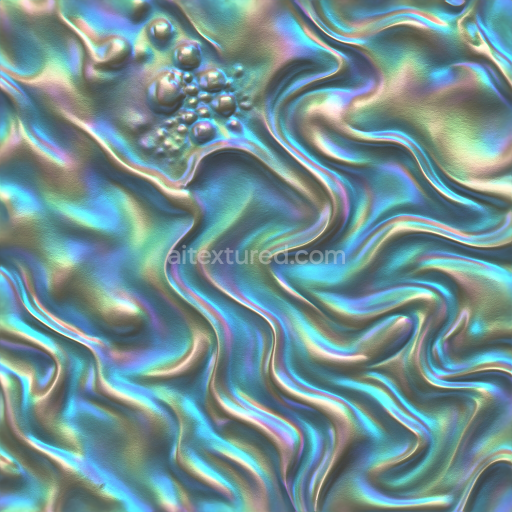
The composition incorporates a semi-translucent binding agent that holds the fibrous elements in place while allowing for slight variations in roughness across the surface. Pigments and colorants are carefully blended in the base layer, producing a balanced BaseColor (Albedo) that highlights both symmetrical and asymmetrical features of the pattern. The Normal map captures the nuanced undulations of the wave and spiral formations, providing convincing relief and tactile depth. Roughness is finely tuned to reflect a semi-matte finish, simulating a surface that diffuses light softly without excessive glossiness, while the Metallic channel remains minimal, emphasizing the organic, non-metallic nature of the material.
The Height/Displacement map accentuates the subtle elevation changes within the zigzag and chevron patterns, creating a palpable sense of volume and layering. Ambient Occlusion enriches shadowed crevices within the spirals and vortices, enhancing the perception of dimensionality. This texture’s high fidelity and 8K resolution ensure exceptional detail retention, making it especially suitable for close-up renders in Blender, Unreal Engine, and Unity. Its seamless tiling capability guarantees a continuous flow of the complex pattern, ideal for large-scale surfaces without visible repetition.
When integrating this texture, consider adjusting the UV scale to fine-tune the visual impact of the wave and zigzag elements depending on your project scale. Additionally, blending the Height and Normal maps can achieve a more pronounced parallax effect, enhancing the perception of depth in interactive environments. Slightly increasing roughness can reduce specular highlights if a more subdued matte appearance is desired, particularly for textiles or decorative surfaces requiring subtle reflectivity.
Import the texture maps into Blender with sRGB color space for albedo/base color and Non-Color for normal, roughness, metallic, AO, height, and ORM maps. Connect normal maps through a Normal Map node, then adjust UV scale with a Mapping node so the material repeats naturally on your model.
For the full step-by-step setup, see How to Use Seamless Textures in Blender. Browse related material examples in wood, concrete, and metal.
Yes. This texture is designed as a seamless tileable PBR material, so it can repeat across large surfaces without visible borders.
You can download PNG/WEBP versions and use 1K, 2K, 4K and 8K download options when available on the page.
Yes. The download options and engine-mapped ZIP workflow are designed for Blender, Unreal Engine, Unity Standard, URP and HDRP material pipelines.
Yes. The texture is available under the AITextured free commercial license. Review the license page for redistribution and AI-training restrictions.


Generate, preview, and export seamless PBR materials for Blender, Unity, and Unreal Engine—directly in your browser.
AI text-to-texture: type a prompt and get a seamless, tileable base image ready for PBR workflows (great starting point for materials).
Create a full PBR set (Normal, Roughness, AO, Metallic, etc.) from a single image. Seamless and tiling-friendly.
Instant WebGL viewer: inspect materials on a sphere, plane, and cube. Check tiling and lighting in real time.
Re-packages maps per engine: Unreal (BaseColor + ORM), Unity (Mask/MetallicSmoothness), Blender (separate channels).
PNG ↔ JPG ↔ SVG: fast convert, SVG rasterize, embed/trace options, quality & background controls.