
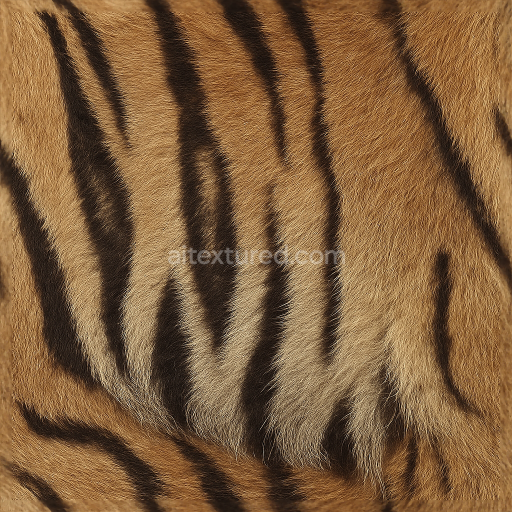
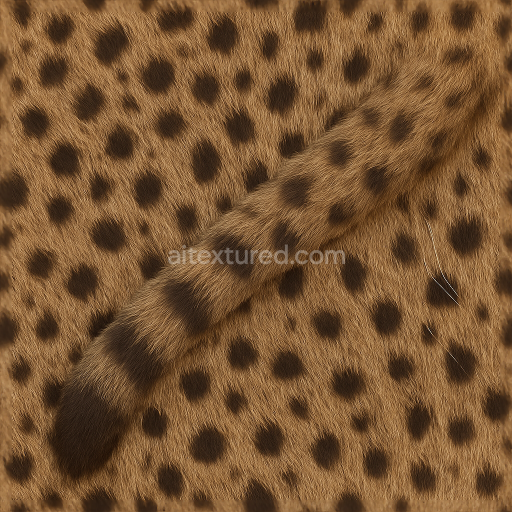
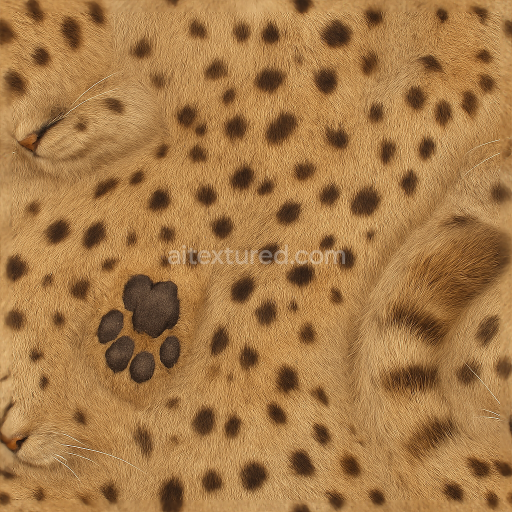
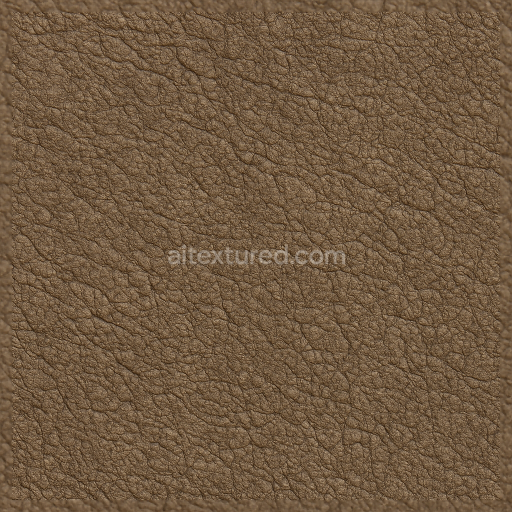
Coarse Fur Mammal Skin Fur Guard Hairs Tail Fur Whiskers Mane Fur Spotted Fur Dense Fur
Seamless texture (tileable) · PNG, WEBP, PBR ZIP. License: AITextured Free Commercial License (FCL) v1.1. Free personal and commercial use. Raw resale, standalone redistribution, mirroring/scraping, competing asset packs, and AI/ML training are not allowed without written permission. Attribution is not required, but appreciated..

| ID | seamless-3d-texture-pbr-8k-crocodile-scales-scaly-skin-armored-hide-horny-plates-rough-scales-pitted-skin-reptile-skin |
|---|---|
| Category | Animal skin |
| Formats | PNG, WEBP, PBR ZIP |
| Size | 1k (1024x1024px), 2k (2048x2048px), 4k (4096x4096px), 8k (8192x8192px) |
| Color | sRGB |
| Tileable | Yes |
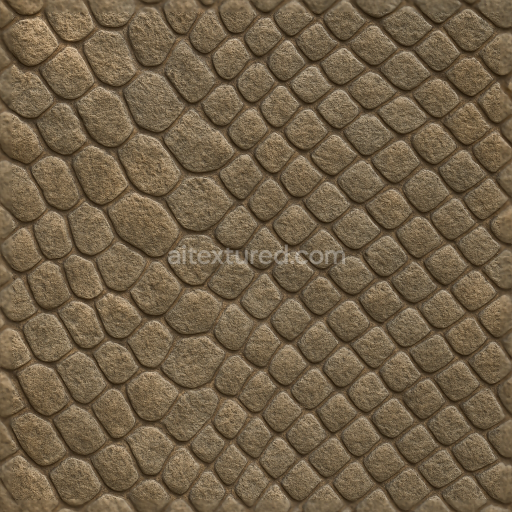
This seamless 8K PBR texture captures the intricate surface of crocodile skin, characterized by its distinctive armored hide composed of overlapping horny plates and rough, pitted scales. The material’s base is a dense keratinous substrate, forming a rigid yet somewhat flexible exoskeletal layer that provides protection and durability. The scales exhibit a natural geometric arrangement of irregular polygonal shapes, tightly interlocked like natural tiles, with subtle variations in height and depth that contribute to the skin’s rugged, tactile form. This organic pattern creates a complex 3D relief that enhances the realism of any reptilian model or environment.
The texture’s composition reflects multiple layers: beneath the keratinous plates lies a fibrous dermal matrix that influences the overall toughness and slight elasticity. The surface finish is matte to semi-gloss, with a roughness that varies across the scales—some areas appear worn and weathered, showing micro-pitting and subtle abrasions, while others retain a smoother, more polished appearance. Pigmentation is natural and muted, featuring earthy greens, browns, and grays with subtle tonal shifts that simulate biological pigmentation and environmental effects such as dirt or moisture. These color variations are accurately represented in the BaseColor (Albedo) map, providing depth and authenticity without artificial saturation.
The texture’s Normal and Height maps convey the pronounced relief of the horny plates and interstitial skin grooves, enabling detailed light interaction and realistic shadowing in 3D environments. The Roughness map captures the heterogeneous surface finish, from coarse, matte scales to smoother transitional areas, enhancing the tactile feel under different lighting conditions. The Metallic channel remains near zero, consistent with organic, non-metallic materials, while the Ambient Occlusion map accentuates the crevices between scales, adding natural depth and volume. This comprehensive PBR setup ensures high fidelity and physical accuracy in engines such as Blender, Unreal Engine, and Unity.
Designed for seamless tiling, this texture facilitates large-scale application without noticeable repetition, suitable for close-up shots or extensive environmental surfaces. The 8K resolution ensures exceptional detail, allowing fine-scale features like micro-pits and subtle surface imperfections to remain visible even under extreme scrutiny. For practical use, adjusting the UV scale can help balance the perceived scale of the scales to match specific models, while fine-tuning the roughness map can simulate varying wetness or dryness of the skin. Additionally, blending height and normal maps can optimize parallax effects, enhancing the perceived depth and realism without excessive geometry.
Import the texture maps into Blender with sRGB color space for albedo/base color and Non-Color for normal, roughness, metallic, AO, height, and ORM maps. Connect normal maps through a Normal Map node, then adjust UV scale with a Mapping node so the material repeats naturally on your model.
For the full step-by-step setup, see How to Use Seamless Textures in Blender. Browse related material examples in wood, concrete, and metal.
Yes. This texture is designed as a seamless tileable PBR material, so it can repeat across large surfaces without visible borders.
You can download PNG/WEBP versions and use 1K, 2K, 4K and 8K download options when available on the page.
Yes. The download options and engine-mapped ZIP workflow are designed for Blender, Unreal Engine, Unity Standard, URP and HDRP material pipelines.
Yes. The texture is available under the AITextured free commercial license. Review the license page for redistribution and AI-training restrictions.


Build, preview, and export seamless PBR materials. Generate full map sets from a single image, inspect them in a real-time WebGL viewer, and re-package maps for Unreal, Unity, and Blender—directly in your browser.
AI text-to-texture: type a prompt and get a seamless, tileable base image ready for PBR workflows (great starting point for materials).
Create a full PBR set (Normal, Roughness, AO, Metallic, etc.) from a single image. Seamless and tiling-friendly.
Instant WebGL viewer: inspect materials on a sphere, plane, and cube. Check tiling and lighting in real time.
Re-packages maps per engine: Unreal (BaseColor + ORM), Unity (Mask/MetallicSmoothness), Blender (separate channels).
PNG ↔ JPG ↔ SVG: fast convert, SVG rasterize, embed/trace options, quality & background controls.