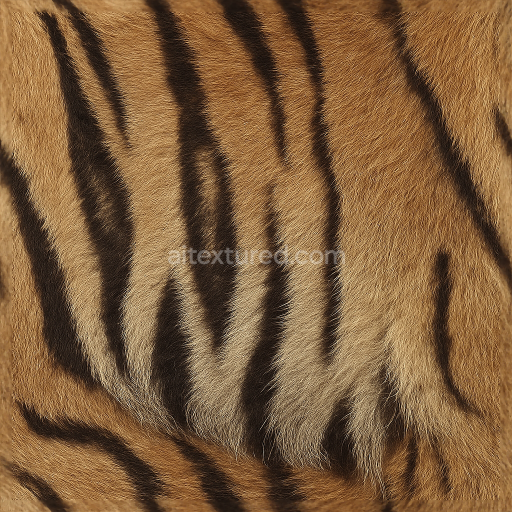
Striped Fur Coarse Fur Mammal Skin Fur Guard Hairs Tail Fur Whiskers Mane Fur
Seamless texture (tileable) · PNG, WEBP, PBR ZIP. License: AITextured Free Commercial License (FCL) v1.1. Free personal and commercial use. Raw resale, standalone redistribution, mirroring/scraping, competing asset packs, and AI/ML training are not allowed without written permission. Attribution is not required, but appreciated..

| ID | seamless-3d-texture-pbr-8k-mottled-fur-fuzzy-skin-mammal-skin-fur-undercoat-bristly-fur-tail-fur-paw-pads-whiskers |
|---|---|
| Category | Animal skin |
| Formats | PNG, WEBP, PBR ZIP |
| Size | 1k (1024x1024px), 2k (2048x2048px), 4k (4096x4096px), 8k (8192x8192px) |
| Color | sRGB |
| Tileable | Yes |
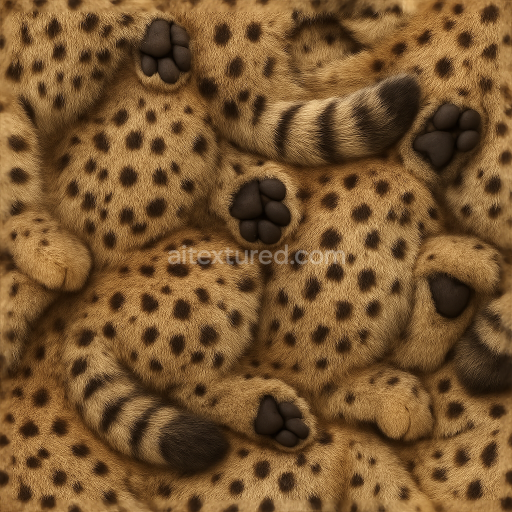
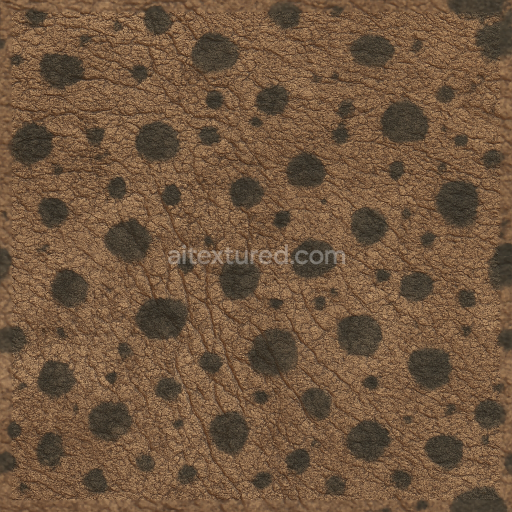
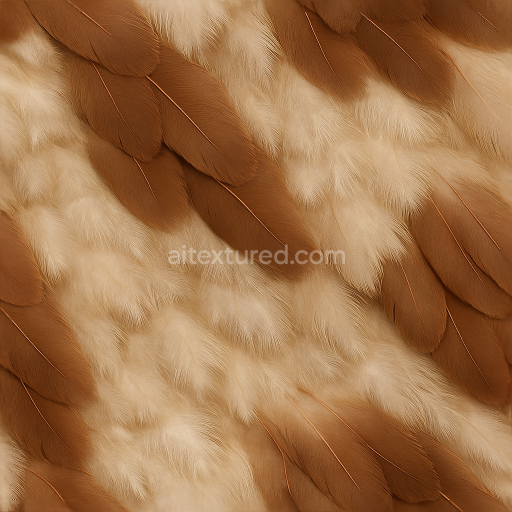
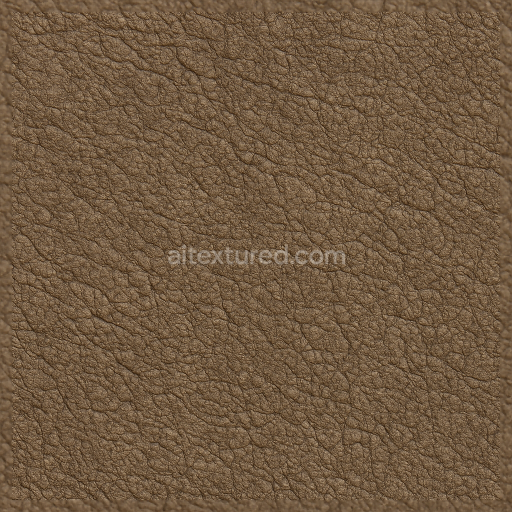
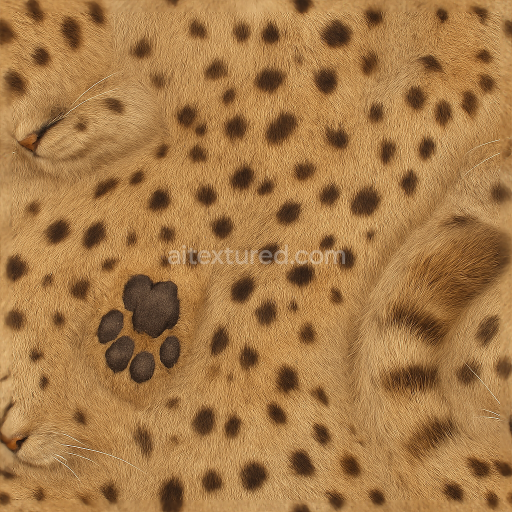
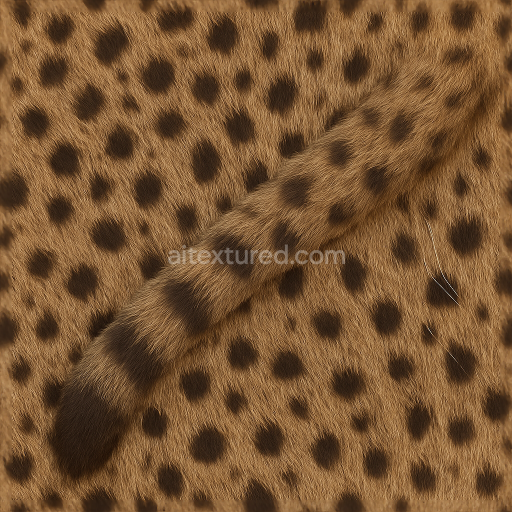
This seamless 8K PBR texture captures the intricate details of mottled mammal fur and fuzzy skin, presenting a highly realistic material suitable for detailed 3D animal models. The base of the texture mimics a dense, fibrous dermal substrate overlaid with a complex, multilayered fur structure. The underlying skin surface exhibits subtle porosity and fine wrinkles, reflecting the natural elasticity and softness typical of mammalian epidermis. Above this, a soft fur undercoat provides volume and depth, composed of fine, downy fibers that diffuse light softly, while sporadic bristly guard hairs add texture contrast and directional flow, especially visible in tail fur and around paw pads. Whiskers emerge as rigid, tapered filaments, distinct in geometry and reflectivity, contributing to the tactile realism of the material.
The geometric form is organic and irregular, resembling the natural, mottled pattern of fur patches and skin pigmentation seen in many mammals. The texture surface is non-uniform with subtle height variations created by the raised fur strands against the skin’s smoother base, enabling realistic shadowing and light interaction. The color palette integrates muted earth tones with natural gradients—from darker bristly hairs to lighter undercoat and translucent skin areas—using pigment distribution that replicates biological melanin patterns. The surface finish is matte with localized sheen on the whiskers and moist paw pads, suggesting slight oiliness and moisture retention typical of living skin.
In PBR terms, the BaseColor (Albedo) channel conveys the complex mottled fur coloration and skin tones without baked lighting, maintaining true material color. The Normal map defines the fine fur strands, skin pores, and whisker ridges, providing micro-detail that enhances surface realism at close range. Roughness varies across the texture: higher roughness values represent the diffuse, fuzzy undercoat and skin, while lower roughness highlights the glossy, smooth paw pads and stiff whiskers. The Metallic channel is minimal or zero, as biological fur and skin are non-metallic materials. Ambient Occlusion enhances depth perception in recessed areas such as fur roots and paw pad creases. Height (Displacement) maps accentuate the three-dimensional quality of fur layers and subtle skin undulations, which respond effectively to dynamic lighting and parallax effects.
This texture is optimized for use in Blender, Unreal Engine, and Unity, supporting seamless tiling over large surfaces without visible seams or pattern repetition. The 8K resolution ensures exceptional detail even in close-up renders or high-definition animations. For practical application, it is advisable to carefully adjust the UV scale to maintain natural fur density and avoid stretching or pixelation. Additionally, fine-tuning roughness values can help achieve the desired balance between softness and glossiness, while blending height and normal maps can enhance the perception of depth without introducing geometric complexity.
Import the texture maps into Blender with sRGB color space for albedo/base color and Non-Color for normal, roughness, metallic, AO, height, and ORM maps. Connect normal maps through a Normal Map node, then adjust UV scale with a Mapping node so the material repeats naturally on your model.
For the full step-by-step setup, see How to Use Seamless Textures in Blender. Browse related material examples in wood, concrete, and metal.
Yes. This texture is designed as a seamless tileable PBR material, so it can repeat across large surfaces without visible borders.
You can download PNG/WEBP versions and use 1K, 2K, 4K and 8K download options when available on the page.
Yes. The download options and engine-mapped ZIP workflow are designed for Blender, Unreal Engine, Unity Standard, URP and HDRP material pipelines.
Yes. The texture is available under the AITextured free commercial license. Review the license page for redistribution and AI-training restrictions.

Build, preview, and export seamless PBR materials. Generate full map sets from a single image, inspect them in a real-time WebGL viewer, and re-package maps for Unreal, Unity, and Blender—directly in your browser.
AI text-to-texture: type a prompt and get a seamless, tileable base image ready for PBR workflows (great starting point for materials).
Create a full PBR set (Normal, Roughness, AO, Metallic, etc.) from a single image. Seamless and tiling-friendly.
Instant WebGL viewer: inspect materials on a sphere, plane, and cube. Check tiling and lighting in real time.
Re-packages maps per engine: Unreal (BaseColor + ORM), Unity (Mask/MetallicSmoothness), Blender (separate channels).
PNG ↔ JPG ↔ SVG: fast convert, SVG rasterize, embed/trace options, quality & background controls.