
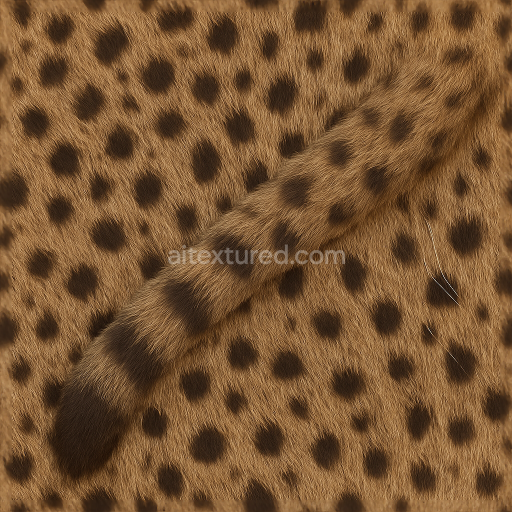
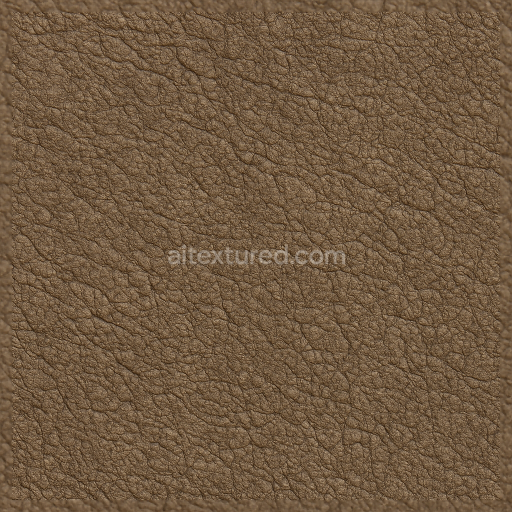
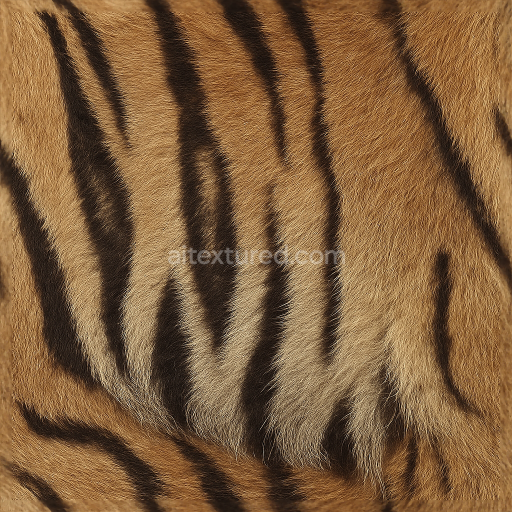
Striped Hide Scaly Skin Reptile Skin Rough Scales Matte Scales Cracked Skin Pitted Skin
Seamless texture (tileable) · PNG, WEBP, PBR ZIP. License: AITextured Free Commercial License (FCL) v1.1. Free personal and commercial use. Raw resale, standalone redistribution, mirroring/scraping, competing asset packs, and AI/ML training are not allowed without written permission. Attribution is not required, but appreciated..

| ID | seamless-3d-texture-pbr-8k-slick-skin-smooth-hide-thick-skin-leathery-skin-glossy-skin-reptile-skin-scaly-skin |
|---|---|
| Category | Animal skin |
| Formats | PNG, WEBP, PBR ZIP |
| Size | 1k (1024x1024px), 2k (2048x2048px), 4k (4096x4096px), 8k (8192x8192px) |
| Color | sRGB |
| Tileable | Yes |
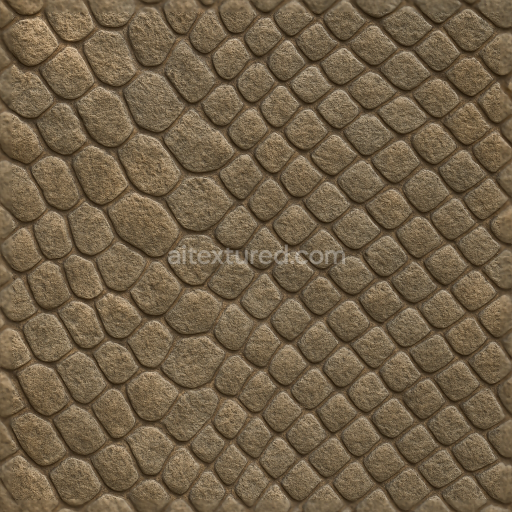
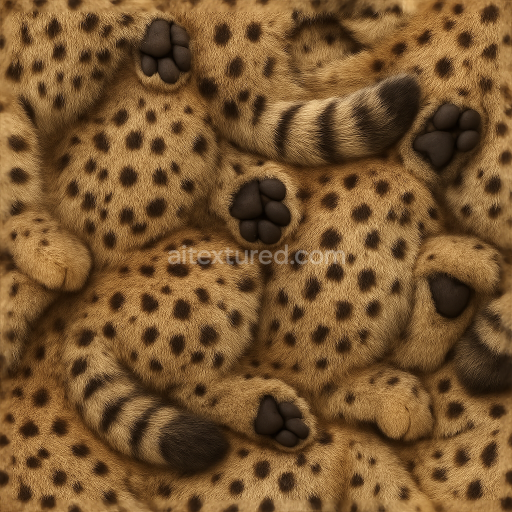
This seamless 8K PBR texture captures the intricate details of slick, smooth hide characterized by thick, leathery reptile skin with a distinctly glossy finish. The base material resembles a dense, fibrous dermal substrate composed of tightly packed collagen fibers that create a durable yet flexible surface. The geometric form presents an organic, scaly pattern with overlapping, slightly raised keratinous scales that vary subtly in size and orientation, forming a natural tessellation that enhances realism. This texture’s fine grain and subtle undulations are faithfully represented in the height and normal maps, conveying the tactile depth of each scale and the skin’s natural elasticity.
The composition includes a robust dermal matrix acting as a substrate, bonded with natural adhesives that maintain cohesion between individual scales and underlying skin layers. The surface exhibits moderate porosity, with minute crevices and microfolds that have weathered naturally, affecting the ambient occlusion channel by introducing soft shadowing within creases and scale overlaps. The coloration is derived from a layered pigment system, blending muted earth tones with iridescent highlights that contribute to the slick and glossy appearance. This is accurately reflected in the BaseColor map, where subtle variations in hue and saturation simulate natural pigment dispersion, while the Roughness channel controls the reflective properties, producing areas of both matte and high gloss finish.
The metallic map remains low or neutral, consistent with organic skin rather than metallic surfaces, ensuring that reflections are diffuse rather than specular highlights typical of metals. The height or displacement maps provide fine relief for the raised scales, enabling photorealistic surface interaction with light and shadow when applied in rendering engines. Together with the normal map, these channels enhance the three-dimensionality of the texture, making it suitable for close-up inspection and high fidelity rendering in Blender, Unreal Engine, and Unity environments. The seamless nature of the texture guarantees flawless tiling across large surfaces without noticeable repetition or distortion.
For optimal use, it is recommended to adjust the UV scale carefully to maintain the natural proportions of the scales relative to the 3D model, avoiding unnaturally large or small patterns. Fine-tuning the roughness map can help simulate varying skin conditions, from freshly hydrated glossy patches to drier, more matte areas. Additionally, blending height or parallax maps with the normal map can enhance depth perception on low-poly models, improving visual realism without excessive geometry. This texture is well suited for realistic reptilian creatures, armored animals, or any project requiring a durable, slick skin appearance with complex surface detail and high-resolution fidelity.
Import the texture maps into Blender with sRGB color space for albedo/base color and Non-Color for normal, roughness, metallic, AO, height, and ORM maps. Connect normal maps through a Normal Map node, then adjust UV scale with a Mapping node so the material repeats naturally on your model.
For the full step-by-step setup, see How to Use Seamless Textures in Blender. Browse related material examples in wood, concrete, and metal.
Yes. This texture is designed as a seamless tileable PBR material, so it can repeat across large surfaces without visible borders.
You can download PNG/WEBP versions and use 1K, 2K, 4K and 8K download options when available on the page.
Yes. The download options and engine-mapped ZIP workflow are designed for Blender, Unreal Engine, Unity Standard, URP and HDRP material pipelines.
Yes. The texture is available under the AITextured free commercial license. Review the license page for redistribution and AI-training restrictions.


Build, preview, and export seamless PBR materials. Generate full map sets from a single image, inspect them in a real-time WebGL viewer, and re-package maps for Unreal, Unity, and Blender—directly in your browser.
AI text-to-texture: type a prompt and get a seamless, tileable base image ready for PBR workflows (great starting point for materials).
Create a full PBR set (Normal, Roughness, AO, Metallic, etc.) from a single image. Seamless and tiling-friendly.
Instant WebGL viewer: inspect materials on a sphere, plane, and cube. Check tiling and lighting in real time.
Re-packages maps per engine: Unreal (BaseColor + ORM), Unity (Mask/MetallicSmoothness), Blender (separate channels).
PNG ↔ JPG ↔ SVG: fast convert, SVG rasterize, embed/trace options, quality & background controls.