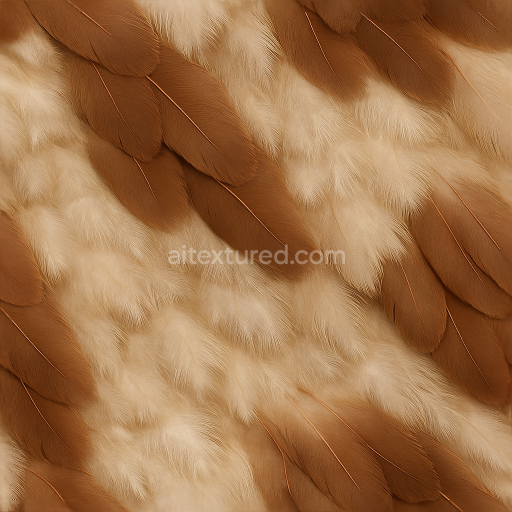
Feathered Skin Down Feathers Contour Feathers Bird Skin Soft Hide Flight Feathers
Seamless texture (tileable) · PNG, WEBP, PBR ZIP. License: AITextured Free Commercial License (FCL) v1.1. Free personal and commercial use. Raw resale, standalone redistribution, mirroring/scraping, competing asset packs, and AI/ML training are not allowed without written permission. Attribution is not required, but appreciated..

| ID | seamless-3d-texture-pbr-8k-striped-fur-coarse-fur-mammal-skin-fur-guard-hairs-tail-fur-whiskers-mane-fur |
|---|---|
| Category | Animal skin |
| Formats | PNG, WEBP, PBR ZIP |
| Size | 1k (1024x1024px), 2k (2048x2048px), 4k (4096x4096px), 8k (8192x8192px) |
| Color | sRGB |
| Tileable | Yes |
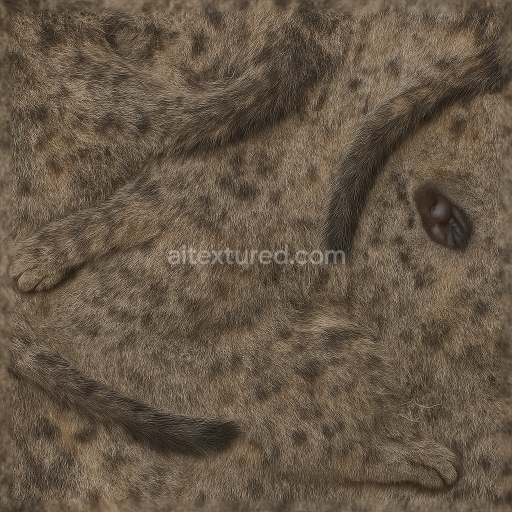
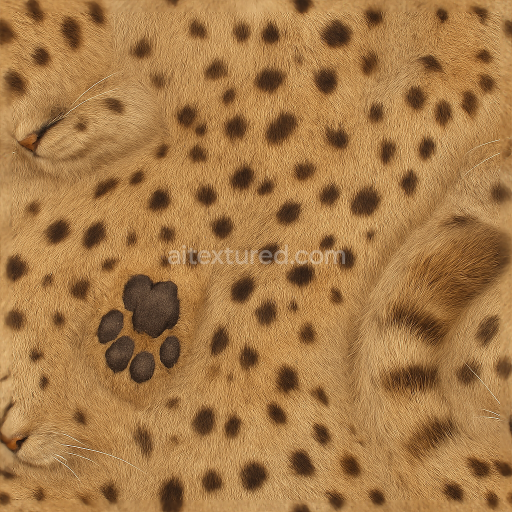
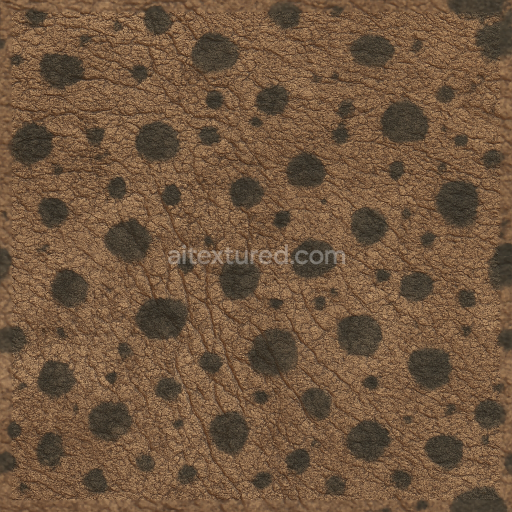
This seamless 8K PBR texture captures the intricate details of coarse striped fur found on wild mammals, focusing on the natural layering and structural complexity of animal skin covered with dense guard hairs, tail fur, mane, and delicate whiskers. The base material simulates the epidermal layer of mammal skin, which serves as the substrate beneath the fur fibers. This substrate is characterized by a slightly porous, leathery surface with subtle irregularities and fine wrinkles that contribute to the organic feel of the skin. The fur itself is composed of a dense network of keratin-based fibers, with coarser guard hairs interspersed among softer underfur. These fibers vary in thickness and length, creating a multi-scale pattern of stripes and tonal variations across the surface. The whiskers, being stiffer tactile hairs, are modeled as individual elongated fibers emerging from follicles, adding anatomical realism and complexity to silhouette edges.
The textural composition reflects multiple PBR channels to achieve photorealism under neutral lighting conditions. The BaseColor (Albedo) map encodes the subtle gradient of browns, tans, and off-whites that form the striped pattern, capturing both pigmentation and translucency variations in the fur. The Normal map enhances the three-dimensional feel of the coarse fur fibers and skin wrinkles, simulating the rough, bristly surface and the raised guard hairs without requiring additional geometry. Roughness is finely tuned to reflect the natural variance between the matte skin beneath and the slightly glossier fur tips, offering realistic light scattering and specular highlights. Metallic values remain near zero, consistent with organic keratin and skin materials, while the Ambient Occlusion map deepens shadowed crevices between fur clusters and around whisker bases. The Height/Displacement map provides subtle relief for parallax effects, emphasizing the tactile quality of fur density and skin folds in close-up renders.
The texture tiles seamlessly in both directions, allowing it to cover large models without visible repetition or seams. This feature is particularly useful for 3D character artists and animal modelers working in Blender, Unreal Engine, and Unity, where high resolution and accurate material response are essential. The 8K resolution ensures that fine details such as individual hair strands and skin pores remain sharp even under scrutiny or close camera angles, supporting high-quality renders and real-time applications alike. The surface finish balances a soft, natural sheen on the fur with the slightly rough, natural texture of mammal skin, avoiding overly polished or artificial appearances.
For practical use, it is advisable to adjust the UV scale to match the model’s anatomical proportions, ensuring that the stripe pattern aligns realistically with muscle contours and fur growth directions. Additionally, blending the height map with normal maps can enhance depth perception without excessive tessellation cost, especially when using parallax occlusion shaders. Fine-tuning the roughness channel can also help simulate seasonal or environmental changes to the fur’s condition, from damp and matted to dry and coarse, providing flexibility for diverse scene requirements.
Import the texture maps into Blender with sRGB color space for albedo/base color and Non-Color for normal, roughness, metallic, AO, height, and ORM maps. Connect normal maps through a Normal Map node, then adjust UV scale with a Mapping node so the material repeats naturally on your model.
For the full step-by-step setup, see How to Use Seamless Textures in Blender. Browse related material examples in wood, concrete, and metal.
Yes. This texture is designed as a seamless tileable PBR material, so it can repeat across large surfaces without visible borders.
You can download PNG/WEBP versions and use 1K, 2K, 4K and 8K download options when available on the page.
Yes. The download options and engine-mapped ZIP workflow are designed for Blender, Unreal Engine, Unity Standard, URP and HDRP material pipelines.
Yes. The texture is available under the AITextured free commercial license. Review the license page for redistribution and AI-training restrictions.


Build, preview, and export seamless PBR materials. Generate full map sets from a single image, inspect them in a real-time WebGL viewer, and re-package maps for Unreal, Unity, and Blender—directly in your browser.
AI text-to-texture: type a prompt and get a seamless, tileable base image ready for PBR workflows (great starting point for materials).
Create a full PBR set (Normal, Roughness, AO, Metallic, etc.) from a single image. Seamless and tiling-friendly.
Instant WebGL viewer: inspect materials on a sphere, plane, and cube. Check tiling and lighting in real time.
Re-packages maps per engine: Unreal (BaseColor + ORM), Unity (Mask/MetallicSmoothness), Blender (separate channels).
PNG ↔ JPG ↔ SVG: fast convert, SVG rasterize, embed/trace options, quality & background controls.