
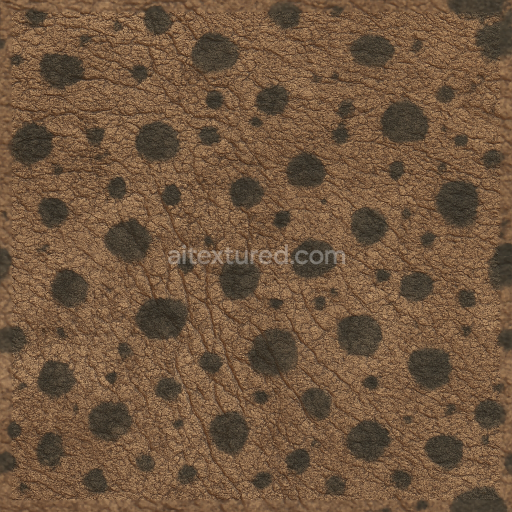
Crocodile Scales Scaly Skin Armored Hide Horny Plates Rough Scales Pitted Skin Reptile Sk…
Seamless texture (tileable) · PNG, WEBP, PBR ZIP. License: AITextured Free Commercial License (FCL) v1.1. Free personal and commercial use. Raw resale, standalone redistribution, mirroring/scraping, competing asset packs, and AI/ML training are not allowed without written permission. Attribution is not required, but appreciated..

| ID | seamless-3d-texture-pbr-8k-feathered-skin-down-feathers-contour-feathers-bird-skin-soft-hide-flight-feathers |
|---|---|
| Category | Animal skin |
| Formats | PNG, WEBP, PBR ZIP |
| Size | 1k (1024x1024px), 2k (2048x2048px), 4k (4096x4096px), 8k (8192x8192px) |
| Color | sRGB |
| Tileable | Yes |
This seamless 8K PBR texture represents the intricate surface of bird skin layered with various types of feathers, including soft down feathers, structured contour feathers, and aerodynamic flight feathers. The base material can be understood as a flexible, soft hide substrate, resembling a thin, pliable epidermis that supports the complex feather structures. This underlying skin provides a slightly porous and matte surface, exhibiting subtle microfolds and gentle undulations that mimic natural avian skin elasticity. The feathers themselves form a laminated geometric pattern, where fine down feathers create a fluffy underlayer, topped by overlapping contour feathers arranged in a slightly curved, scale-like formation, while flight feathers extend in linear, aerodynamic shapes with visible barbs and barbules enhancing the texture’s depth and realism.
The composite structure of this texture involves the soft hide acting as a fibrous base, with keratinous feather material layered atop. The down feathers resemble fine, loosely arranged fibers with a high degree of softness and translucency, while contour and flight feathers are more rigid and structured, featuring smooth, slightly reflective surfaces. The texture’s surface finish ranges from matte to semi-glossy, depending on feather type, with subtle natural oils contributing to a soft sheen visible in the BaseColor and Roughness maps. Colorants in this material include natural pigments ranging from muted browns and grays to delicate whites and blacks, captured in high-fidelity within the BaseColor (Albedo) channel to convey realistic tonal variations and feather micro-patterns.
In the PBR workflow, the Normal map encodes fine surface details such as feather barbs, skin microfolds, and subtle contours between feather layers, enabling realistic light interaction and shadowing. The Roughness map varies considerably, reflecting the contrast between the soft, diffuse down feathers and the slightly glossier flight feathers, helping to simulate the tactile softness versus aerodynamic smoothness. The Metallic map remains near zero, as natural bird skin and feathers lack metallic properties. Ambient Occlusion enhances depth perception, accentuating crevices between feathers and skin folds, while the Height/Displacement map adds subtle volumetric relief for enhanced parallax effects in real-time engines.
This texture is fully seamless and optimized at 8K resolution, ensuring crisp detail and fidelity when applied to 3D models. It is compatible with major rendering platforms such as Blender, Unreal Engine, and Unity, allowing for seamless integration into workflows requiring photorealistic avian surfaces. For best results, it is recommended to adjust the UV scale to match the model’s feather size precisely, and to fine-tune roughness values to balance between the soft matte hide and the flight feathers’ natural sheen. Employing a blend between Height and Normal maps can further enhance the perception of feather layering and skin depth without sacrificing performance.
Import the texture maps into Blender with sRGB color space for albedo/base color and Non-Color for normal, roughness, metallic, AO, height, and ORM maps. Connect normal maps through a Normal Map node, then adjust UV scale with a Mapping node so the material repeats naturally on your model.
For the full step-by-step setup, see How to Use Seamless Textures in Blender. Browse related material examples in wood, concrete, and metal.
Yes. This texture is designed as a seamless tileable PBR material, so it can repeat across large surfaces without visible borders.
You can download PNG/WEBP versions and use 1K, 2K, 4K and 8K download options when available on the page.
Yes. The download options and engine-mapped ZIP workflow are designed for Blender, Unreal Engine, Unity Standard, URP and HDRP material pipelines.
Yes. The texture is available under the AITextured free commercial license. Review the license page for redistribution and AI-training restrictions.


Build, preview, and export seamless PBR materials. Generate full map sets from a single image, inspect them in a real-time WebGL viewer, and re-package maps for Unreal, Unity, and Blender—directly in your browser.
AI text-to-texture: type a prompt and get a seamless, tileable base image ready for PBR workflows (great starting point for materials).
Create a full PBR set (Normal, Roughness, AO, Metallic, etc.) from a single image. Seamless and tiling-friendly.
Instant WebGL viewer: inspect materials on a sphere, plane, and cube. Check tiling and lighting in real time.
Re-packages maps per engine: Unreal (BaseColor + ORM), Unity (Mask/MetallicSmoothness), Blender (separate channels).
PNG ↔ JPG ↔ SVG: fast convert, SVG rasterize, embed/trace options, quality & background controls.