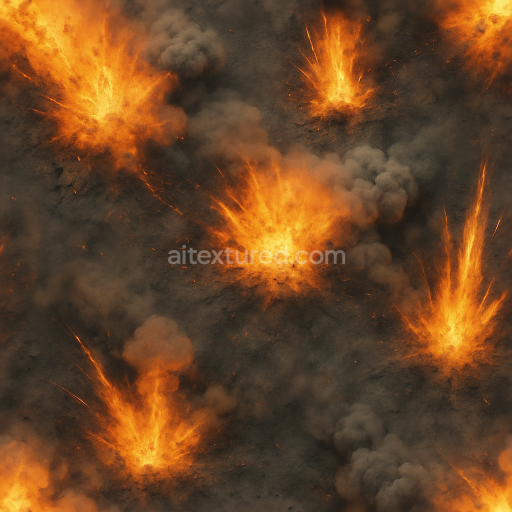
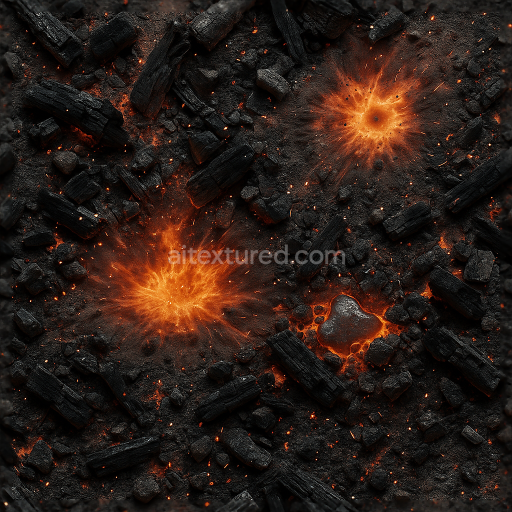
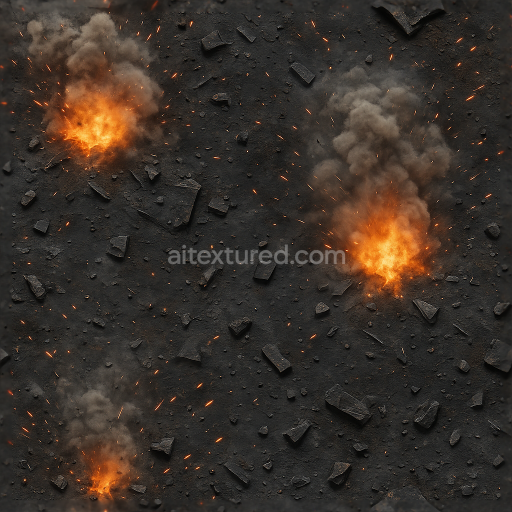
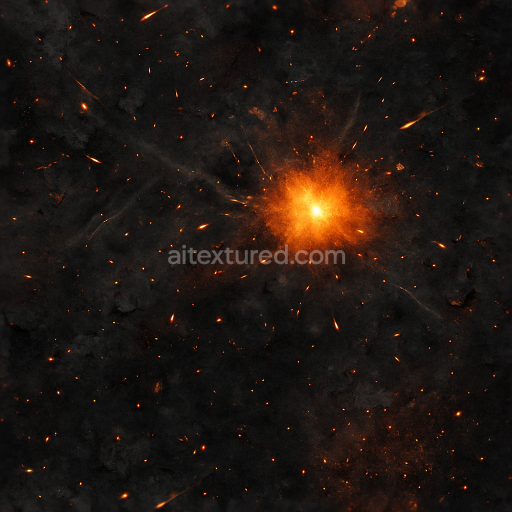
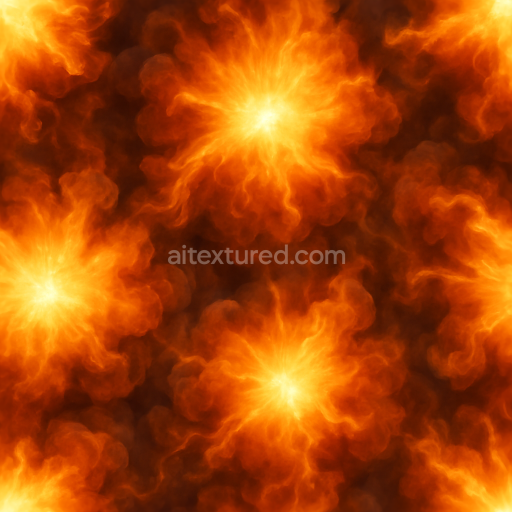
Seamless 8K PBR 3D texture of blast damage with ignition source and burn marks details
Seamless texture (tileable) · PNG, WEBP, PBR ZIP. License: AITextured Free Commercial License (FCL) v1.1. Free personal and commercial use. Raw resale, standalone redistribution, mirroring/scraping, competing asset packs, and AI/ML training are not allowed without written permission. Attribution is not required, but appreciated..

| ID | seamless-3d-texture-of-charred-rubble-and-burnt-ground-with-blast-scorch-marks-in-detailed-8k-pbr-quality |
|---|---|
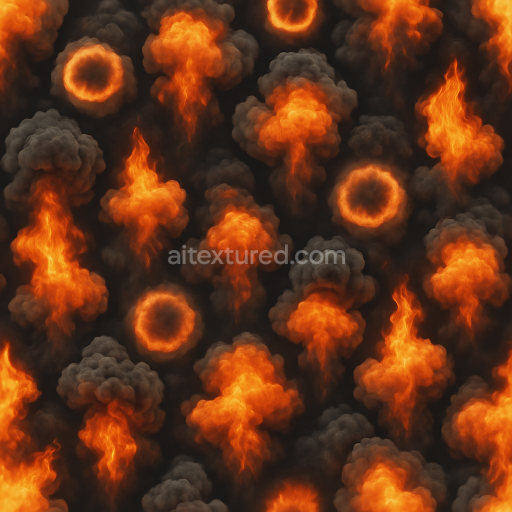
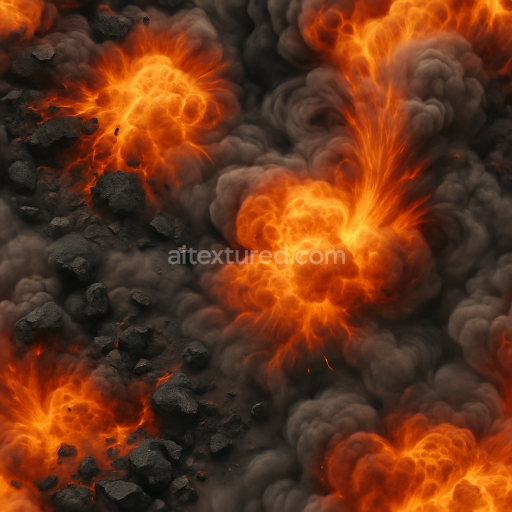
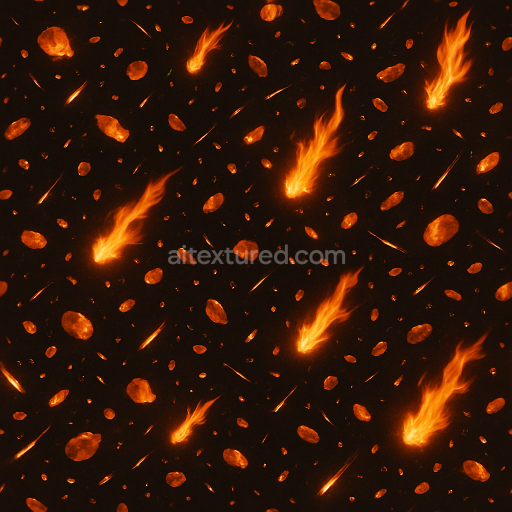
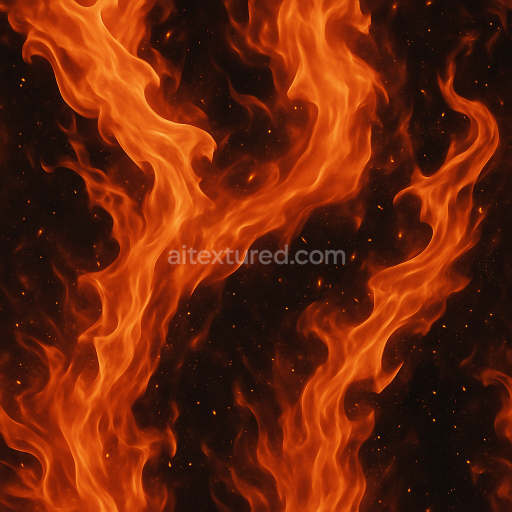
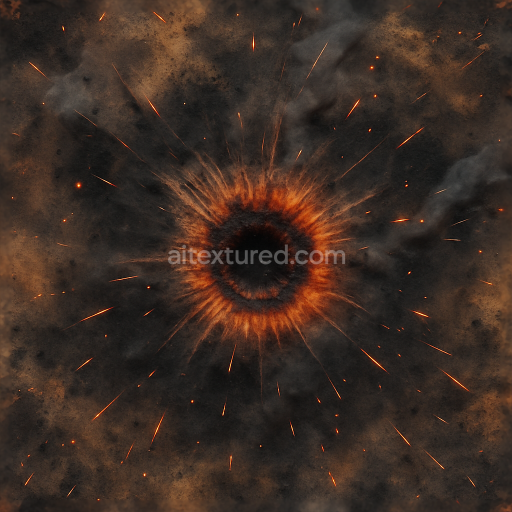
| Category | Explosion |
| Formats | PNG, WEBP, PBR ZIP |
| Size | 1k (1024x1024px), 2k (2048x2048px), 4k (4096x4096px), 8k (8192x8192px) |
| Color | sRGB |
| Tileable | Yes |
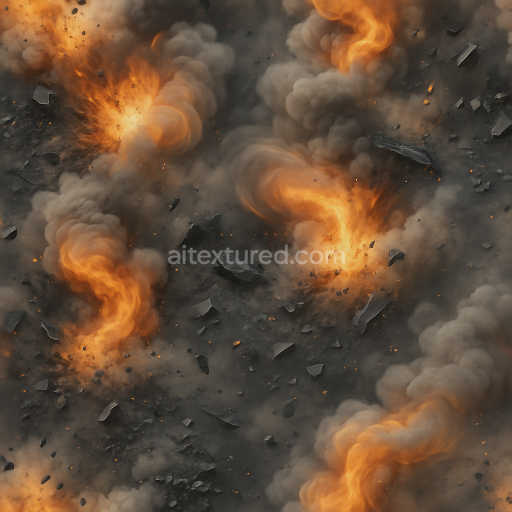
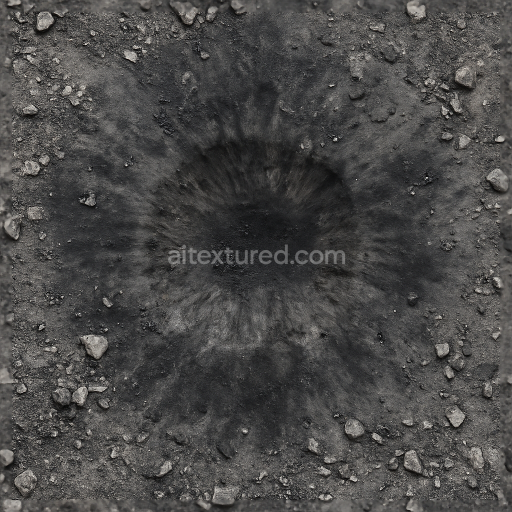
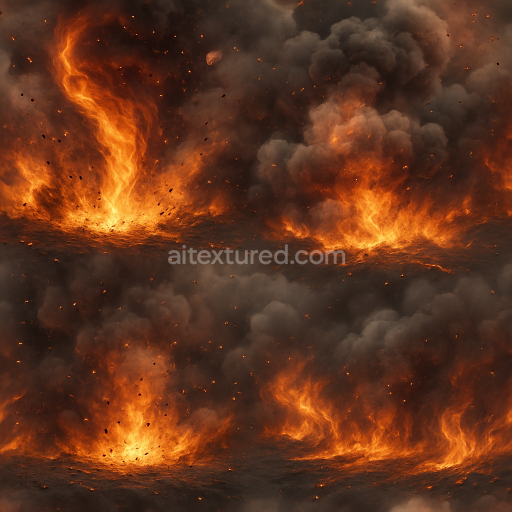
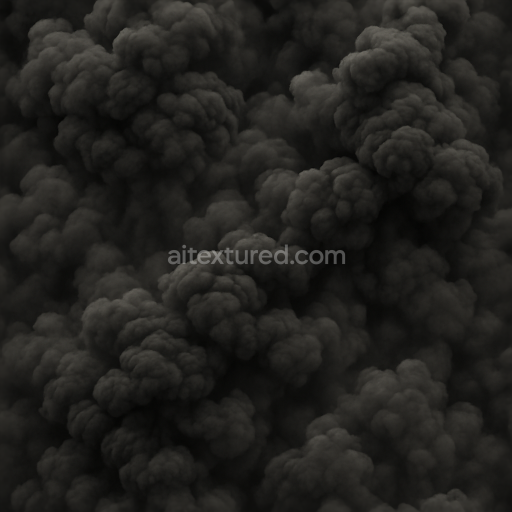
This seamless 3D texture represents a complex terrain composed primarily of charred rubble and burnt earth formed in the aftermath of an explosion. The base material mimics a mixture of fragmented concrete ash and soil fused with remnants of scorched organic matter. The substrate is rough and uneven featuring angular rubble pieces interspersed with compacted dirt and fine particulate ash. The geometric form is irregular and jagged with fractured edges and scattered debris creating a natural chaotic pattern rather than a repetitive or uniform tiling. This randomness is carefully preserved within the seamless design to ensure authenticity when applied to large surfaces.
The composition suggests a blend of mineral aggregates—such as crushed stone and sand—bound by a burnt carbon-rich matrix that resembles incinerated soil and residual binder materials from destroyed structures. Thermal scorch and explosive residue deposits appear as darker almost blackened patches with subtle variations in roughness and height capturing both surface erosion and incineration effects. The texture exhibits moderate porosity with micro-cracks and fissures visible in the height and normal maps indicating weathering and material breakdown from intense heat and blast forces. The surface finish is matte with sporadic patches of glossy char representing partially vitrified or melted fragments amid otherwise dry ashen terrain.
Within the PBR workflow the BaseColor (Albedo) channel conveys a rich palette of muted grays burnt siennas and deep blacks reflecting the burnt ground and rubble colors without artificial gloss. The Normal map encodes the highly detailed surface relief of rubble edges cracks and pockmarks essential for realistic light interaction and shadowing. Roughness values vary to represent the contrast between rough porous ash and smoother melted scorch marks while the Metallic channel remains near zero due to the non-metallic nature of the materials. Ambient Occlusion enhances depth perception around crevices and layers of debris and the Height/Displacement map supports subtle parallax effects by simulating elevation differences between rubble fragments and the underlying burnt earth.
Rendered at an ultra-high 8K resolution this texture ensures exceptional detail and sharpness suitable for professional applications in Blender Unreal Engine and Unity. The 8K maps preserve fine surface nuances even at close camera distances making it ideal for realistic environment creation in post-explosion scenes. Users are advised to carefully adjust UV scale to avoid noticeable repetition despite the seamless design and to fine-tune roughness values to balance between matte soil and glossy burn patches depending on lighting conditions. Combining the height map with normal blending can add extra depth perception enhancing the tactile quality of the rubble and scorched ground surfaces in real-time engines.
Import the texture maps into Blender with sRGB color space for albedo/base color and Non-Color for normal, roughness, metallic, AO, height, and ORM maps. Connect normal maps through a Normal Map node, then adjust UV scale with a Mapping node so the material repeats naturally on your model.
For the full step-by-step setup, see How to Use Seamless Textures in Blender. Browse related material examples in wood, concrete, and metal.
Yes. This texture is designed as a seamless tileable PBR material, so it can repeat across large surfaces without visible borders.
You can download PNG/WEBP versions and use 1K, 2K, 4K and 8K download options when available on the page.
Yes. The download options and engine-mapped ZIP workflow are designed for Blender, Unreal Engine, Unity Standard, URP and HDRP material pipelines.
Yes. The texture is available under the AITextured free commercial license. Review the license page for redistribution and AI-training restrictions.

Build, preview, and export seamless PBR materials. Generate full map sets from a single image, inspect them in a real-time WebGL viewer, and re-package maps for Unreal, Unity, and Blender—directly in your browser.
AI text-to-texture: type a prompt and get a seamless, tileable base image ready for PBR workflows (great starting point for materials).
Create a full PBR set (Normal, Roughness, AO, Metallic, etc.) from a single image. Seamless and tiling-friendly.
Instant WebGL viewer: inspect materials on a sphere, plane, and cube. Check tiling and lighting in real time.
Re-packages maps per engine: Unreal (BaseColor + ORM), Unity (Mask/MetallicSmoothness), Blender (separate channels).
PNG ↔ JPG ↔ SVG: fast convert, SVG rasterize, embed/trace options, quality & background controls.