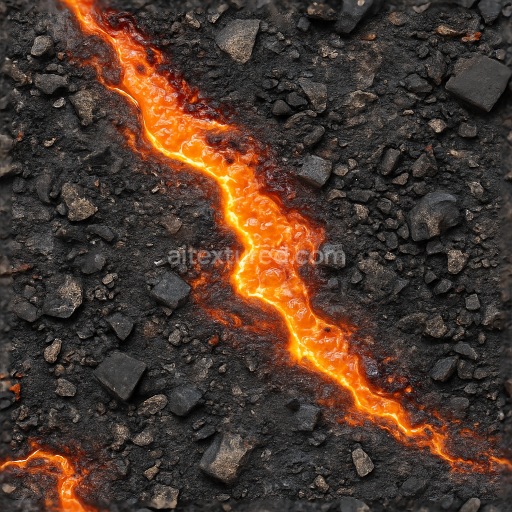
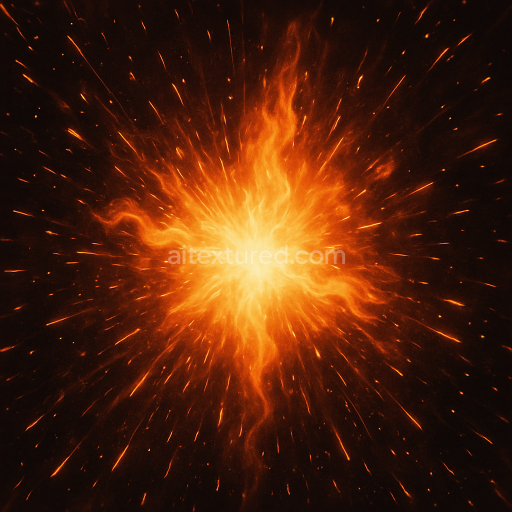
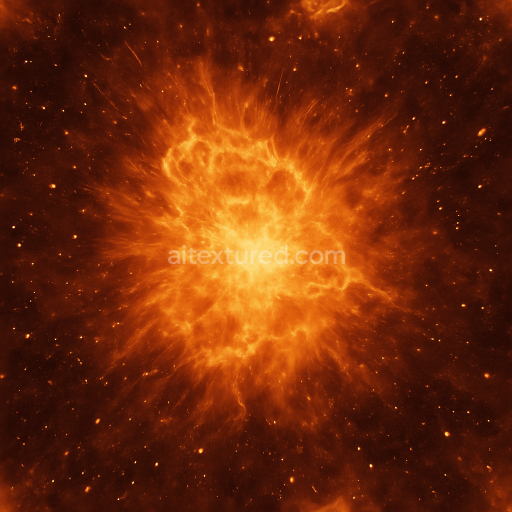
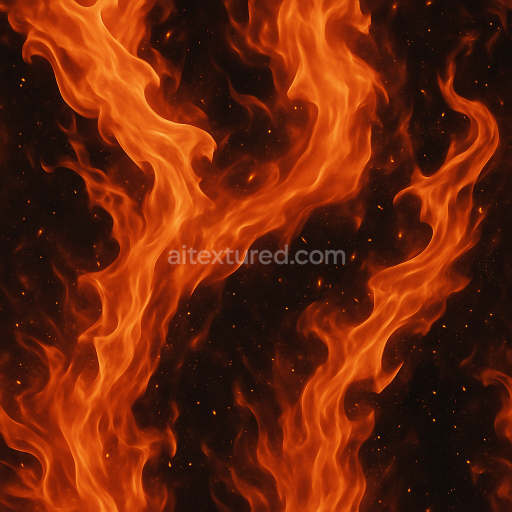
Molten Metal And Burnt Debris From Intense Explosion In Photorealistic 8K PBR
Seamless texture (tileable) · PNG, WEBP, PBR ZIP. License: AITextured Free Commercial License (FCL) v1.1. Free personal and commercial use. Raw resale, standalone redistribution, mirroring/scraping, competing asset packs, and AI/ML training are not allowed without written permission. Attribution is not required, but appreciated..

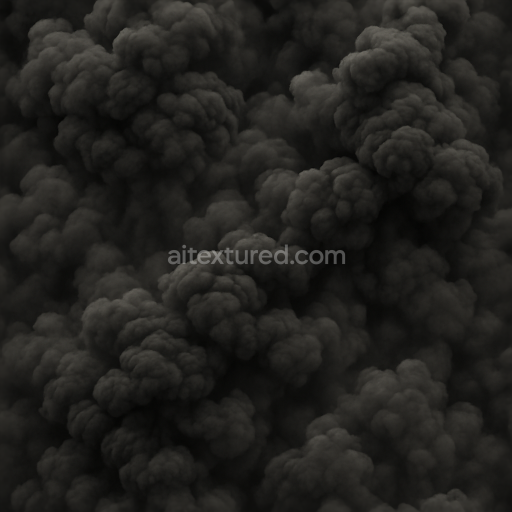
| ID | seamless-8k-pbr-3d-texture-of-charcoal-ash-with-smoke-billow-and-heat-shimmer-effects |
|---|---|
| Category | Explosion |
| Formats | PNG, WEBP, PBR ZIP |
| Size | 1k (1024x1024px), 2k (2048x2048px), 4k (4096x4096px), 8k (8192x8192px) |
| Color | sRGB |
| Tileable | Yes |
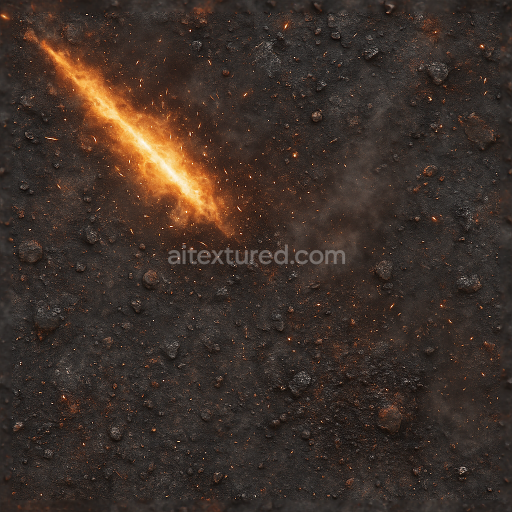
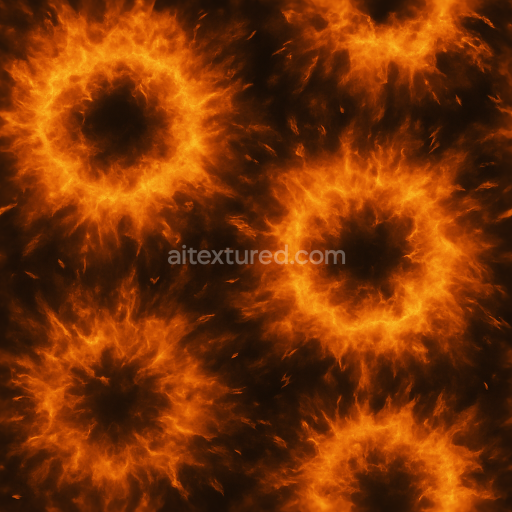
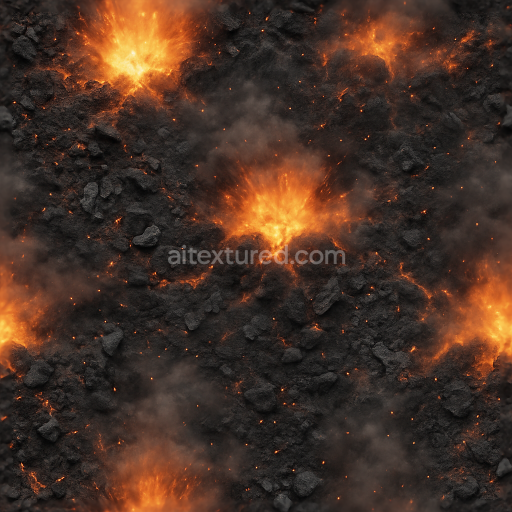
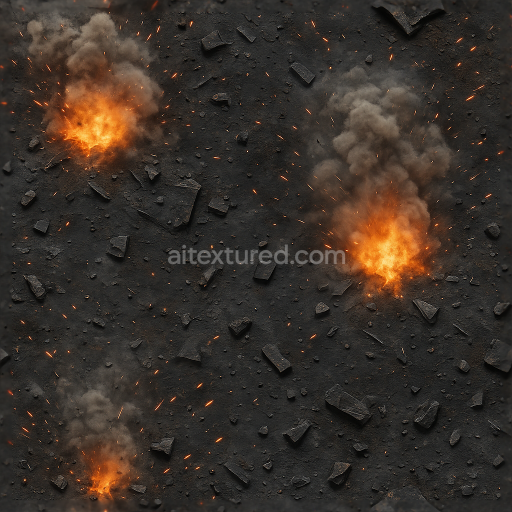
This seamless 8K PBR 3D texture captures the complex interplay of charcoal ash layered atop fragmented burnt rubble evoking the raw aftermath of an intense explosion. The base material consists primarily of a highly porous brittle substrate formed from charred mineral debris and carbonized organic matter. This substrate exhibits a rough granular structure with irregular fissures and cracks simulating the fractured geometry of collapsed surfaces subjected to extreme heat and shock. The texture’s form is irregular and non-repetitive with subtle undulations and fragmented patterns that mimic scattered rubble interspersed with fine ash deposits.
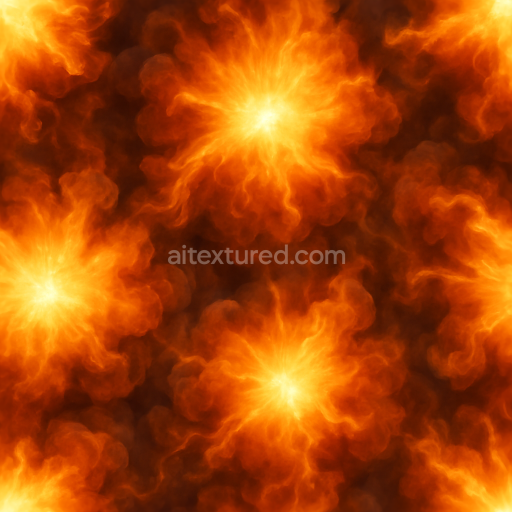
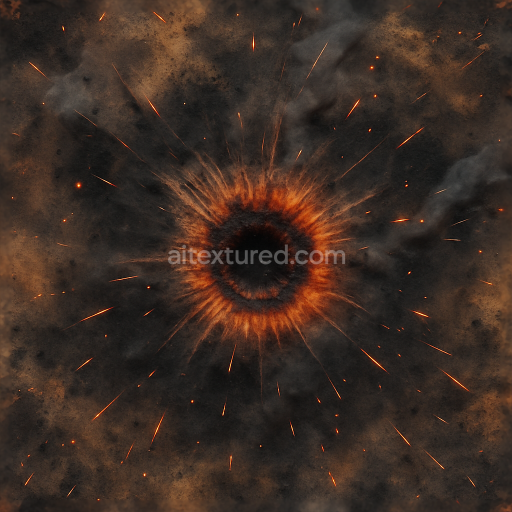
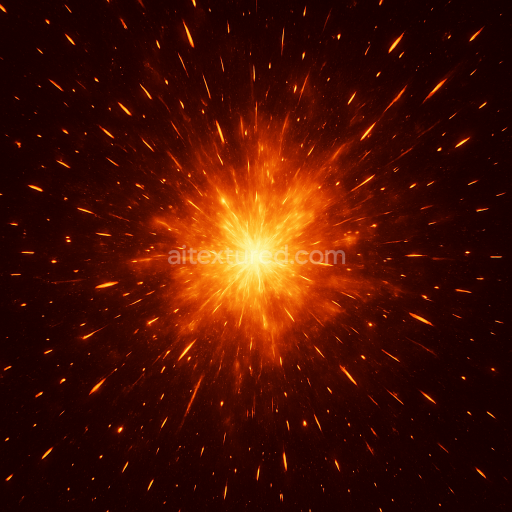
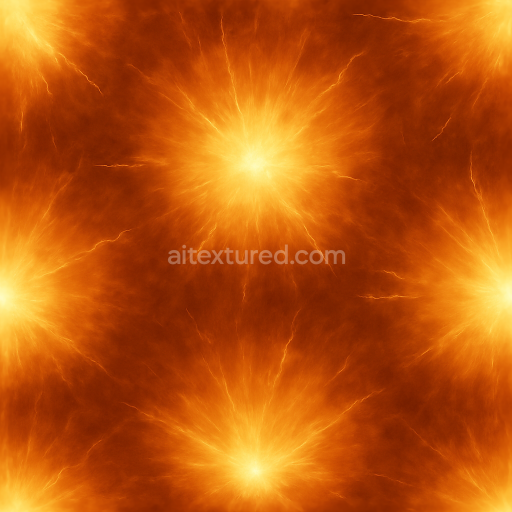
The surface finish combines matte soot-black charcoal ash with patches of glowing fire flashes and transient heat shimmer effects. The ash layer functions as a delicate loose aggregate with low cohesion while the burnt rubble beneath appears as denser coarse grains bonded by mineralized binders altered by thermal decomposition. Smoke curtains and billowing plumes are integrated as translucent volumetric overlays that contribute to the ambient occlusion and height maps enhancing depth perception. The heat shimmer is represented by subtle normal map distortions and fluctuating roughness values simulating refractive light bending caused by hot air currents.
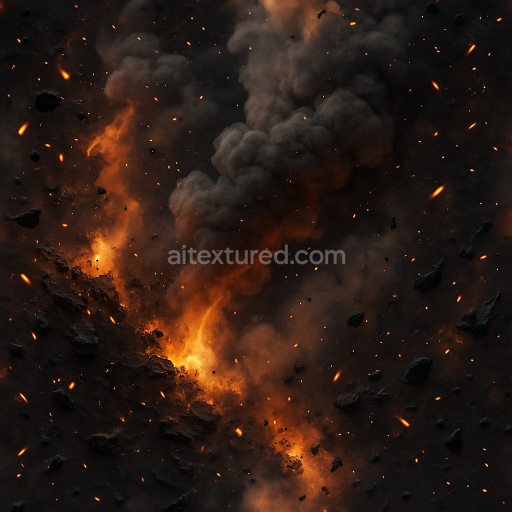
In terms of PBR channel representation the BaseColor (Albedo) channel uses a nuanced palette of deep charcoals muted grays and occasional ember reds to indicate residual combustion. The Normal map encodes the fine granularity of ash particles and the rugged geometry of broken rubble surfaces reinforcing the tactile realism. Roughness is carefully varied to distinguish between the dry powdery ash (high roughness) and smoldering fire flashes (lower roughness) while the Metallic channel remains near zero reflecting the non-metallic nature of the materials. Ambient Occlusion enhances the visual depth of fissures and overlaps and the Height/Displacement map captures the uneven cratered topology characteristic of explosion shock damage and fire waves.
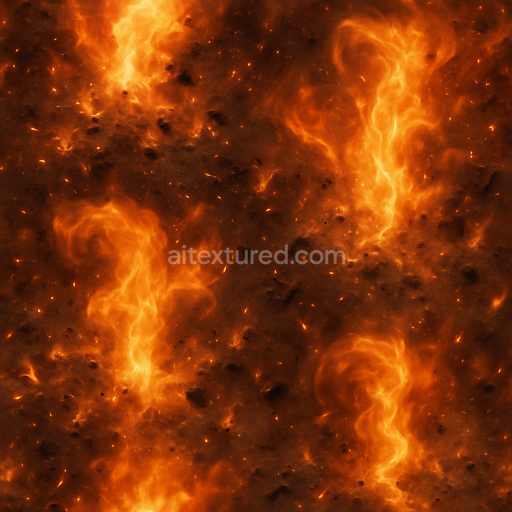
Optimized for 8K resolution this texture supports high-fidelity visualizations and is fully compatible with Blender Unreal Engine and Unity workflows enabling detailed close-up views without loss of detail. For practical application it is advisable to carefully adjust the UV scale to prevent noticeable tiling on large surfaces while fine-tuning roughness maps can help balance the contrast between matte ash and glossy fire flashes. Additionally blending height/normal maps can enhance the perception of depth and heat distortion making the explosion aftermath scenes more immersive and believable.
Import the texture maps into Blender with sRGB color space for albedo/base color and Non-Color for normal, roughness, metallic, AO, height, and ORM maps. Connect normal maps through a Normal Map node, then adjust UV scale with a Mapping node so the material repeats naturally on your model.
For the full step-by-step setup, see How to Use Seamless Textures in Blender. Browse related material examples in wood, concrete, and metal.
Yes. This texture is designed as a seamless tileable PBR material, so it can repeat across large surfaces without visible borders.
You can download PNG/WEBP versions and use 1K, 2K, 4K and 8K download options when available on the page.
Yes. The download options and engine-mapped ZIP workflow are designed for Blender, Unreal Engine, Unity Standard, URP and HDRP material pipelines.
Yes. The texture is available under the AITextured free commercial license. Review the license page for redistribution and AI-training restrictions.

Build, preview, and export seamless PBR materials. Generate full map sets from a single image, inspect them in a real-time WebGL viewer, and re-package maps for Unreal, Unity, and Blender—directly in your browser.
AI text-to-texture: type a prompt and get a seamless, tileable base image ready for PBR workflows (great starting point for materials).
Create a full PBR set (Normal, Roughness, AO, Metallic, etc.) from a single image. Seamless and tiling-friendly.
Instant WebGL viewer: inspect materials on a sphere, plane, and cube. Check tiling and lighting in real time.
Re-packages maps per engine: Unreal (BaseColor + ORM), Unity (Mask/MetallicSmoothness), Blender (separate channels).
PNG ↔ JPG ↔ SVG: fast convert, SVG rasterize, embed/trace options, quality & background controls.