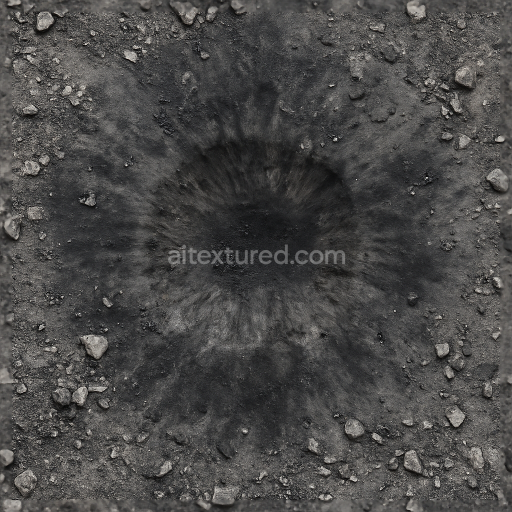
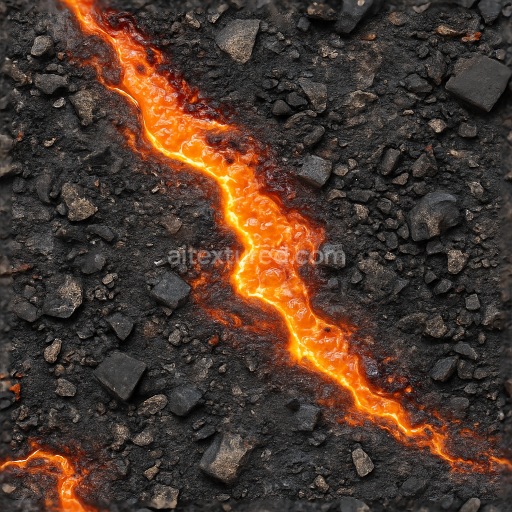
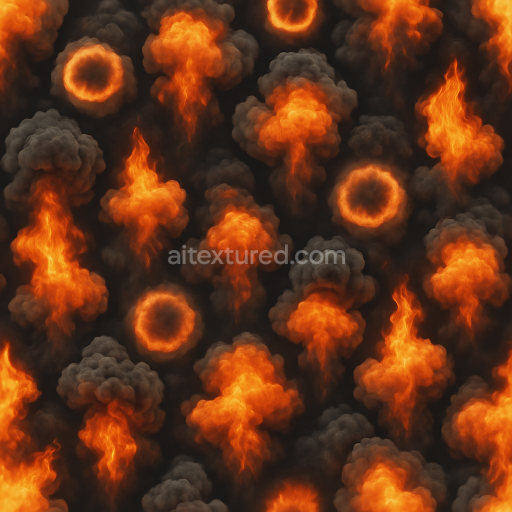
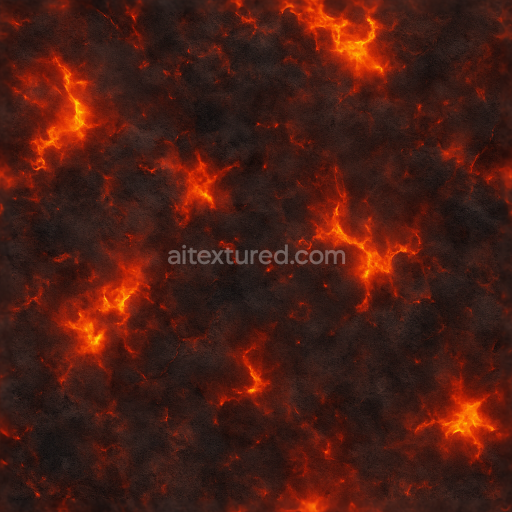
Showing Explosive Blast Crater With Scorched Earth And Rubble Details In 8K PBR Quality
Seamless texture (tileable) · PNG, WEBP, PBR ZIP. License: AITextured Free Commercial License (FCL) v1.1. Free personal and commercial use. Raw resale, standalone redistribution, mirroring/scraping, competing asset packs, and AI/ML training are not allowed without written permission. Attribution is not required, but appreciated..

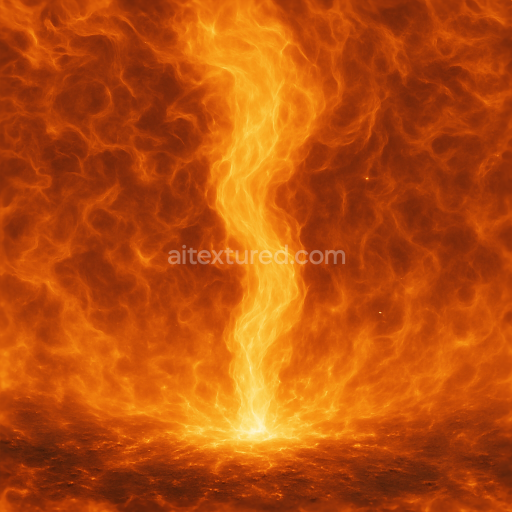
| ID | seamless-8k-pbr-3d-texture-showing-explosion-core-with-heat-waves-and-flame-flicker-effects |
|---|---|
| Category | Explosion |
| Formats | PNG, WEBP, PBR ZIP |
| Size | 1k (1024x1024px), 2k (2048x2048px), 4k (4096x4096px), 8k (8192x8192px) |
| Color | sRGB |
| Tileable | Yes |
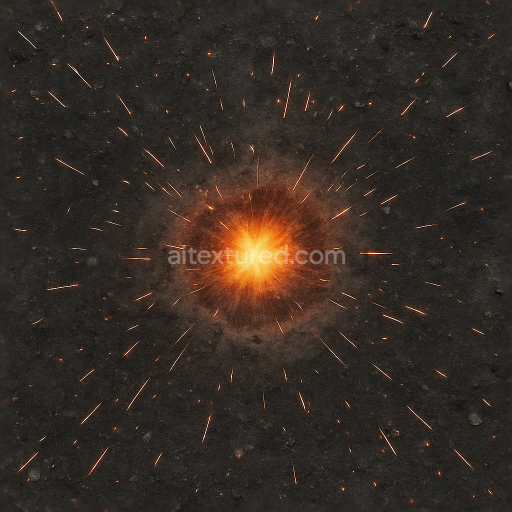
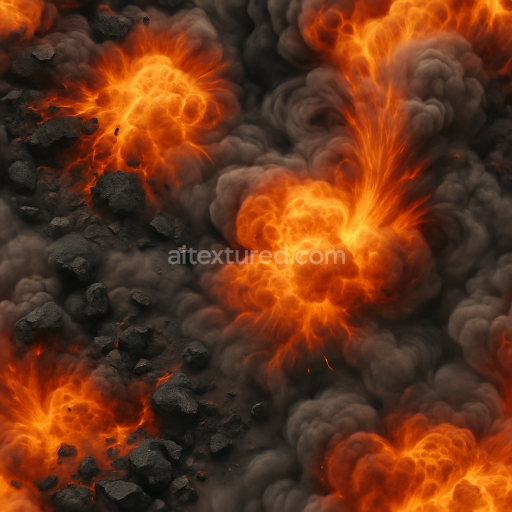
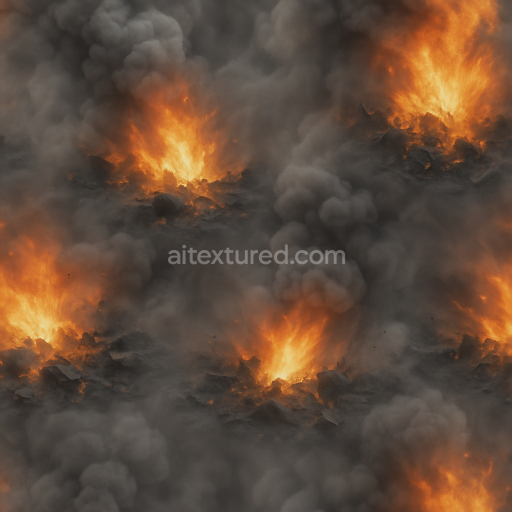
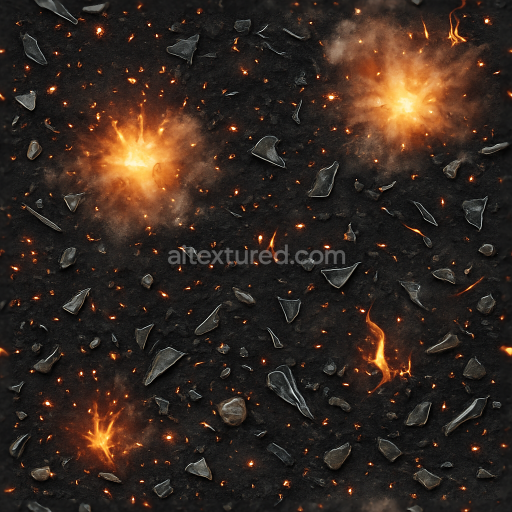
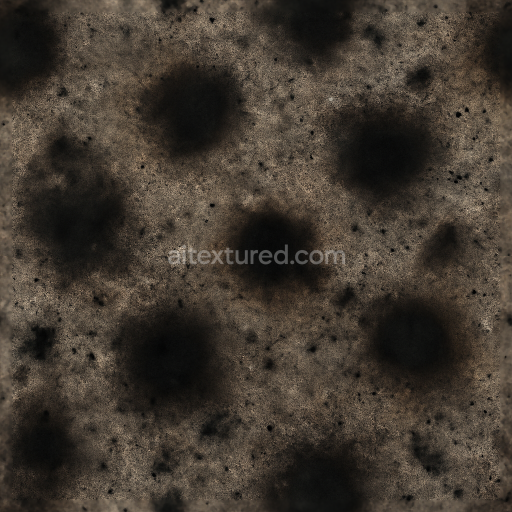
This seamless 8k PBR texture depicts the intense core of an explosion capturing the complex interaction of materials and forms that define a powerful blast. At its base the texture simulates a layered substrate of charred rubble and fragmented debris representing fractured stone and scorched concrete fragments fused by extreme heat. The substrate appears rough and porous with varying depths and cavities that convey weathering from the blast pressure and subsequent cooling. Overlaying this base are dynamic layers of flame flicker and burst flames rendered as translucent undulating heat waves that distort the surrounding air. These heat waves form subtle ripples across the surface creating a sense of motion and energy radiating outward from the explosion center.
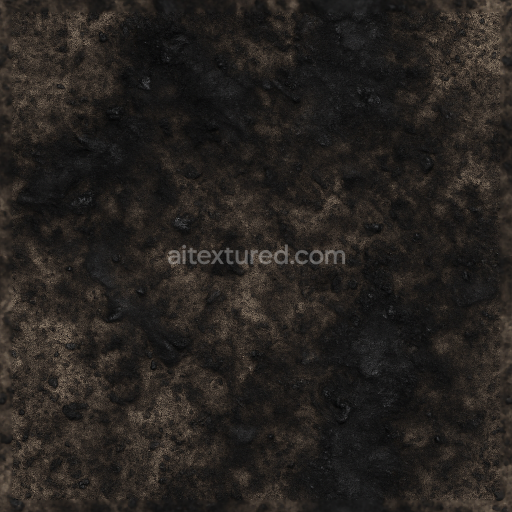
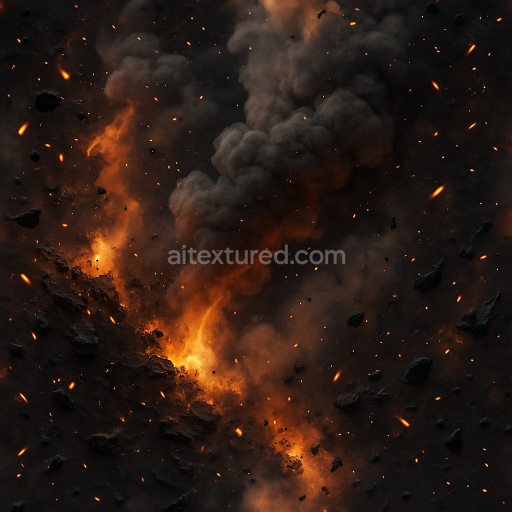
The material composition suggests a blend of brittle mineral aggregates bound by thermally altered binders where the binders simulate partially melted resins or cementitious compounds darkened by combustion. Black smoke plumes are represented by volumetric-like dark gradients with soft edges integrated into the diffuse channel adding depth without physical thickness while the fire glow emits a soft emissive effect that heightens the visual intensity. The surface finish is predominantly matte and rough reflecting the ashen powdery texture of the burnt rubble with small patches of semi-glossy charred fragments that catch light differently to emphasize dimensionality and temperature variance.
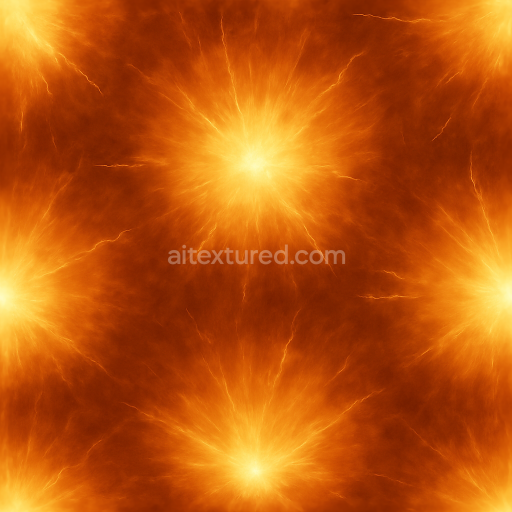
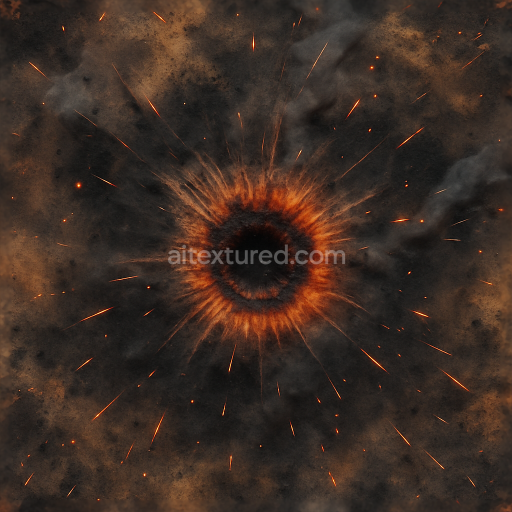
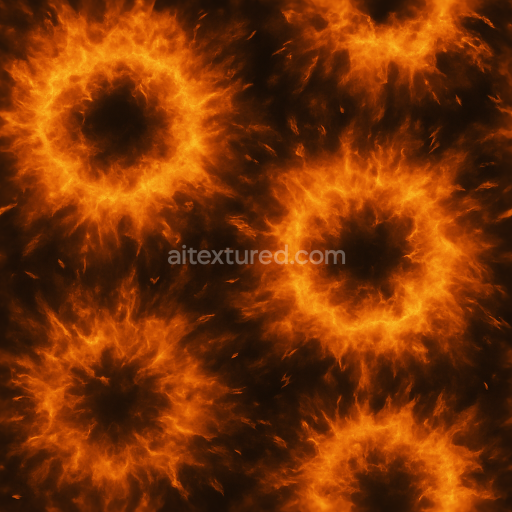
In PBR terms the BaseColor (Albedo) channel captures the deep blacks and fiery oranges interspersed with gray and dark brown charred tones. The Normal map defines the rugged uneven geometry of the rubble and the subtle undulations caused by heat distortion ripples. Roughness is high overall to reflect the matte ash and debris but varies to allow some glossiness around flame edges and glowing embers. The Metallic channel remains minimal or near zero as the materials are primarily non-metallic mineral and organic residues while Ambient Occlusion enhances shadowing in crevices and under debris reinforcing depth. Height and Displacement maps accentuate the fractured layered rubble and the volumetric distortion of heat waves enabling realistic parallax effects in rendering engines.
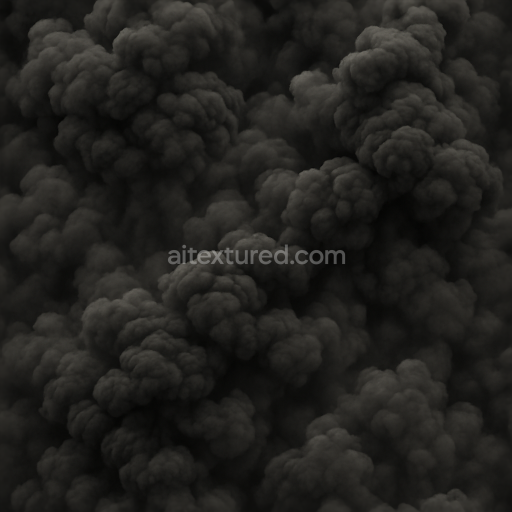
Optimized for 8k resolution this texture ensures exceptional detail for close-up inspection and large-scale visualization in Blender Unreal Engine and Unity. Its seamless tiling capability allows it to cover extensive surfaces without visible repetition maintaining immersion in dynamic explosion scenes. For practical workflow integration adjusting UV scale to finer details enhances the perception of granular rubble and subtle flame flicker patterns while tuning roughness maps can balance the interplay between matte ash and reflective embers. Additionally blending height and normal maps carefully helps achieve convincing parallax and surface relief crucial for realistic explosion ripple effects.
Import the texture maps into Blender with sRGB color space for albedo/base color and Non-Color for normal, roughness, metallic, AO, height, and ORM maps. Connect normal maps through a Normal Map node, then adjust UV scale with a Mapping node so the material repeats naturally on your model.
For the full step-by-step setup, see How to Use Seamless Textures in Blender. Browse related material examples in wood, concrete, and metal.
Yes. This texture is designed as a seamless tileable PBR material, so it can repeat across large surfaces without visible borders.
You can download PNG/WEBP versions and use 1K, 2K, 4K and 8K download options when available on the page.
Yes. The download options and engine-mapped ZIP workflow are designed for Blender, Unreal Engine, Unity Standard, URP and HDRP material pipelines.
Yes. The texture is available under the AITextured free commercial license. Review the license page for redistribution and AI-training restrictions.
Build, preview, and export seamless PBR materials. Generate full map sets from a single image, inspect them in a real-time WebGL viewer, and re-package maps for Unreal, Unity, and Blender—directly in your browser.
AI text-to-texture: type a prompt and get a seamless, tileable base image ready for PBR workflows (great starting point for materials).
Create a full PBR set (Normal, Roughness, AO, Metallic, etc.) from a single image. Seamless and tiling-friendly.
Instant WebGL viewer: inspect materials on a sphere, plane, and cube. Check tiling and lighting in real time.
Re-packages maps per engine: Unreal (BaseColor + ORM), Unity (Mask/MetallicSmoothness), Blender (separate channels).
PNG ↔ JPG ↔ SVG: fast convert, SVG rasterize, embed/trace options, quality & background controls.