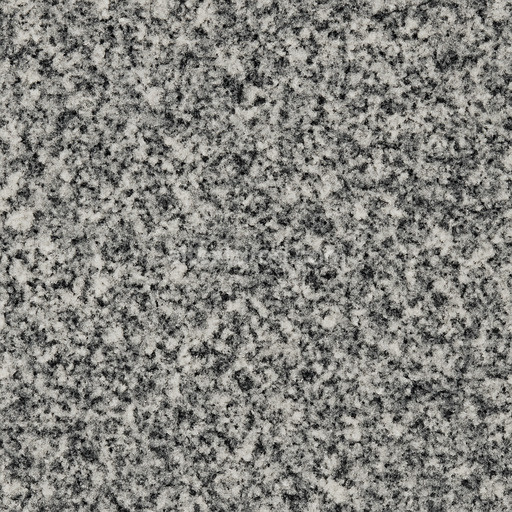
Granular Granite Seamless Texture
Seamless texture (tileable) · PNG, WEBP, PBR ZIP. License: AITextured Free Commercial License (FCL) v1.1. Free personal and commercial use. Raw resale, standalone redistribution, mirroring/scraping, competing asset packs, and AI/ML training are not allowed without written permission. Attribution is not required, but appreciated..

| ID | seamless-8k-granite-sediment-3d-texture-pbr-with-granite-alkali-feldspar-and-granite-biotite-mineral-composition |
|---|---|
| Category | Granite |
| Formats | PNG, WEBP, PBR ZIP |
| Size | 1k (1024x1024px), 2k (2048x2048px), 4k (4096x4096px), 8k (8192x8192px) |
| Color | sRGB |
| Tileable | Yes |
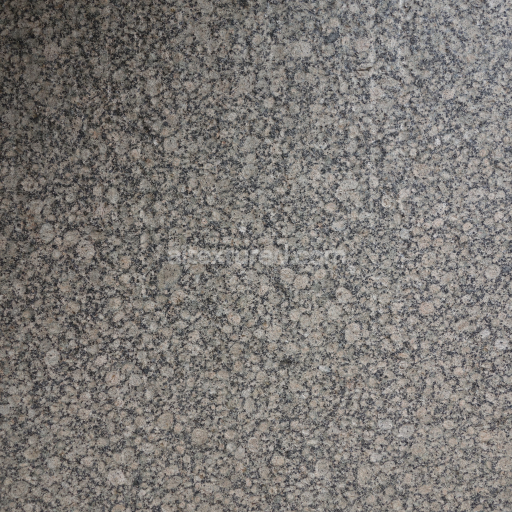
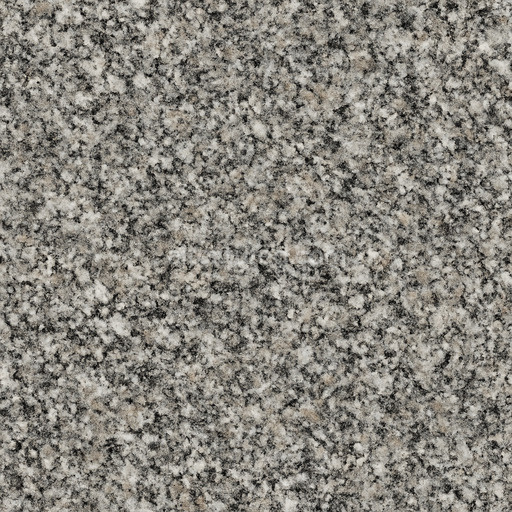
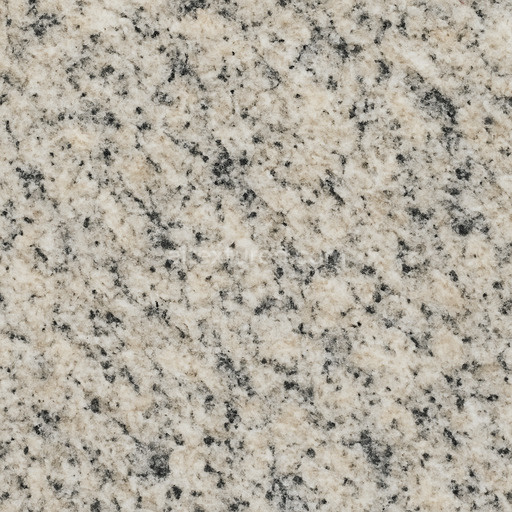
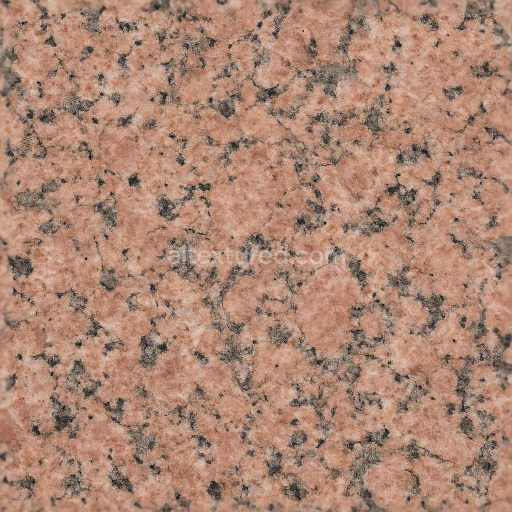
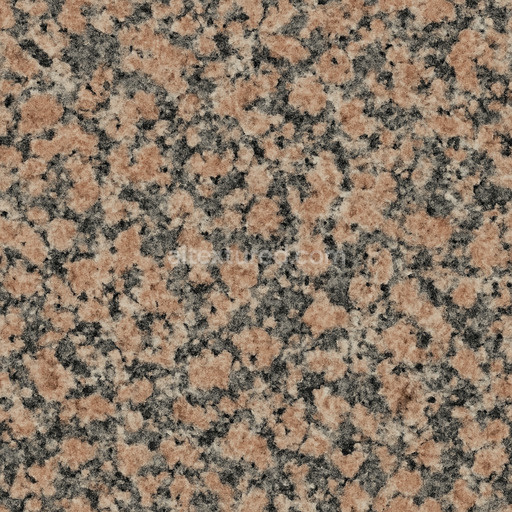
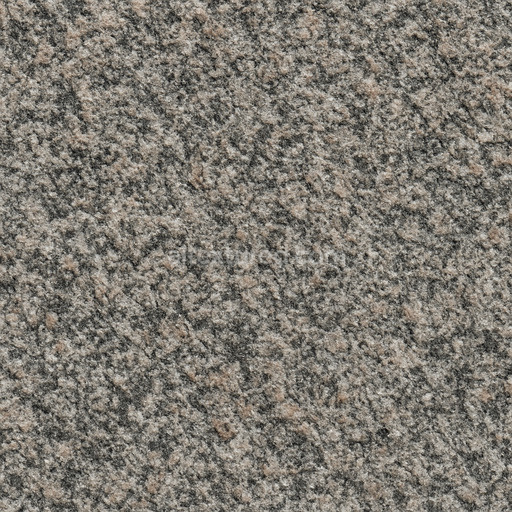
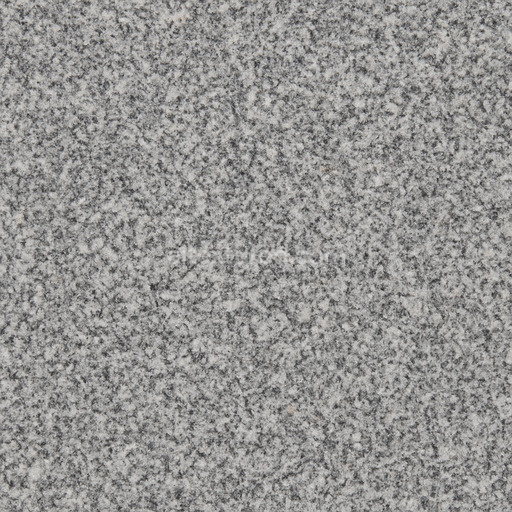
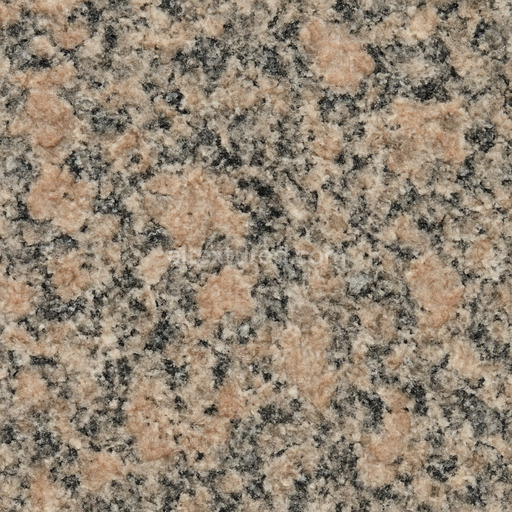
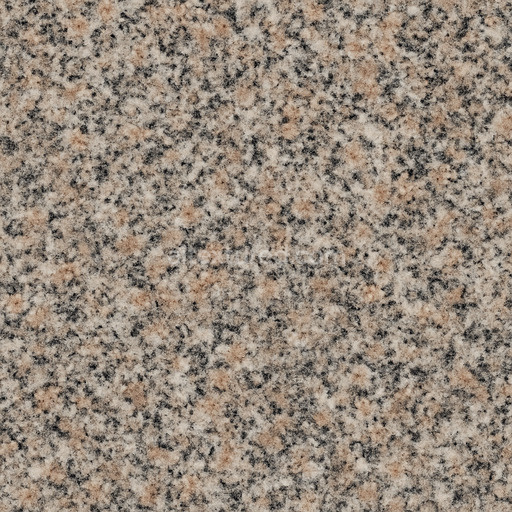
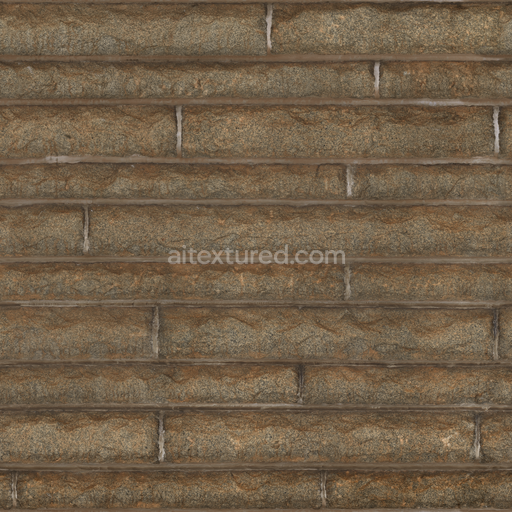
This seamless 8K granite sediment 3D texture PBR is meticulously crafted to replicate the complex mineralogical structure and natural grain patterns of granite rock with exceptional fidelity. The primary base substrate consists of a dense interlocking crystalline matrix mainly composed of granite alkali feldspar and quartz grains which serve as the foundational aggregate providing structural solidity. Embedded within this matrix are fine flakes of granite biotite mica alongside delicate mineral veins delivering the characteristic veined appearance and subtle tonal variations seen in natural granite sediment. This mineral composition results in intricate grain orientation and boundary geometries accurately reflecting the authentic microstructure of granite in high detail ideal for realistic rendering and visualization purposes.
The surface finish simulated by this texture mimics a polished granite slab commonly utilized in architectural and interior design contexts showcasing a refined glossiness that enhances the stone’s natural light reflection and depth. Granite’s inherent low porosity contributes to its renowned durability and weather resistance qualities that are effectively conveyed through varied roughness values corresponding to the differing hardness of feldspar quartz and biotite minerals. Within the PBR workflow the BaseColor (Albedo) channel captures the warm pinkish hues of alkali feldspar contrasted with the darker granite biotite flakes and translucent quartz grains. The Normal and Height maps emphasize the subtle relief and depth of mineral veins and grain boundaries while the Roughness channel faithfully represents the polished yet slightly varied surface texture. Metallic values remain near zero accurately reflecting granite’s non-metallic nature and Ambient Occlusion enhances visual depth by accentuating shadowing along mineral edges and microfissures.
Optimized for seamless tiling at an ultra-high 8K resolution this 3D texture is perfectly suited for large-scale applications such as countertops flooring or wall cladding delivering photorealistic detail without noticeable repetition or seams. It is fully compatible and unreal blender ready supporting advanced real-time and offline rendering workflows in Blender Unreal Engine and Unity. The precise distribution of granite alkali feldspar and granite biotite minerals combined with fine quartz grains and veins ensures authentic light interaction and shadowing when paired with PBR materials significantly enhancing the realism of granite sediment surfaces across diverse visualization projects.
For optimal usage it is recommended to carefully adjust the UV scale to maintain the natural grain size and avoid distortion of the granite sediment pattern. Additionally fine-tuning the Roughness channel allows customization from a high-gloss polished finish to a more muted honed surface. Leveraging the Height map alongside Normal maps can further enhance parallax effects providing subtle depth cues that elevate close-up realism while maintaining efficient performance across rendering platforms.
Import the texture maps into Blender with sRGB color space for albedo/base color and Non-Color for normal, roughness, metallic, AO, height, and ORM maps. Connect normal maps through a Normal Map node, then adjust UV scale with a Mapping node so the material repeats naturally on your model.
For the full step-by-step setup, see How to Use Seamless Textures in Blender. Browse related material examples in wood, concrete, and metal.
Yes. This texture is designed as a seamless tileable PBR material, so it can repeat across large surfaces without visible borders.
You can download PNG/WEBP versions and use 1K, 2K, 4K and 8K download options when available on the page.
Yes. The download options and engine-mapped ZIP workflow are designed for Blender, Unreal Engine, Unity Standard, URP and HDRP material pipelines.
Yes. The texture is available under the AITextured free commercial license. Review the license page for redistribution and AI-training restrictions.

Build, preview, and export seamless PBR materials. Generate full map sets from a single image, inspect them in a real-time WebGL viewer, and re-package maps for Unreal, Unity, and Blender—directly in your browser.
AI text-to-texture: type a prompt and get a seamless, tileable base image ready for PBR workflows (great starting point for materials).
Create a full PBR set (Normal, Roughness, AO, Metallic, etc.) from a single image. Seamless and tiling-friendly.
Instant WebGL viewer: inspect materials on a sphere, plane, and cube. Check tiling and lighting in real time.
Re-packages maps per engine: Unreal (BaseColor + ORM), Unity (Mask/MetallicSmoothness), Blender (separate channels).
PNG ↔ JPG ↔ SVG: fast convert, SVG rasterize, embed/trace options, quality & background controls.