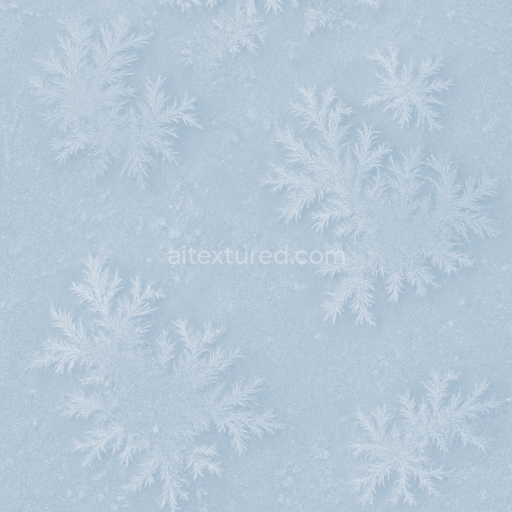
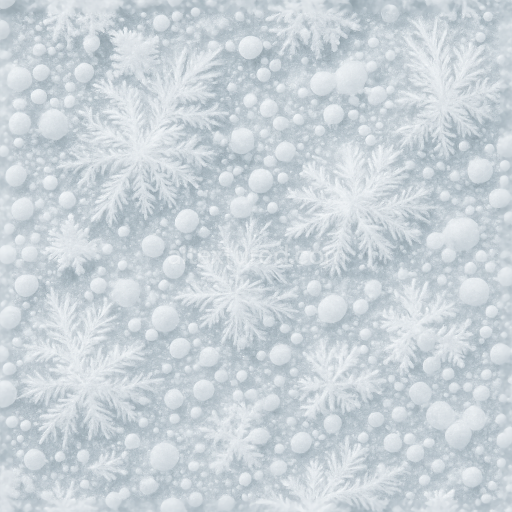
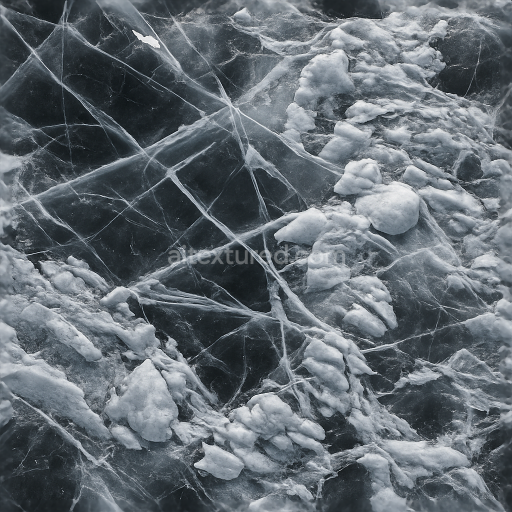
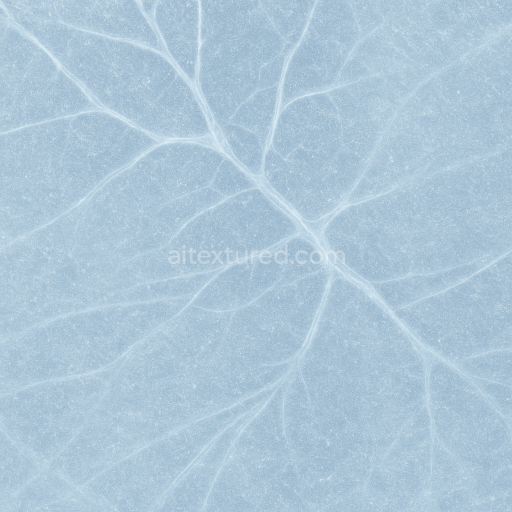
Icy Glaze With Ice Frost Glaze And Frost Rim Details
Seamless texture (tileable) · PNG, WEBP, PBR ZIP. License: AITextured Free Commercial License (FCL) v1.1. Free personal and commercial use. Raw resale, standalone redistribution, mirroring/scraping, competing asset packs, and AI/ML training are not allowed without written permission. Attribution is not required, but appreciated..

| ID | seamless-3d-texture-pbr-8k-of-pressure-ice-with-ice-ridges-and-ice-veins-detail |
|---|---|
| Category | Ice |
| Formats | PNG, WEBP, PBR ZIP |
| Size | 1k (1024x1024px), 2k (2048x2048px), 4k (4096x4096px), 8k (8192x8192px) |
| Color | sRGB |
| Tileable | Yes |
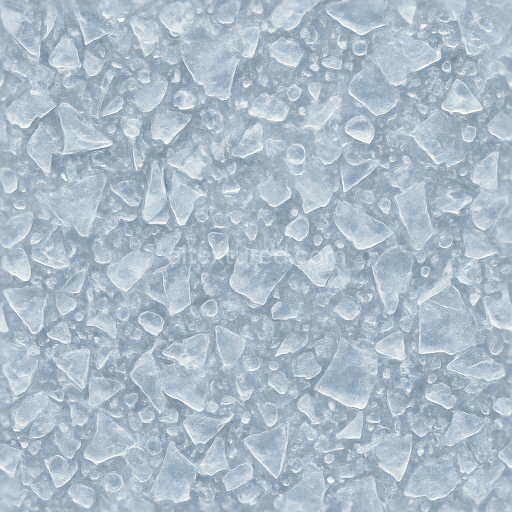
This seamless 3D PBR texture showcases the distinctive characteristics of pressure ice formations meticulously capturing the prominent ice ridges and intricate ice veins that define its complex surface. Originating from glacial movement and intense pressure within frozen bodies the material composition features a dense crystalline ice substrate interspersed with natural scarring and erosion patterns. These details result from microfractures and stress lines that develop over time lending authenticity to the texture's rough yet polished appearance. The surface finish blends smoother glazed ice areas with patches of opaque rough ice while dark black ice zones introduce natural contrast enhancing visual depth and complexity. This interplay of surface textures and subtle color variations is expertly represented in the BaseColor/Albedo channel with soft whites translucent blues and deep blacks mimicking real glacier ice’s nuanced palette.
From a technical standpoint this pressure ice texture is optimized for photorealistic 3D rendering with an impressive 8K resolution ensuring superb detail even at close inspection. The Normal map accurately conveys the jagged ridges and delicate vein patterns providing realistic surface relief and micro-details essential for convincing lighting interaction. The Roughness channel balances the contrast between glossy glazed ice and matte weathered sections while the Metallic channel remains minimal reflecting ice’s non-metallic nature. Ambient Occlusion enhances shadowing in crevices and fissures adding dimensionality. Height and Displacement maps further define the surface topology offering an elevated sense of depth critical for advanced rendering engines. This texture is fully Unreal Blender and Unity ready allowing seamless integration into diverse 3D projects requiring authentic glacier or frozen surface materials.
When applying this seamless pressure ice texture consider adjusting the UV scale to maintain the natural proportion of ice ridges and veins preventing distortion or repetition artifacts. Fine-tuning the roughness values can help achieve the desired balance between the smooth glazed areas and the rougher eroded patches enhancing realism under varied lighting conditions. This texture is ideal for environments depicting frozen landscapes glacier surfaces or icy formations where detailed pressure ice representation is crucial for immersive visual storytelling and material accuracy in real-time or offline rendering pipelines.
Import the texture maps into Blender with sRGB color space for albedo/base color and Non-Color for normal, roughness, metallic, AO, height, and ORM maps. Connect normal maps through a Normal Map node, then adjust UV scale with a Mapping node so the material repeats naturally on your model.
For the full step-by-step setup, see How to Use Seamless Textures in Blender. Browse related material examples in wood, concrete, and metal.
Yes. This texture is designed as a seamless tileable PBR material, so it can repeat across large surfaces without visible borders.
You can download PNG/WEBP versions and use 1K, 2K, 4K and 8K download options when available on the page.
Yes. The download options and engine-mapped ZIP workflow are designed for Blender, Unreal Engine, Unity Standard, URP and HDRP material pipelines.
Yes. The texture is available under the AITextured free commercial license. Review the license page for redistribution and AI-training restrictions.

Generate, preview, and export seamless PBR materials for Blender, Unity, and Unreal Engine—directly in your browser.
AI text-to-texture: type a prompt and get a seamless, tileable base image ready for PBR workflows (great starting point for materials).
Create a full PBR set (Normal, Roughness, AO, Metallic, etc.) from a single image. Seamless and tiling-friendly.
Instant WebGL viewer: inspect materials on a sphere, plane, and cube. Check tiling and lighting in real time.
Re-packages maps per engine: Unreal (BaseColor + ORM), Unity (Mask/MetallicSmoothness), Blender (separate channels).
PNG ↔ JPG ↔ SVG: fast convert, SVG rasterize, embed/trace options, quality & background controls.