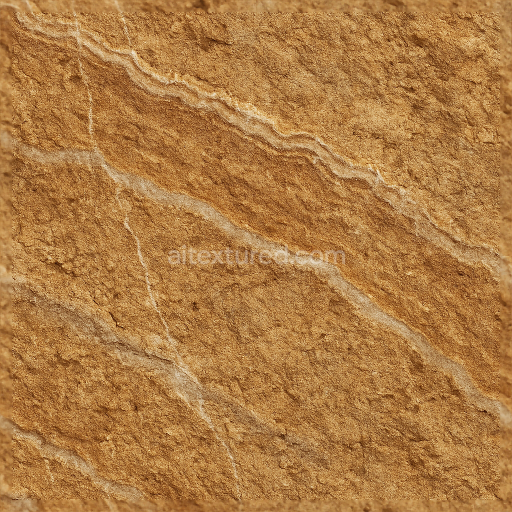
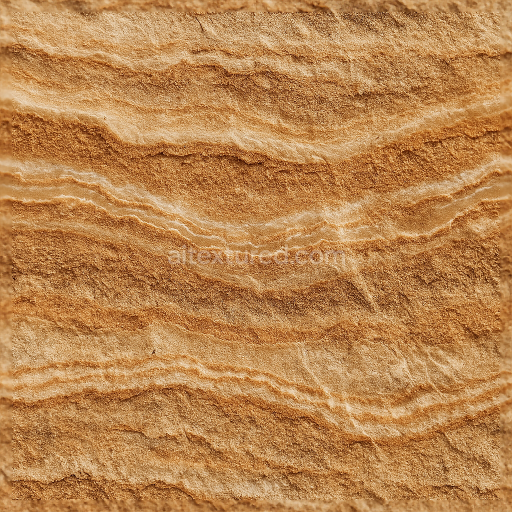
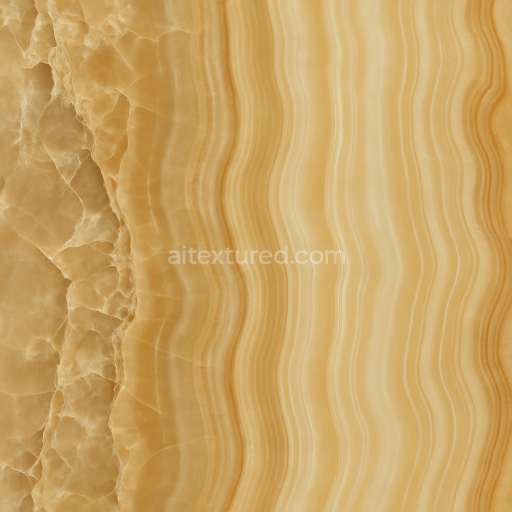
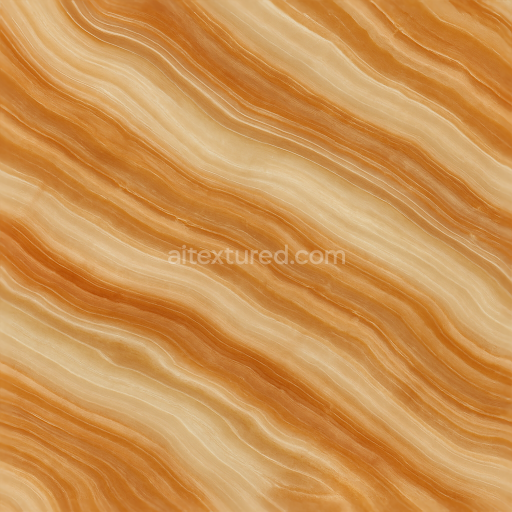
Brown Onyx Raw Surface With Onyx Rough Texture And Mineral Veins
Seamless texture (tileable) · PNG, WEBP, PBR ZIP. License: AITextured Free Commercial License (FCL) v1.1. Free personal and commercial use. Raw resale, standalone redistribution, mirroring/scraping, competing asset packs, and AI/ML training are not allowed without written permission. Attribution is not required, but appreciated..

| ID | seamless-3d-texture-pbr-8k-veined-onyx-natural-pattern-with-onyx-smooth-veins-and-crystal-structure |
|---|---|
| Category | Onyx |
| Formats | PNG, WEBP, PBR ZIP |
| Size | 1k (1024x1024px), 2k (2048x2048px), 4k (4096x4096px), 8k (8192x8192px) |
| Color | sRGB |
| Tileable | Yes |
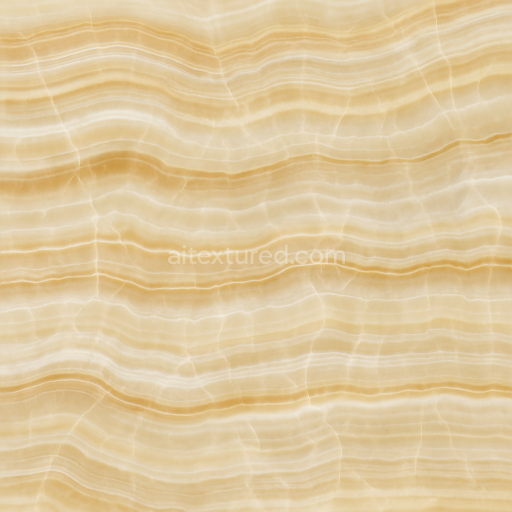
This seamless 3D texture showcases a veined onyx natural pattern rendered in exquisite 8K resolution, designed to replicate the intricate mineral veins and smooth crystalline structures characteristic of high-quality onyx stone. The base material consists primarily of calcite and aragonite crystals, forming translucent layers that overlap to create a depth effect unique to onyx. These mineral veins are embedded within a polished slab geometry, highlighting the stone’s natural laminar formation and subtle color gradients that range from creamy whites to warm amber tones. The texture’s form captures the elongated, flowing veins smoothly traversing the surface, mimicking the natural geological processes that result in onyx’s distinctive banding and translucency.
In terms of composition, the onyx texture simulates a dense, low-porosity sedimentary rock where the crystalline substrate is interspersed with fine mineral inclusions and delicate impurities that enhance realism. The polished surface finish reflects light softly, emphasizing the stone’s reflective surface and translucent quality. The PBR material channels are carefully calibrated: the BaseColor (Albedo) map presents the natural color variations and vein patterns without artificial tinting; the Normal map enhances the subtle undulations and crystal facets for realistic light interaction; Roughness is finely tuned to depict the smooth, glossy finish of a polished slab while allowing gentle specular highlights; Metallic remains near zero, consistent with non-metallic stone; Ambient Occlusion subtly accentuates crevices between veins; and the Height (Displacement) map adds micro-relief to simulate the depth and layering of the crystal structure.
Engineered for compatibility with Blender, Unreal Engine, and Unity, this texture supports seamless tiling for extensive surface applications, such as architectural visualizations, interior design projects, or photorealistic product renderings. The ultra-high 8K resolution ensures preservation of fine details even in close-up views, making it ideal for large-scale environments or detailed material studies. The seamless nature of the texture prevents visible repetition, enabling continuous coverage across various geometric surfaces without interruption.
For optimal use, it is recommended to adjust the UV scale according to the target model’s dimensions to maintain a natural vein proportion and avoid distortion. Additionally, fine-tuning the roughness map can help balance the reflective qualities based on lighting conditions, while blending height or parallax maps with normal maps can enhance perceived depth on flatter surfaces, adding to the tactile realism of the onyx polished slab.
Import the texture maps into Blender with sRGB color space for albedo/base color and Non-Color for normal, roughness, metallic, AO, height, and ORM maps. Connect normal maps through a Normal Map node, then adjust UV scale with a Mapping node so the material repeats naturally on your model.
For the full step-by-step setup, see How to Use Seamless Textures in Blender. Browse related material examples in wood, concrete, and metal.
Yes. This texture is designed as a seamless tileable PBR material, so it can repeat across large surfaces without visible borders.
You can download PNG/WEBP versions and use 1K, 2K, 4K and 8K download options when available on the page.
Yes. The download options and engine-mapped ZIP workflow are designed for Blender, Unreal Engine, Unity Standard, URP and HDRP material pipelines.
Yes. The texture is available under the AITextured free commercial license. Review the license page for redistribution and AI-training restrictions.


Build, preview, and export seamless PBR materials. Generate full map sets from a single image, inspect them in a real-time WebGL viewer, and re-package maps for Unreal, Unity, and Blender—directly in your browser.
AI text-to-texture: type a prompt and get a seamless, tileable base image ready for PBR workflows (great starting point for materials).
Create a full PBR set (Normal, Roughness, AO, Metallic, etc.) from a single image. Seamless and tiling-friendly.
Instant WebGL viewer: inspect materials on a sphere, plane, and cube. Check tiling and lighting in real time.
Re-packages maps per engine: Unreal (BaseColor + ORM), Unity (Mask/MetallicSmoothness), Blender (separate channels).
PNG ↔ JPG ↔ SVG: fast convert, SVG rasterize, embed/trace options, quality & background controls.