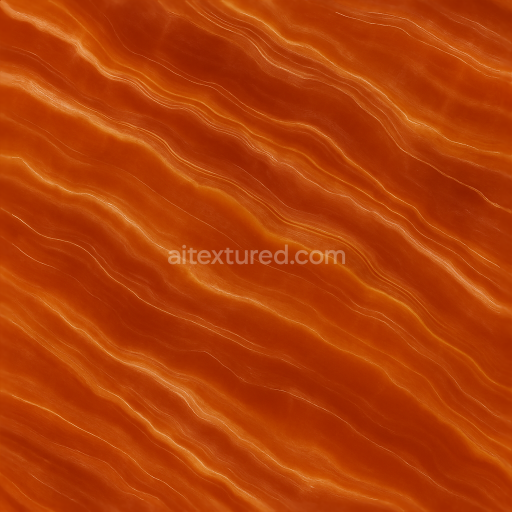
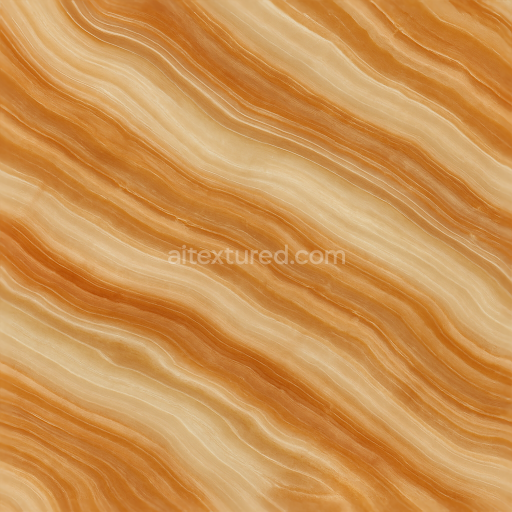
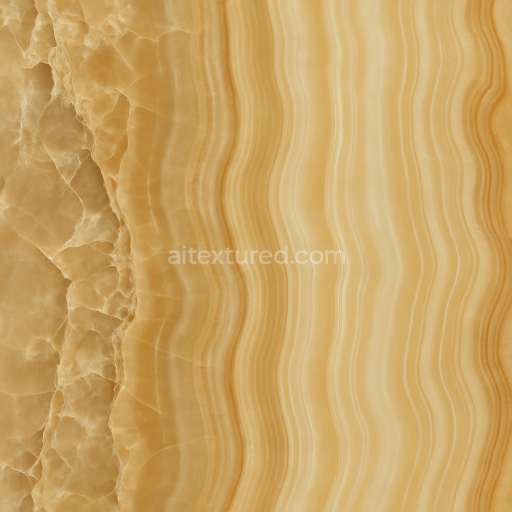
Carnelian Onyx With Onyx Warm Tones And Polished Smooth Veins
Seamless texture (tileable) · PNG, WEBP, PBR ZIP. License: AITextured Free Commercial License (FCL) v1.1. Free personal and commercial use. Raw resale, standalone redistribution, mirroring/scraping, competing asset packs, and AI/ML training are not allowed without written permission. Attribution is not required, but appreciated..

| ID | seamless-3d-texture-pbr-8k-onyx-layers-with-onyx-translucent-layers-and-polished-smooth-surface |
|---|---|
| Category | Onyx |
| Formats | PNG, WEBP, PBR ZIP |
| Size | 1k (1024x1024px), 2k (2048x2048px), 4k (4096x4096px), 8k (8192x8192px) |
| Color | sRGB |
| Tileable | Yes |
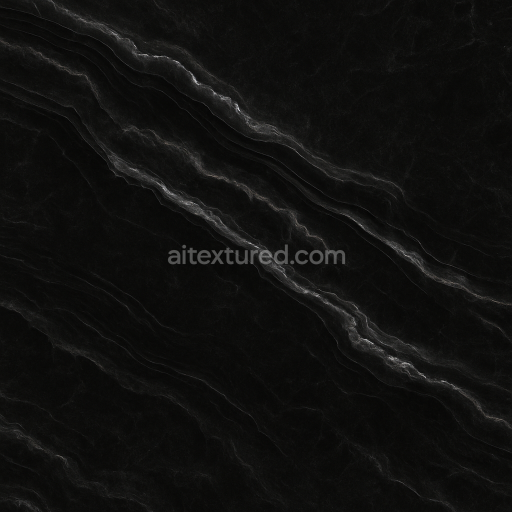
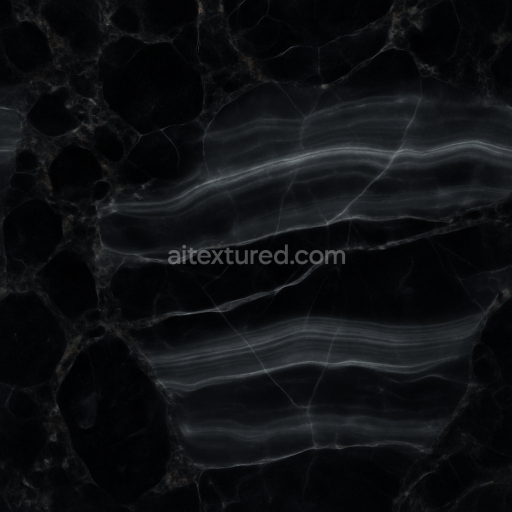
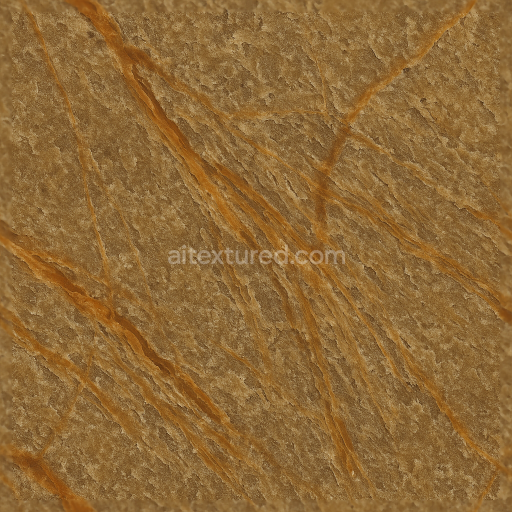
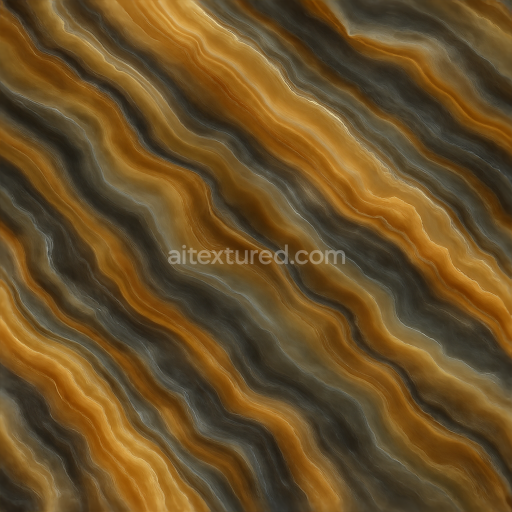
This seamless 3D PBR 8K texture showcases the intricate natural composition of onyx stone, characterized by its distinctive layered formation and translucent qualities. Onyx is primarily formed through the deposition of fine-calcium carbonate layers, resulting in a unique laminated structure where alternating bands of varying translucency and color create depth and complexity. The substrate of this texture simulates a dense mineral base, enhanced by subtle crystalline formations that mimic the stone’s inherent microcrystalline quartz composition. The smooth veins and mineral inclusions are captured with precision, replicating the natural flow and grain typical of genuine onyx slabs.
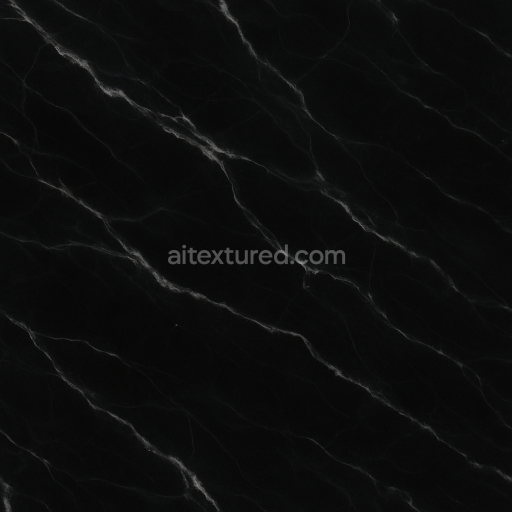
The surface finish is a polished, glossy sheen that accentuates the stone’s reflective properties and natural shine. This is replicated through a combination of low roughness values and carefully crafted normal and height maps that emphasize the fine undulations and subtle surface imperfections, typical of a well-polished onyx finish. The translucent layers are rendered to convey depth, simulating light passing through thinner mineral bands, which adds realistic subsurface scattering effects without compromising the overall solidity of the material. The color palette ranges from creamy whites and soft browns to deeper ambers and blacks, reflecting natural pigmentation and mineral vein variations found in onyx deposits.
From a PBR workflow perspective, the BaseColor (Albedo) channel delivers the authentic coloration and banding patterns, while the Normal map provides detailed surface relief, highlighting the smooth veins and subtle crystal structures. The Roughness map is calibrated to reflect the polished finish, producing a glossy, near-reflective surface with minimal micro-roughness. The Metallic channel remains neutral, as onyx is a non-metallic mineral, while the Ambient Occlusion map enhances shadowing within the layered crevices and veins to boost realism. Height or Displacement maps capture the slight elevation differences between layers, crucial for realistic parallax and depth effects in close-up renders.
Optimized for 8K resolution, this texture supports high-fidelity renderings in Blender, Unreal Engine, and Unity, ensuring exceptional clarity and detail on large surfaces without visible tiling artifacts. For practical application, it is recommended to adjust UV scale carefully to maintain the natural size of the onyx veins and layers relative to the modeled geometry. Additionally, fine-tuning the roughness map can help balance the glossiness depending on environmental lighting conditions, while blending height and normal maps improves depth perception when viewed at oblique angles or in close-up shots, enhancing the material’s tactile realism.
Import the texture maps into Blender with sRGB color space for albedo/base color and Non-Color for normal, roughness, metallic, AO, height, and ORM maps. Connect normal maps through a Normal Map node, then adjust UV scale with a Mapping node so the material repeats naturally on your model.
For the full step-by-step setup, see How to Use Seamless Textures in Blender. Browse related material examples in wood, concrete, and metal.
Yes. This texture is designed as a seamless tileable PBR material, so it can repeat across large surfaces without visible borders.
You can download PNG/WEBP versions and use 1K, 2K, 4K and 8K download options when available on the page.
Yes. The download options and engine-mapped ZIP workflow are designed for Blender, Unreal Engine, Unity Standard, URP and HDRP material pipelines.
Yes. The texture is available under the AITextured free commercial license. Review the license page for redistribution and AI-training restrictions.


Build, preview, and export seamless PBR materials. Generate full map sets from a single image, inspect them in a real-time WebGL viewer, and re-package maps for Unreal, Unity, and Blender—directly in your browser.
AI text-to-texture: type a prompt and get a seamless, tileable base image ready for PBR workflows (great starting point for materials).
Create a full PBR set (Normal, Roughness, AO, Metallic, etc.) from a single image. Seamless and tiling-friendly.
Instant WebGL viewer: inspect materials on a sphere, plane, and cube. Check tiling and lighting in real time.
Re-packages maps per engine: Unreal (BaseColor + ORM), Unity (Mask/MetallicSmoothness), Blender (separate channels).
PNG ↔ JPG ↔ SVG: fast convert, SVG rasterize, embed/trace options, quality & background controls.