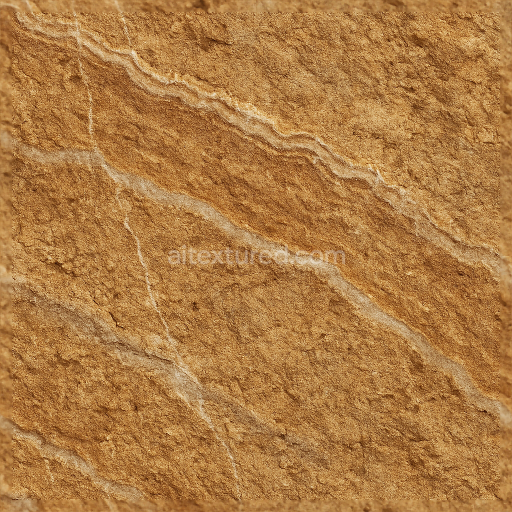
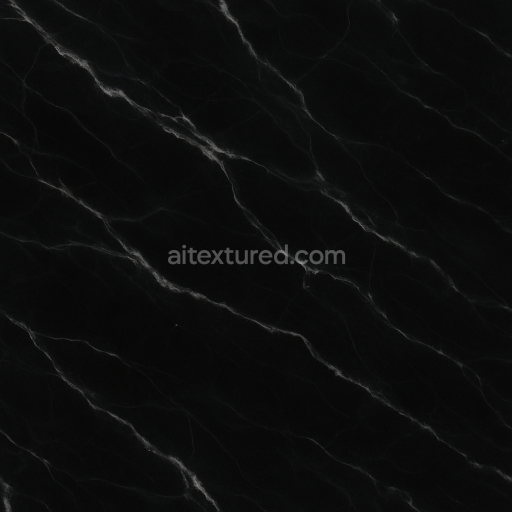
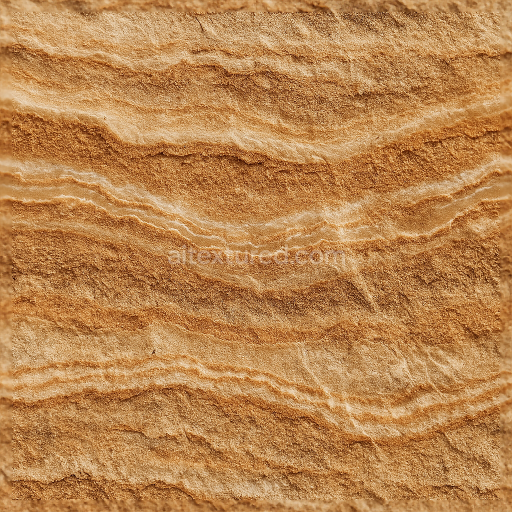
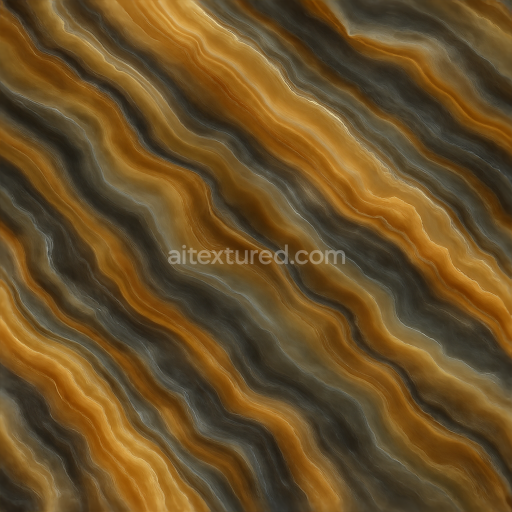
Brown Onyx Raw Surface With Onyx Rough Texture And Mineral Veins
Seamless texture (tileable) · PNG, WEBP, PBR ZIP. License: AITextured Free Commercial License (FCL) v1.1. Free personal and commercial use. Raw resale, standalone redistribution, mirroring/scraping, competing asset packs, and AI/ML training are not allowed without written permission. Attribution is not required, but appreciated..

| ID | seamless-3d-texture-pbr-8k-translucent-onyx-with-onyx-glow-and-smooth-polished-finish |
|---|---|
| Category | Onyx |
| Formats | PNG, WEBP, PBR ZIP |
| Size | 1k (1024x1024px), 2k (2048x2048px), 4k (4096x4096px), 8k (8192x8192px) |
| Color | sRGB |
| Tileable | Yes |
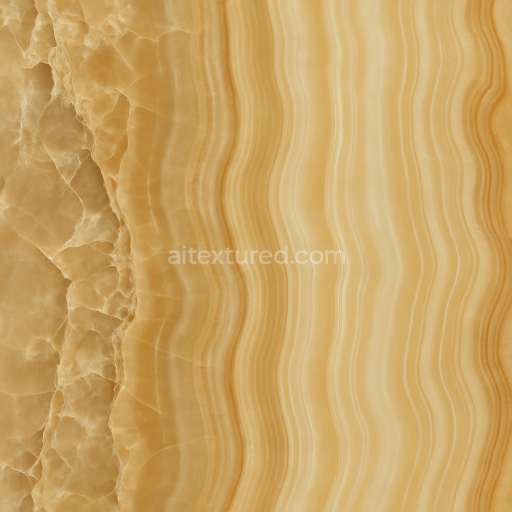
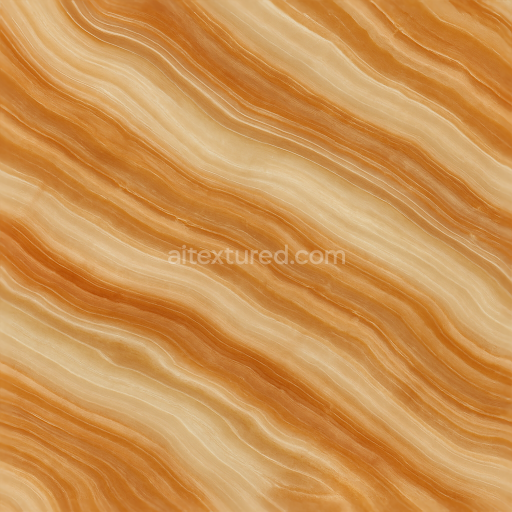
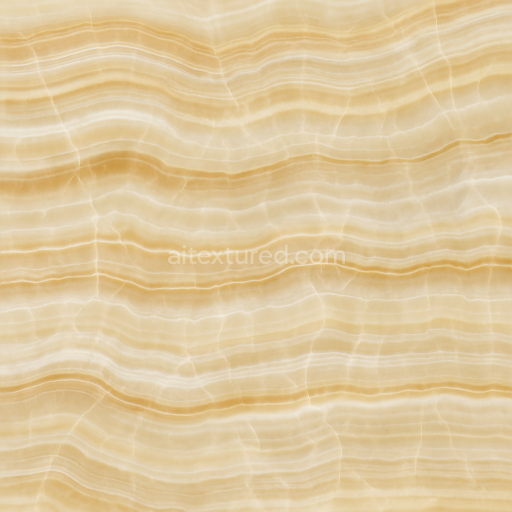
This seamless 3D PBR texture showcases a high-resolution 8K depiction of translucent onyx, characterized by its smooth, polished finish and a subtle, intrinsic onyx glow. The material emulates the natural crystalline structure of onyx, capturing the intricate veined patterns and varying translucency that contribute to its distinctive depth and richness. The base substrate mimics the dense mineral matrix typical of onyx, with subtle embedded grain and layered banding that reflect natural mineral formation. This composite structure is rendered through precise base color (albedo) maps that reproduce the gradient of creamy whites, soft browns, and faint amber hues inherent to onyx, while the normal and height maps define the delicate undulations and veining depth, enhancing tactile realism without disrupting the polished surface.
The texture’s surface finish is meticulously modeled to represent a highly polished, reflective quality, simulating the natural shine and smoothness that onyx acquires through fine sanding and sealing processes. The roughness map is calibrated to maintain low roughness values, ensuring a glossy, almost glass-like reflectivity that interacts realistically with light sources, enabling the subtle onyx glow to emanate through the translucent layers. Ambient occlusion channels add depth to the veined recesses, accentuating the mineral’s complex internal geometry and reinforcing the perception of translucency and layered crystalline structure. The metallic channel remains minimal or at zero, consistent with onyx’s non-metallic nature, focusing instead on the interplay between translucency and reflectivity.
From a geometric perspective, the texture simulates a natural veined pattern rather than a repetitive tile or uniform structure, with seamless tiling carefully engineered to avoid noticeable repetition across large surfaces. This makes it ideal for architectural visualizations, interior design elements like countertops or wall claddings, and product visualizations requiring photorealistic mineral surfaces. The texture is fully compatible and optimized for major 3D engines such as Blender, Unreal Engine, and Unity, supporting physically based rendering workflows with all necessary maps included for immediate integration.
When applying this translucent onyx texture, it is recommended to adjust the UV scale to maintain natural vein proportions, avoiding excessive repetition or distortion that can break immersion. Slight roughness tuning can enhance realism under different lighting conditions, particularly if simulating wear or subtle surface imperfections. Additionally, blending height and normal maps with parallax techniques can further emphasize the depth of the veining and crystalline layers, enriching the overall tactile quality without compromising the polished finish.
Import the texture maps into Blender with sRGB color space for albedo/base color and Non-Color for normal, roughness, metallic, AO, height, and ORM maps. Connect normal maps through a Normal Map node, then adjust UV scale with a Mapping node so the material repeats naturally on your model.
For the full step-by-step setup, see How to Use Seamless Textures in Blender. Browse related material examples in wood, concrete, and metal.
Yes. This texture is designed as a seamless tileable PBR material, so it can repeat across large surfaces without visible borders.
You can download PNG/WEBP versions and use 1K, 2K, 4K and 8K download options when available on the page.
Yes. The download options and engine-mapped ZIP workflow are designed for Blender, Unreal Engine, Unity Standard, URP and HDRP material pipelines.
Yes. The texture is available under the AITextured free commercial license. Review the license page for redistribution and AI-training restrictions.


Build, preview, and export seamless PBR materials. Generate full map sets from a single image, inspect them in a real-time WebGL viewer, and re-package maps for Unreal, Unity, and Blender—directly in your browser.
AI text-to-texture: type a prompt and get a seamless, tileable base image ready for PBR workflows (great starting point for materials).
Create a full PBR set (Normal, Roughness, AO, Metallic, etc.) from a single image. Seamless and tiling-friendly.
Instant WebGL viewer: inspect materials on a sphere, plane, and cube. Check tiling and lighting in real time.
Re-packages maps per engine: Unreal (BaseColor + ORM), Unity (Mask/MetallicSmoothness), Blender (separate channels).
PNG ↔ JPG ↔ SVG: fast convert, SVG rasterize, embed/trace options, quality & background controls.