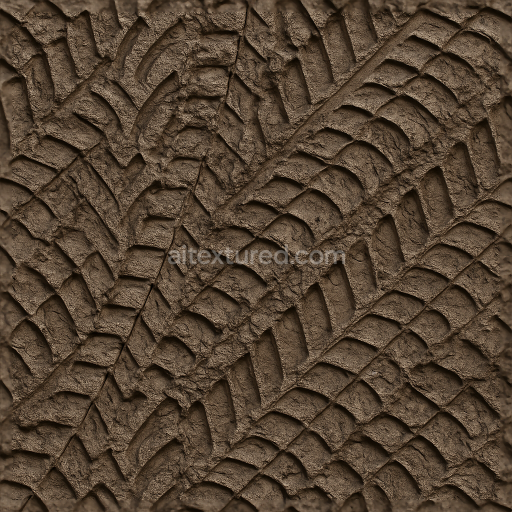
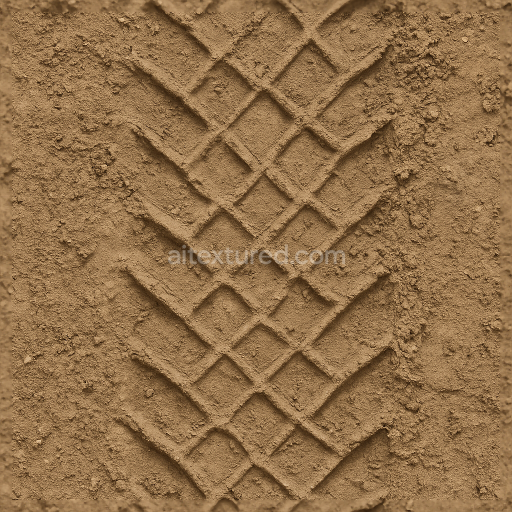
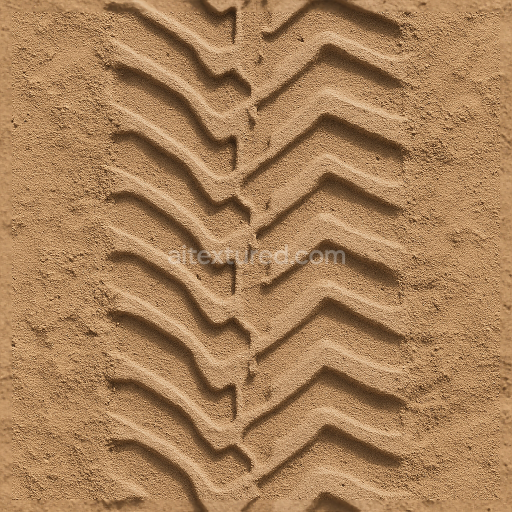
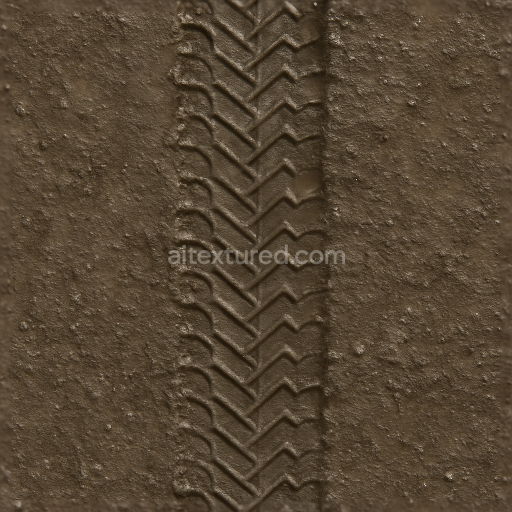
Wet Tire Print On Muddy Track With Natural Overlapping Prints Effect
Seamless texture (tileable) · PNG, WEBP, PBR ZIP. License: AITextured Free Commercial License (FCL) v1.1. Free personal and commercial use. Raw resale, standalone redistribution, mirroring/scraping, competing asset packs, and AI/ML training are not allowed without written permission. Attribution is not required, but appreciated..

| ID | seamless-3d-texture-pbr-8k-fresh-tire-print-on-wet-mud-with-circular-pattern-and-mud-splash-effects |
|---|---|
| Category | Tire prints |
| Formats | PNG, WEBP, PBR ZIP |
| Size | 1k (1024x1024px), 2k (2048x2048px), 4k (4096x4096px), 8k (8192x8192px) |
| Color | sRGB |
| Tileable | Yes |
This seamless 8K PBR texture captures the intricate details of a fresh tire print pressed into wet mud characterized by a distinct circular tread pattern combined with dynamic mud splash effects. The base material composition primarily consists of saturated soil with a high moisture content providing a soft yet cohesive substrate that readily holds the tire imprint. The texture reflects a natural mixture of fine clay particles organic matter and small aggregates typical of wet soil resulting in a slightly porous surface that retains subtle depressions and raised ridges from the tire’s manual pressure. The circular pattern replicates the geometric tread design of the tire with raised rubber treads creating sharp repetitive grooves and indentations in the mud forming a complex three-dimensional form that conveys depth and realism.
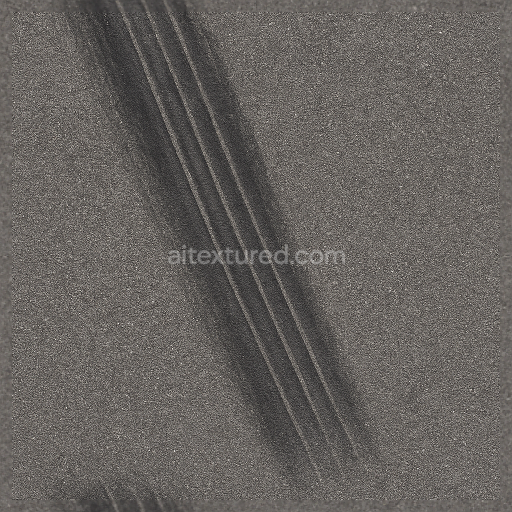
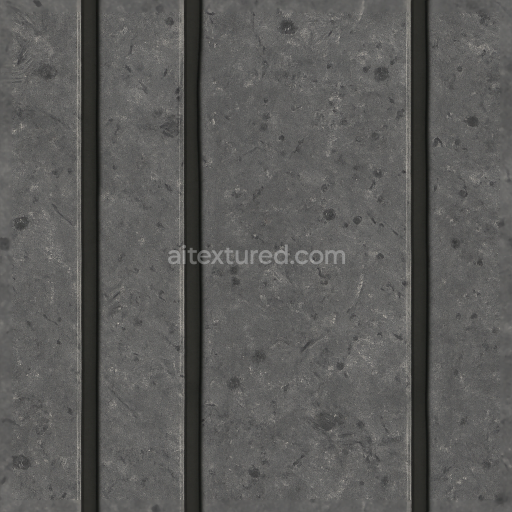
From a material perspective the wet mud surface shows a variable roughness due to the interplay between smooth water films and coarse soil granules. The albedo (BaseColor) map effectively captures the darkened saturated earth tones with subtle variations of brown and gray punctuated by lighter tones where mud splashes have dried or been displaced. The normal map emphasizes the tire tread’s ridges and the uneven mud texture enhancing the perception of depth and mechanical patterning without metallic reflections as the metallic channel remains near zero. Roughness values fluctuate across the surface with the wet areas exhibiting low roughness for a glossy reflective finish while drier soil patches display increased roughness for diffuse reflection. Ambient occlusion highlights crevices within the tire pattern and around mud clumps contributing to realistic shadowing and grounding the texture firmly within a 3D environment. Height and displacement maps further define the raised tire treads and subtle soil depressions allowing for effective parallax and displacement effects in rendering engines.
The surface finish appears naturally matte in dry zones transitioning to a semi-glossy slick finish where moisture accumulates accurately reflecting the wet soil’s behavior under light. Pigments are intrinsic to the soil composition rather than applied colorants resulting in an organic earthy palette. Weathering effects are minimal emphasizing the freshness of the tire impression with minimal erosion or cracking. This texture has been optimized for seamless tiling ensuring that multiple tire tracks can overlap realistically without visible seams or repetition artifacts ideal for terrain detailing in environmental visualizations offroad vehicle simulations and game scenes requiring authentic wet soil interactions.
Compatible with Blender Unreal Engine and Unity this texture supports all essential PBR channels at an 8K resolution delivering high fidelity and fine detail for close-up renders. For best results it is advisable to adjust the UV scale carefully to maintain natural proportions of the tire tread relative to the vehicle model. Additionally tuning the roughness map can help simulate varying wetness levels while blending height and normal maps can enhance the perceived depth of the tire imprint without excessive geometry. This approach ensures versatile usage across diverse 3D workflows and rendering environments providing a reliable and photorealistic representation of fresh tire prints on wet mud.
Import the texture maps into Blender with sRGB color space for albedo/base color and Non-Color for normal, roughness, metallic, AO, height, and ORM maps. Connect normal maps through a Normal Map node, then adjust UV scale with a Mapping node so the material repeats naturally on your model.
For the full step-by-step setup, see How to Use Seamless Textures in Blender. Browse related material examples in wood, concrete, and metal.
Yes. This texture is designed as a seamless tileable PBR material, so it can repeat across large surfaces without visible borders.
You can download PNG/WEBP versions and use 1K, 2K, 4K and 8K download options when available on the page.
Yes. The download options and engine-mapped ZIP workflow are designed for Blender, Unreal Engine, Unity Standard, URP and HDRP material pipelines.
Yes. The texture is available under the AITextured free commercial license. Review the license page for redistribution and AI-training restrictions.


Build, preview, and export seamless PBR materials. Generate full map sets from a single image, inspect them in a real-time WebGL viewer, and re-package maps for Unreal, Unity, and Blender—directly in your browser.
AI text-to-texture: type a prompt and get a seamless, tileable base image ready for PBR workflows (great starting point for materials).
Create a full PBR set (Normal, Roughness, AO, Metallic, etc.) from a single image. Seamless and tiling-friendly.
Instant WebGL viewer: inspect materials on a sphere, plane, and cube. Check tiling and lighting in real time.
Re-packages maps per engine: Unreal (BaseColor + ORM), Unity (Mask/MetallicSmoothness), Blender (separate channels).
PNG ↔ JPG ↔ SVG: fast convert, SVG rasterize, embed/trace options, quality & background controls.