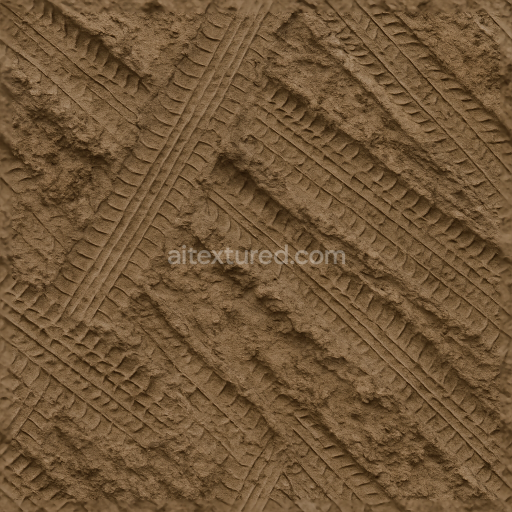
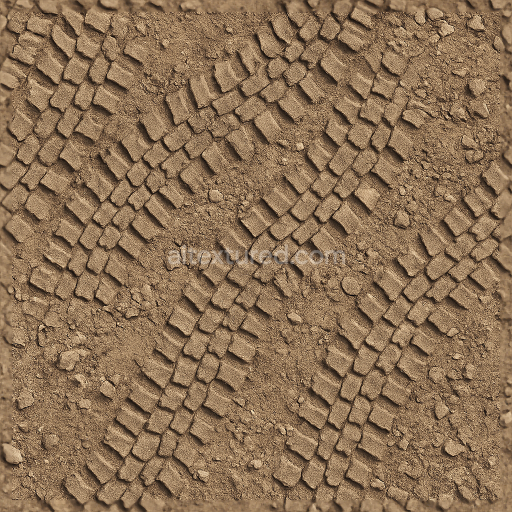
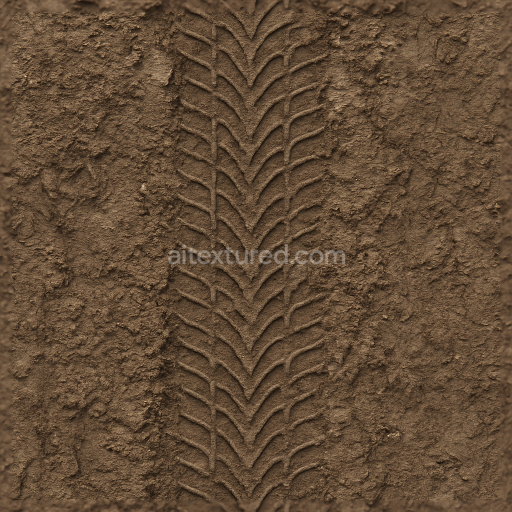
Multiple Tracks Tire Print On Muddy Track With Overlapping Prints And Mud Splash
Seamless texture (tileable) · PNG, WEBP, PBR ZIP. License: AITextured Free Commercial License (FCL) v1.1. Free personal and commercial use. Raw resale, standalone redistribution, mirroring/scraping, competing asset packs, and AI/ML training are not allowed without written permission. Attribution is not required, but appreciated..

| ID | seamless-3d-texture-pbr-8k-old-print-tire-tread-on-muddy-track-with-faded-tread-and-wet-mud-splash |
|---|---|
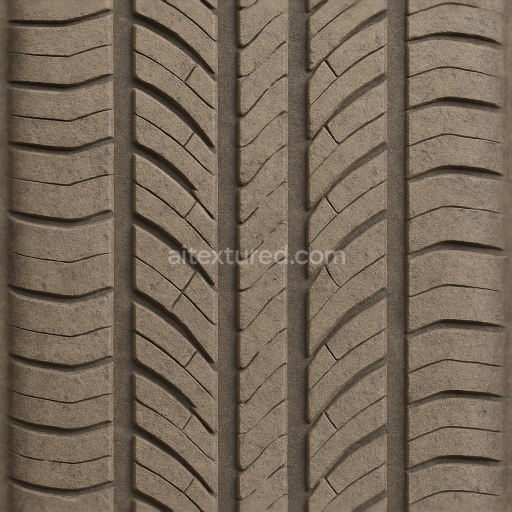
| Category | Tire prints |
| Formats | PNG, WEBP, PBR ZIP |
| Size | 1k (1024x1024px), 2k (2048x2048px), 4k (4096x4096px), 8k (8192x8192px) |
| Color | sRGB |
| Tileable | Yes |
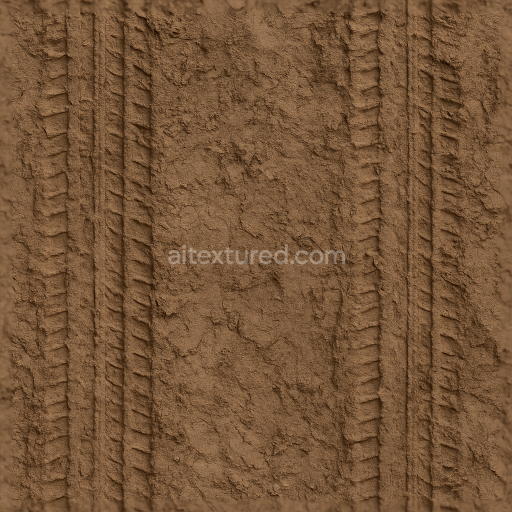
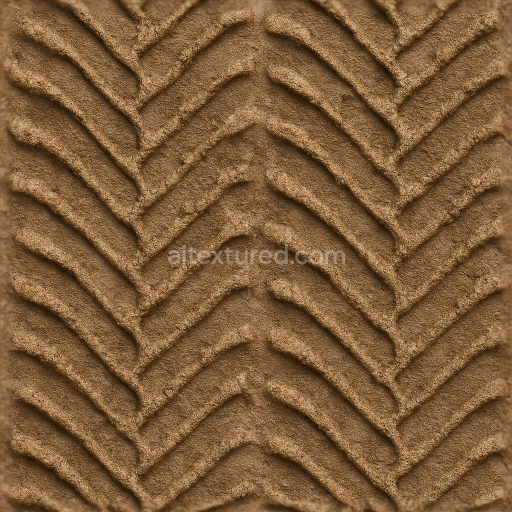
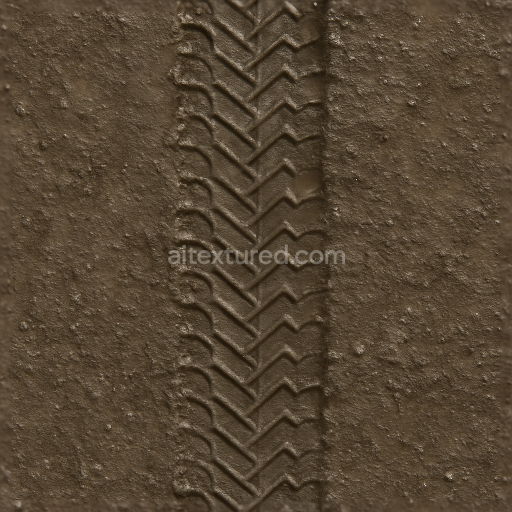
This seamless 3D PBR texture at 8K resolution captures the intricate details of an old tire tread imprint embedded in a muddy track showcasing a complex interplay between soil wet mud and worn rubber patterns. The base material is primarily natural soil combined with compacted mud forming a soft yet firm substrate rich in fine-grained aggregates and organic particles. Over time repeated tire passes have left faded tread patterns characterized by irregular depressions and smoothed edges indicating weathering and erosion. The tire tread’s form consists of a manual tire print pattern featuring linear grooves and block shapes typical of off-road tires now partially obscured by wet mud splashes and soil displacement. This results in a textured surface with varied porosity and subtle micro-roughness due to moisture saturation and dirt adhesion.
The composition reveals a heterogeneous mixture where the soil acts as the primary substrate bound by natural moisture and cohesive clay content while the tire tread marks represent displaced aggregates and compressed soil layers. The faded tread areas display a combination of compacted sediment with reduced height variation whereas the wet mud splashes add a glossy reflective finish due to surface water films. Colorants arise naturally from the soil’s mineral content ranging from deep browns and ochres to muted grays with darker saturated regions indicating moisture presence. The overall surface finish is semi-matte with localized wet spots exhibiting increased specular highlights and subtle glossiness. These material characteristics translate into PBR texture channels as follows: the BaseColor (Albedo) map conveys natural earth tones and wetness variations; the Normal map encodes fine tread geometry and soil roughness; Roughness map highlights contrast between dry rough soil and smooth wet mud; Metallic is negligible or zero consistent with non-metallic natural materials; Ambient Occlusion enhances depth perception in crevices of the tread and soil imprints; Height/Displacement maps provide realistic depth cues for tire groove recesses and mud deposits.
Designed for seamless tiling this texture integrates smoothly into 3D environments and is optimized for real-time engines like Unreal Engine and Unity as well as offline renderers such as Blender’s Cycles and Eevee. Its ultra-high 8K resolution ensures exceptional detail fidelity making it suitable for close-up shots and large-scale terrain visualizations where organic ground deformation and tire track aging are critical. The neutral lighting setup embedded in the texture maps ensures versatility across various lighting conditions and rendering workflows allowing for consistent and realistic ground surface representation.
For practical use it is recommended to carefully adjust UV scaling to maintain natural tread proportions relative to vehicle size and terrain. Additionally fine-tuning the roughness map can enhance the wet mud’s reflective qualities while blending height and normal maps can improve depth perception without excessive geometry displacement. This approach helps achieve an authentic portrayal of weathered tire imprints interacting dynamically with natural muddy environments.
Import the texture maps into Blender with sRGB color space for albedo/base color and Non-Color for normal, roughness, metallic, AO, height, and ORM maps. Connect normal maps through a Normal Map node, then adjust UV scale with a Mapping node so the material repeats naturally on your model.
For the full step-by-step setup, see How to Use Seamless Textures in Blender. Browse related material examples in wood, concrete, and metal.
Yes. This texture is designed as a seamless tileable PBR material, so it can repeat across large surfaces without visible borders.
You can download PNG/WEBP versions and use 1K, 2K, 4K and 8K download options when available on the page.
Yes. The download options and engine-mapped ZIP workflow are designed for Blender, Unreal Engine, Unity Standard, URP and HDRP material pipelines.
Yes. The texture is available under the AITextured free commercial license. Review the license page for redistribution and AI-training restrictions.


Build, preview, and export seamless PBR materials. Generate full map sets from a single image, inspect them in a real-time WebGL viewer, and re-package maps for Unreal, Unity, and Blender—directly in your browser.
AI text-to-texture: type a prompt and get a seamless, tileable base image ready for PBR workflows (great starting point for materials).
Create a full PBR set (Normal, Roughness, AO, Metallic, etc.) from a single image. Seamless and tiling-friendly.
Instant WebGL viewer: inspect materials on a sphere, plane, and cube. Check tiling and lighting in real time.
Re-packages maps per engine: Unreal (BaseColor + ORM), Unity (Mask/MetallicSmoothness), Blender (separate channels).
PNG ↔ JPG ↔ SVG: fast convert, SVG rasterize, embed/trace options, quality & background controls.