
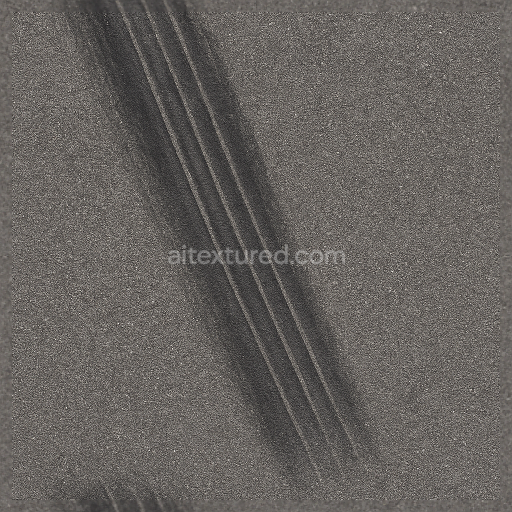
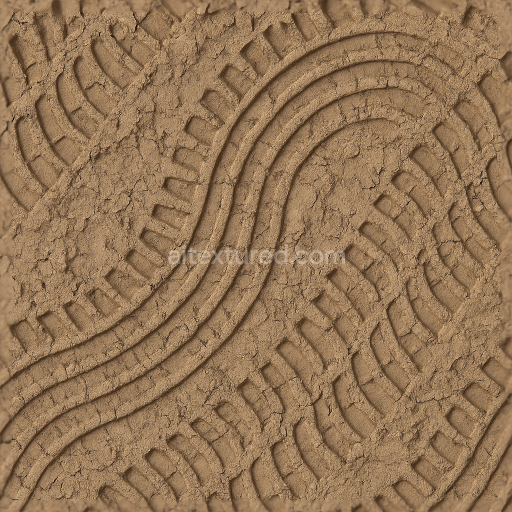
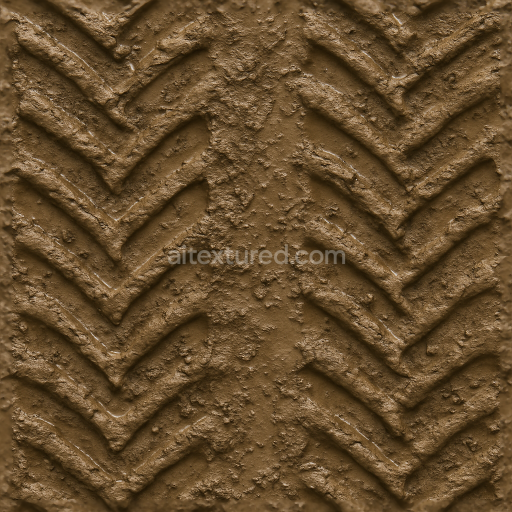
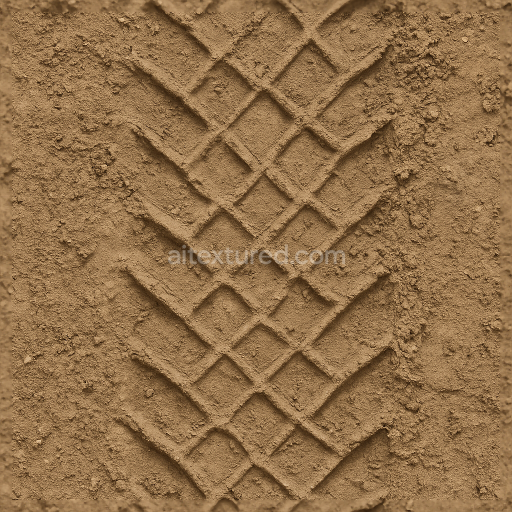
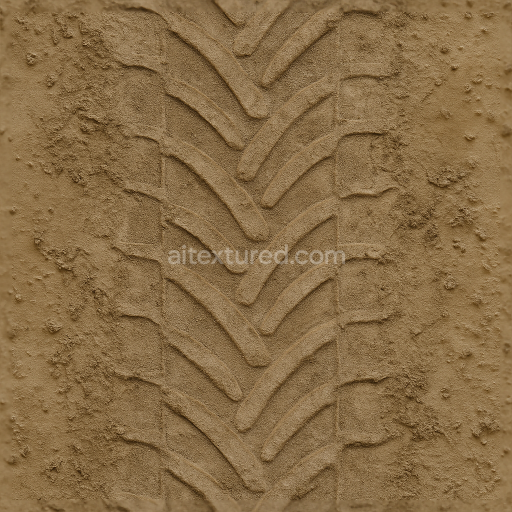
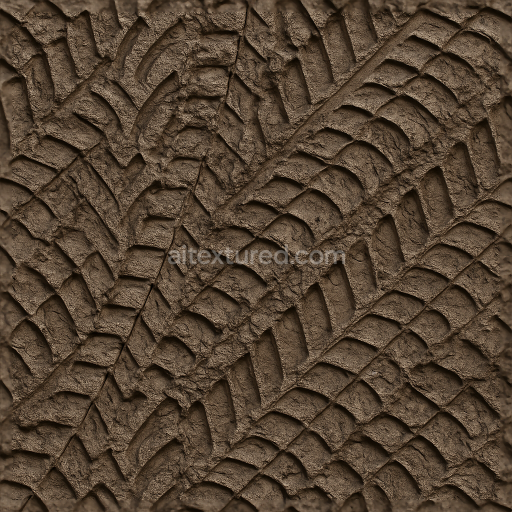
Worn Tire Print On Dry Soil With Diamond Tread And Soil Imprint Pattern Repeat
Seamless texture (tileable) · PNG, WEBP, PBR ZIP. License: AITextured Free Commercial License (FCL) v1.1. Free personal and commercial use. Raw resale, standalone redistribution, mirroring/scraping, competing asset packs, and AI/ML training are not allowed without written permission. Attribution is not required, but appreciated..

| ID | seamless-3d-texture-pbr-8k-truck-tire-print-heavy-duty-tread-tire-sidewall-mark |
|---|---|
| Category | Tire prints |
| Formats | PNG, WEBP, PBR ZIP |
| Size | 1k (1024x1024px), 2k (2048x2048px), 4k (4096x4096px), 8k (8192x8192px) |
| Color | sRGB |
| Tileable | Yes |
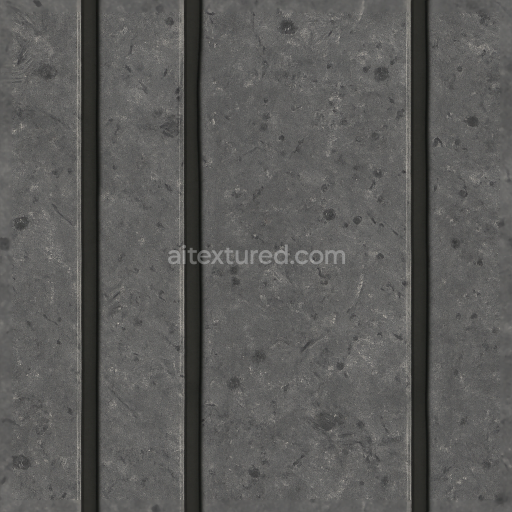
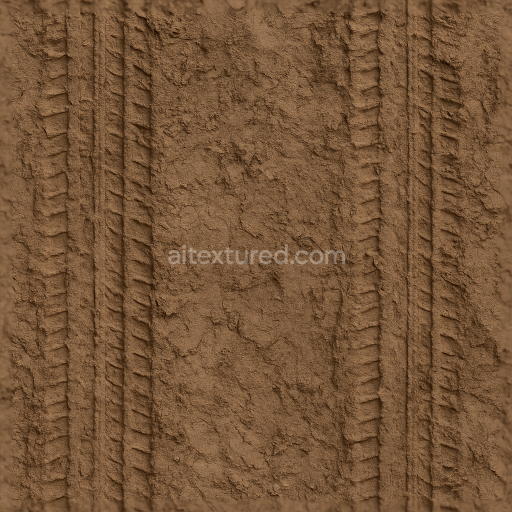
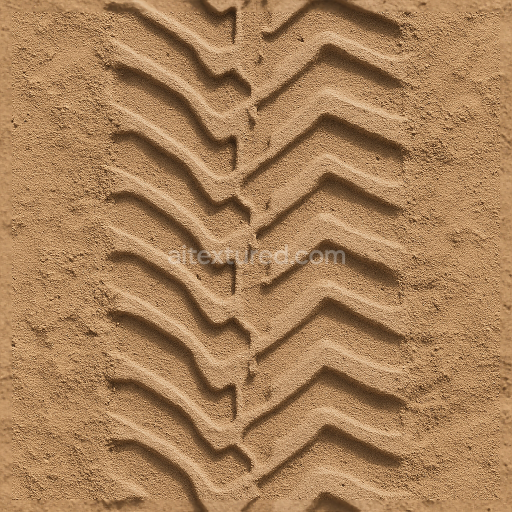
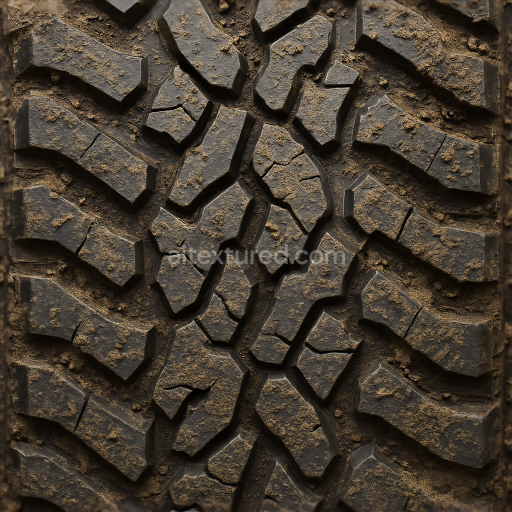
This seamless 8K PBR texture captures the intricate imprint of a heavy-duty truck tire showcasing a detailed tread pattern and pronounced sidewall marks. The underlying material is primarily rugged rubber composed of a dense substrate reinforced with synthetic polymers and embedded aggregates to enhance durability. The tread exhibits a geometric arrangement of deep angular grooves and raised lugs designed to provide traction. These features create a complex surface topology with varying depths and sharp edges ideal for replicating realistic tire tracks on diverse terrains. The sidewall marks add an additional layer of authenticity reflecting the tire’s branding and wear patterns.
The composition includes a resilient rubber matrix mixed with carbon black pigments giving the base color a deep matte black tone with subtle variations due to accumulated road dust and dirt. The texture’s roughness channel highlights the contrast between the worn slightly polished raised rubber and the recessed dust-filled grooves. Metallic elements are minimal consistent with rubber’s non-metallic nature while ambient occlusion enhances the perception of depth in the tire pattern detail emphasizing shadowed crevices. The height and normal maps accurately represent the tire groove depth and sidewall embossing providing tangible relief suitable for displacement or parallax effects.
Designed for photorealistic rendering this texture supports seamless tiling ensuring continuous coverage over large surfaces without noticeable repetition. Its high resolution at 8K allows for exceptional detail retention making it suitable for close-up shots in applications such as Blender Unreal Engine and Unity. The diffuse channel captures the albedo with naturalistic color variance from the tire’s rubber and embedded road dust while the PBR workflow channels deliver physically accurate light interaction. The texture’s surface finish can be described as predominantly matte with localized rough patches where wear and dust accumulation occur.
For optimal use it is recommended to adjust the UV scale carefully to maintain the proportional size of the tire print relative to the scene’s environment. Additionally tuning the roughness map can simulate varying degrees of wetness or dirt on the tire surface enhancing realism. Blending height and normal maps can further refine the depth effect of the grooves especially when used with parallax occlusion shaders providing convincing three-dimensional tire tracks on asphalt or dirt terrain. This texture is ideal for industrial vehicle scenes construction environments or any scenario requiring detailed heavy truck tire imprints.
Import the texture maps into Blender with sRGB color space for albedo/base color and Non-Color for normal, roughness, metallic, AO, height, and ORM maps. Connect normal maps through a Normal Map node, then adjust UV scale with a Mapping node so the material repeats naturally on your model.
For the full step-by-step setup, see How to Use Seamless Textures in Blender. Browse related material examples in wood, concrete, and metal.
Yes. This texture is designed as a seamless tileable PBR material, so it can repeat across large surfaces without visible borders.
You can download PNG/WEBP versions and use 1K, 2K, 4K and 8K download options when available on the page.
Yes. The download options and engine-mapped ZIP workflow are designed for Blender, Unreal Engine, Unity Standard, URP and HDRP material pipelines.
Yes. The texture is available under the AITextured free commercial license. Review the license page for redistribution and AI-training restrictions.
Build, preview, and export seamless PBR materials. Generate full map sets from a single image, inspect them in a real-time WebGL viewer, and re-package maps for Unreal, Unity, and Blender—directly in your browser.
AI text-to-texture: type a prompt and get a seamless, tileable base image ready for PBR workflows (great starting point for materials).
Create a full PBR set (Normal, Roughness, AO, Metallic, etc.) from a single image. Seamless and tiling-friendly.
Instant WebGL viewer: inspect materials on a sphere, plane, and cube. Check tiling and lighting in real time.
Re-packages maps per engine: Unreal (BaseColor + ORM), Unity (Mask/MetallicSmoothness), Blender (separate channels).
PNG ↔ JPG ↔ SVG: fast convert, SVG rasterize, embed/trace options, quality & background controls.