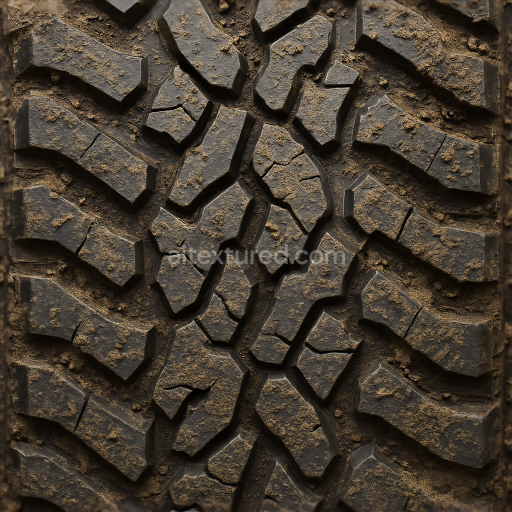
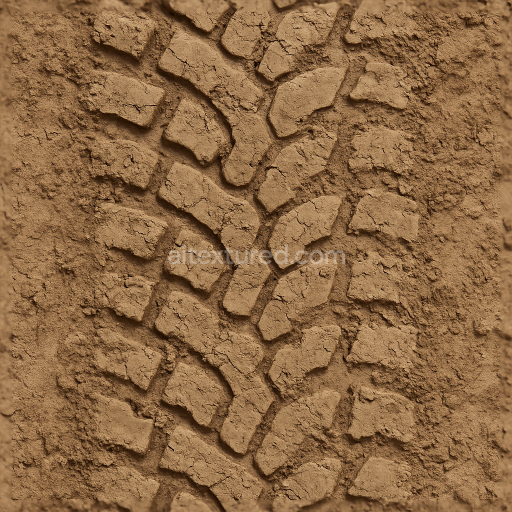
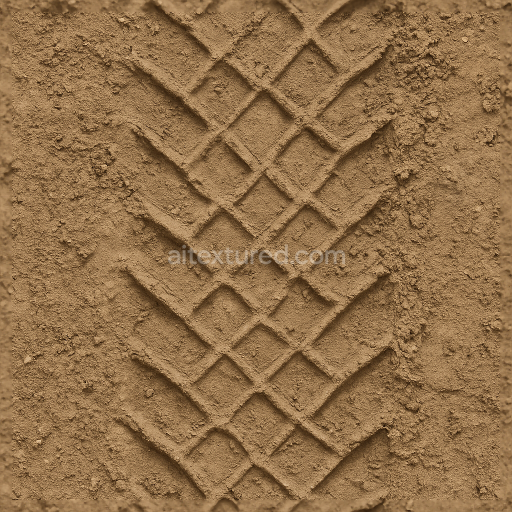
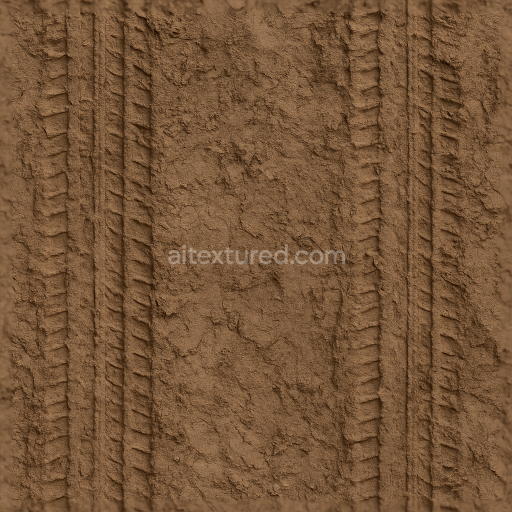
Mud Tire With Deep Tread And Mud Splatter For Authentic Wet Mud Offroad Vehicle Tire Surf…
Seamless texture (tileable) · PNG, WEBP, PBR ZIP. License: AITextured Free Commercial License (FCL) v1.1. Free personal and commercial use. Raw resale, standalone redistribution, mirroring/scraping, competing asset packs, and AI/ML training are not allowed without written permission. Attribution is not required, but appreciated..

| ID | seamless-3d-texture-pbr-8k-offroad-tire-with-knobby-tread-and-dirt-embedded-for-rugged-terrain-vehicle-tire-modeling |
|---|---|
| Category | Tire prints |
| Formats | PNG, WEBP, PBR ZIP |
| Size | 1k (1024x1024px), 2k (2048x2048px), 4k (4096x4096px), 8k (8192x8192px) |
| Color | sRGB |
| Tileable | Yes |
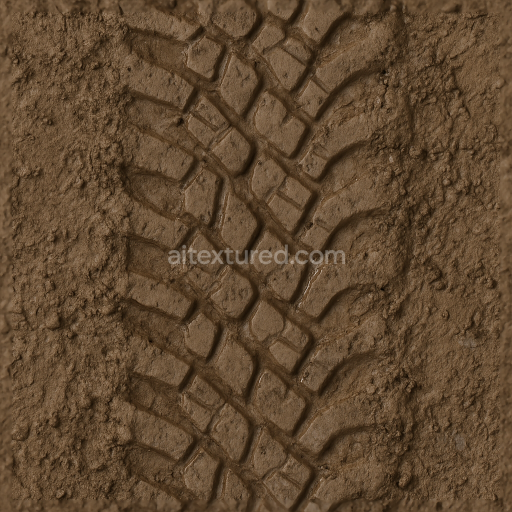
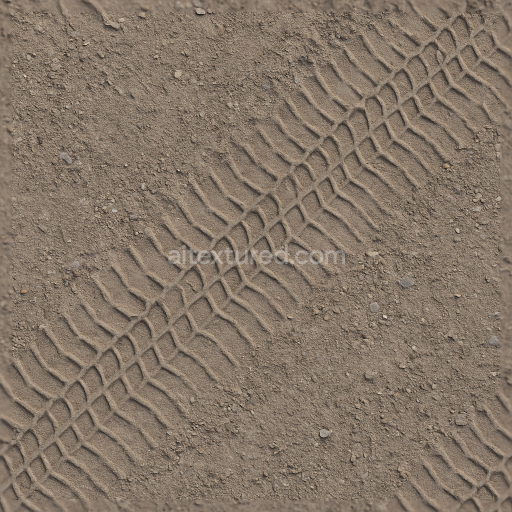
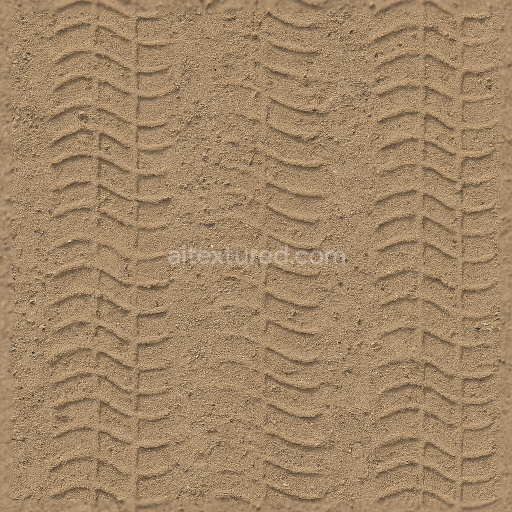
This seamless 8K PBR texture represents a highly detailed offroad tire surface characterized by a robust knobby tread pattern specifically designed to deliver aggressive traction on rugged terrain. The primary material simulated here is vulcanized rubber which forms the substrate of the tire. This rubber base is reinforced with synthetic polymers acting as binders ensuring durability and elasticity. Embedded within the tread grooves are accumulations of dirt and mud modeled as fine granular aggregates that have settled into the porous cavities of the tread providing an authentic weathered appearance. The knobby tread geometry consists of pronounced irregularly spaced lugs and voids creating a complex repeating pattern that maximizes grip and facilitates mud ejection.
The texture’s surface finish mimics a matte rubber with subtle roughness variations caused by embedded soil particles and wear over time. The dirt embedded within the tread exhibits a slightly different albedo appearing as muted earth tones contrasting with the deep black of the rubber. This contrast is carefully captured in the BaseColor map while the Normal and Height maps define the intricate relief of the knobby tread blocks and the fine granularity of the dirt deposits. The Roughness channel varies across the surface simulating the softer more absorbent dirt areas alongside the tougher less reflective rubber. The Metallic map is essentially flat reflecting the non-metallic nature of the tire whereas the Ambient Occlusion enhances the depth perception within the crevices of the tread pattern emphasizing shadowed recesses filled with mud.
With an 8K resolution this texture ensures exceptional detail and clarity suitable for close-up renders in Blender Unreal Engine and Unity environments. Its seamless design allows for versatile UV mapping without visible tiling making it ideal for large terrain vehicles or offroad racing simulations. The height information supports advanced displacement or parallax occlusion effects providing realistic depth to the knobby tread and dirt buildup during real-time rendering or offline baking.
For optimal results it is recommended to adjust the UV scale to maintain the proportional size of the tread pattern relative to the vehicle model. Additionally fine-tuning the Roughness map can help balance the visual interaction between the rubber and dirt allowing for either a wetter mud-caked look or a drier dusty finish depending on scene requirements. Blending height and normal maps carefully will enhance the tactile perception of the tire surface improving immersion in both game engines and visual effects pipelines.
Import the texture maps into Blender with sRGB color space for albedo/base color and Non-Color for normal, roughness, metallic, AO, height, and ORM maps. Connect normal maps through a Normal Map node, then adjust UV scale with a Mapping node so the material repeats naturally on your model.
For the full step-by-step setup, see How to Use Seamless Textures in Blender. Browse related material examples in wood, concrete, and metal.
Yes. This texture is designed as a seamless tileable PBR material, so it can repeat across large surfaces without visible borders.
You can download PNG/WEBP versions and use 1K, 2K, 4K and 8K download options when available on the page.
Yes. The download options and engine-mapped ZIP workflow are designed for Blender, Unreal Engine, Unity Standard, URP and HDRP material pipelines.
Yes. The texture is available under the AITextured free commercial license. Review the license page for redistribution and AI-training restrictions.
Build, preview, and export seamless PBR materials. Generate full map sets from a single image, inspect them in a real-time WebGL viewer, and re-package maps for Unreal, Unity, and Blender—directly in your browser.
AI text-to-texture: type a prompt and get a seamless, tileable base image ready for PBR workflows (great starting point for materials).
Create a full PBR set (Normal, Roughness, AO, Metallic, etc.) from a single image. Seamless and tiling-friendly.
Instant WebGL viewer: inspect materials on a sphere, plane, and cube. Check tiling and lighting in real time.
Re-packages maps per engine: Unreal (BaseColor + ORM), Unity (Mask/MetallicSmoothness), Blender (separate channels).
PNG ↔ JPG ↔ SVG: fast convert, SVG rasterize, embed/trace options, quality & background controls.