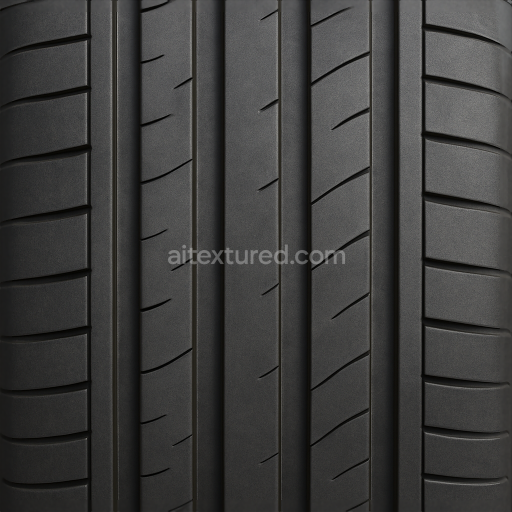
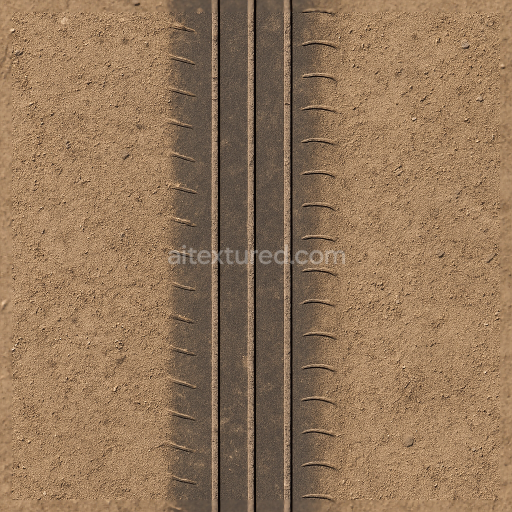
Summer Tire Slick Tire With Shallow Tread And Clean Dry Surface For Road Vehicles
Seamless texture (tileable) · PNG, WEBP, PBR ZIP. License: AITextured Free Commercial License (FCL) v1.1. Free personal and commercial use. Raw resale, standalone redistribution, mirroring/scraping, competing asset packs, and AI/ML training are not allowed without written permission. Attribution is not required, but appreciated..

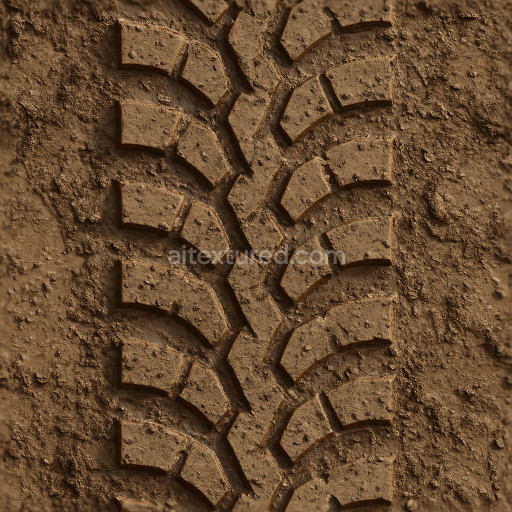
| ID | seamless-3d-texture-pbr-8k-tractor-tread-on-muddy-track-with-heavy-vehicle-tread-and-mud-splash-details |
|---|---|
| Category | Tire prints |
| Formats | PNG, WEBP, PBR ZIP |
| Size | 1k (1024x1024px), 2k (2048x2048px), 4k (4096x4096px), 8k (8192x8192px) |
| Color | sRGB |
| Tileable | Yes |
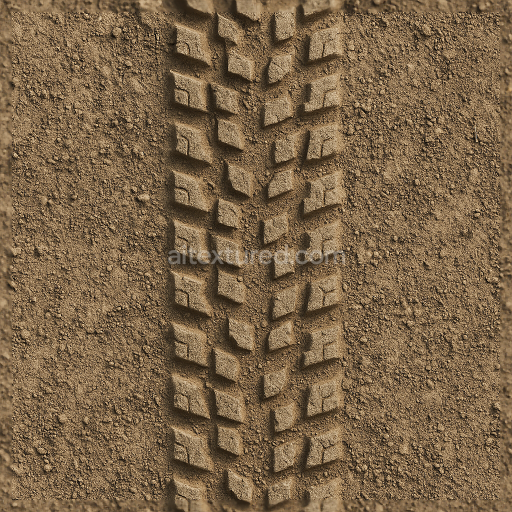
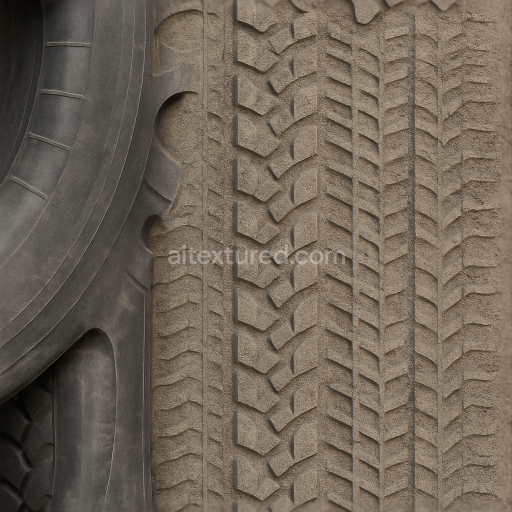
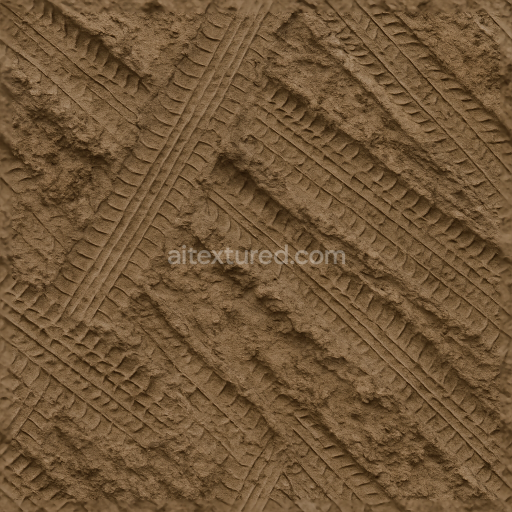
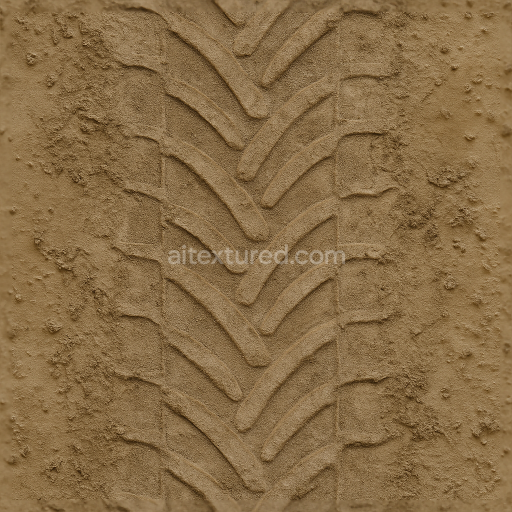
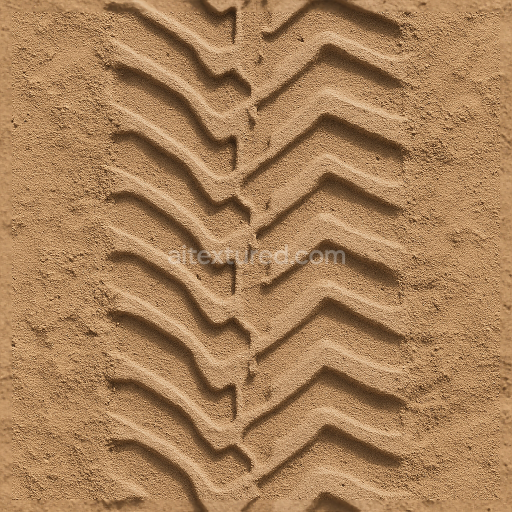
This seamless 8K PBR texture presents a detailed tractor tire tread pattern embedded in a muddy track capturing the complex interaction between heavy vehicle rubber and wet soil. The primary material is compacted earth composed of clay organic matter and fine gravel forming a dense yet slightly porous substrate. The soil's moisture content creates a semi-cohesive matrix visible through the subtle gloss and varied roughness across the surface. Overlaid on this base are the distinct rubber tread imprints from the tractor tires which leave deep repetitive grooves and ridges arranged in a manual tire print pattern that repeats seamlessly to cover large terrain areas without visible seams.
The texture’s form is defined by the alternating convex and concave shapes of the tractor tread design with pronounced edges and rounded corners reflecting the heavy load pressure and mud displacement. Mud splash details including irregular clumps and smears contribute additional height and surface variation enhancing realism. These organic forms contrast with the structured geometric repetition of the tread pattern. The surface finish varies between wet slightly reflective soil patches and matte dry mud accumulations while the tread rubber itself is represented by subtle ambient occlusion and normal map details that simulate wear and compression.
In terms of PBR channel mapping the BaseColor (Albedo) channel captures the natural earth tones—dark browns rich ochres and muted greys—with color variations indicating moisture and organic content. The Normal map encodes the fine relief of tread grooves soil cracks and mud clumps providing depth and tactile detail under dynamic lighting. Roughness values fluctuate to represent the wet soil’s semi-glossy patches and the rough dry mud textures while the Metallic channel remains near zero reflecting the non-metallic nature of soil and rubber. Ambient Occlusion enhances shadowing within the tread recesses and around mud splashes reinforcing the perception of depth. Height or Displacement maps enable realistic surface undulation crucial for close-up renders in Blender Unreal Engine or Unity supporting high-fidelity terrain deformation and parallax effects.
Designed for versatility this texture integrates smoothly into 3D environments requiring authentic agricultural or construction site ground surfaces. Its 8K resolution ensures crisp detail even when extensively tiled or viewed at close range. For optimal use it is advisable to adjust the UV scale to match the real-world dimensions of tractor tire prints preserving the proportionality of the tread pattern. Additionally fine-tuning roughness can help adapt the material to different wetness levels while blending height and normal maps allows for enhanced depth perception without geometry overhead improving performance across Blender Unreal Engine and Unity workflows.
Import the texture maps into Blender with sRGB color space for albedo/base color and Non-Color for normal, roughness, metallic, AO, height, and ORM maps. Connect normal maps through a Normal Map node, then adjust UV scale with a Mapping node so the material repeats naturally on your model.
For the full step-by-step setup, see How to Use Seamless Textures in Blender. Browse related material examples in wood, concrete, and metal.
Yes. This texture is designed as a seamless tileable PBR material, so it can repeat across large surfaces without visible borders.
You can download PNG/WEBP versions and use 1K, 2K, 4K and 8K download options when available on the page.
Yes. The download options and engine-mapped ZIP workflow are designed for Blender, Unreal Engine, Unity Standard, URP and HDRP material pipelines.
Yes. The texture is available under the AITextured free commercial license. Review the license page for redistribution and AI-training restrictions.

Build, preview, and export seamless PBR materials. Generate full map sets from a single image, inspect them in a real-time WebGL viewer, and re-package maps for Unreal, Unity, and Blender—directly in your browser.
AI text-to-texture: type a prompt and get a seamless, tileable base image ready for PBR workflows (great starting point for materials).
Create a full PBR set (Normal, Roughness, AO, Metallic, etc.) from a single image. Seamless and tiling-friendly.
Instant WebGL viewer: inspect materials on a sphere, plane, and cube. Check tiling and lighting in real time.
Re-packages maps per engine: Unreal (BaseColor + ORM), Unity (Mask/MetallicSmoothness), Blender (separate channels).
PNG ↔ JPG ↔ SVG: fast convert, SVG rasterize, embed/trace options, quality & background controls.