
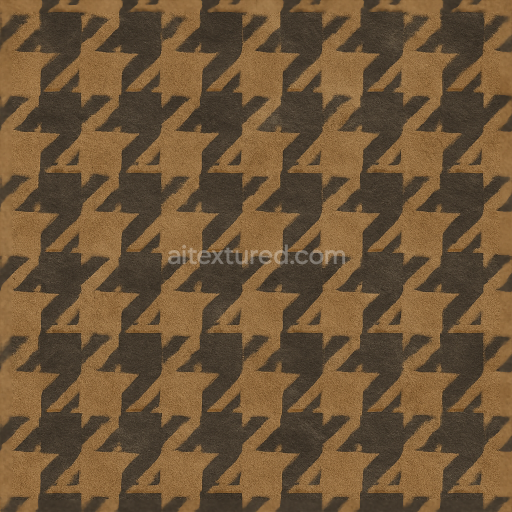
Wallpaper Featuring Modern Houndstooth Brushed Tweed Textile Pattern
Seamless texture (tileable) · PNG, WEBP, PBR ZIP. License: AITextured Free Commercial License (FCL) v1.1. Free personal and commercial use. Raw resale, standalone redistribution, mirroring/scraping, competing asset packs, and AI/ML training are not allowed without written permission. Attribution is not required, but appreciated..

| ID | seamless-3d-texture-pbr-8k-wallpaper-with-modern-geometric-herringbone-glossy-finish |
|---|---|
| Category | Wallpaper |
| Formats | PNG, WEBP, PBR ZIP |
| Size | 1k (1024x1024px), 2k (2048x2048px), 4k (4096x4096px), 8k (8192x8192px) |
| Color | sRGB |
| Tileable | Yes |
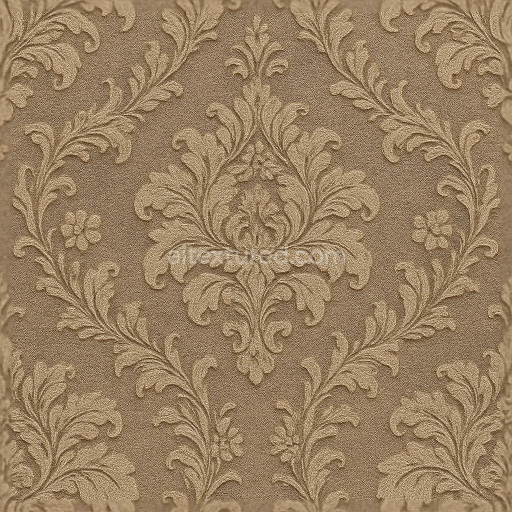
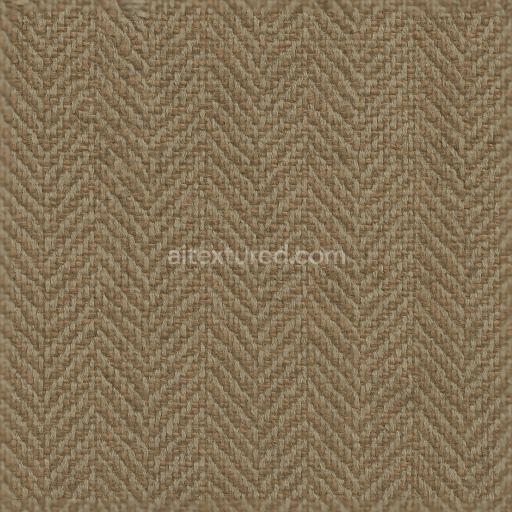
This seamless 3D texture represents a high-resolution 8K PBR wallpaper featuring a modern geometric herringbone pattern. The base material is a woven textile substrate combining natural fibers with synthetic binders to provide durability and flexibility. The underlying fabric structure is tightly woven creating a subtle matte finish in the deeper recesses while the raised herringbone elements display a glossy coating that reflects light dynamically. This interplay between glossy and matte areas enhances the tactile complexity simulating a sophisticated textile weave with tone-on-tone color variations that contribute depth without overwhelming contrast.
The geometric form is characterized by an interlocking herringbone pattern constructed from elongated rectangular planks arranged in a zigzag layout. Each plank’s surface incorporates fine grain and fiber details visible in the height and normal maps which convey realistic depth and weave texture. The substrate’s composition includes a polymer-based adhesive layer bonding the fibers designed to maintain porosity and breathability while resisting weathering and wear. The surface finish is achieved through a polished glossy layer selectively applied to the raised pattern contrasting with the matte woven background which is reflected in the roughness and metallic PBR channels.
In terms of PBR channel mapping the BaseColor (Albedo) channel captures subtle tone-on-tone pigment variations imitating the natural dye absorption of textile fibers. The Normal map encodes the intricate woven surface relief and the raised herringbone edges providing precise light interaction for realistic shading. Roughness maps differentiate between the low roughness glossy finish on the raised pattern and the higher roughness matte base fabric. The Metallic channel remains minimal emulating non-metallic textile materials while Ambient Occlusion enhances shadow depth within weave crevices. Height and displacement maps reinforce the physical layering of the weave and pattern relief improving parallax effects in real-time engines.
This texture is fully optimized for use in Blender Unreal Engine and Unity supporting physically accurate rendering workflows. Its 8K resolution ensures crisp detail retention even in close-up views suitable for large-scale interior visualizations or architectural renders. For practical application it is recommended to carefully adjust UV scale to preserve pattern continuity without distortion and to fine-tune the roughness values to balance gloss intensity according to lighting conditions. When integrating height and normal maps blending them subtly improves depth perception without causing visual artifacts ideal for immersive environments requiring realistic wall coverings.
Import the texture maps into Blender with sRGB color space for albedo/base color and Non-Color for normal, roughness, metallic, AO, height, and ORM maps. Connect normal maps through a Normal Map node, then adjust UV scale with a Mapping node so the material repeats naturally on your model.
For the full step-by-step setup, see How to Use Seamless Textures in Blender. Browse related material examples in wood, concrete, and metal.
Yes. This texture is designed as a seamless tileable PBR material, so it can repeat across large surfaces without visible borders.
You can download PNG/WEBP versions and use 1K, 2K, 4K and 8K download options when available on the page.
Yes. The download options and engine-mapped ZIP workflow are designed for Blender, Unreal Engine, Unity Standard, URP and HDRP material pipelines.
Yes. The texture is available under the AITextured free commercial license. Review the license page for redistribution and AI-training restrictions.


Generate, preview, and export seamless PBR materials for Blender, Unity, and Unreal Engine—directly in your browser.
AI text-to-texture: type a prompt and get a seamless, tileable base image ready for PBR workflows (great starting point for materials).
Create a full PBR set (Normal, Roughness, AO, Metallic, etc.) from a single image. Seamless and tiling-friendly.
Instant WebGL viewer: inspect materials on a sphere, plane, and cube. Check tiling and lighting in real time.
Re-packages maps per engine: Unreal (BaseColor + ORM), Unity (Mask/MetallicSmoothness), Blender (separate channels).
PNG ↔ JPG ↔ SVG: fast convert, SVG rasterize, embed/trace options, quality & background controls.