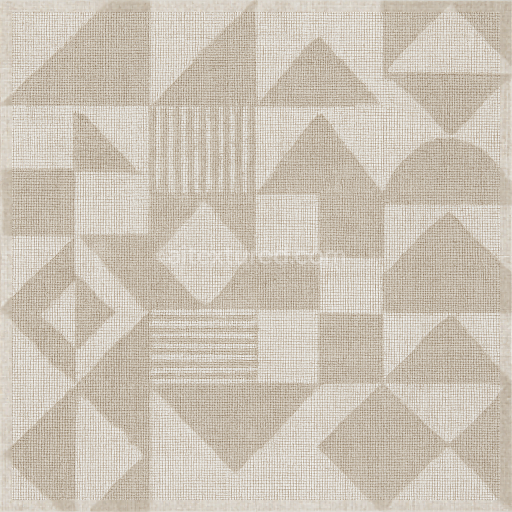
This seamless 3D texture represents a retro striped wallpaper featuring vertical stripes with a delicately faded effect crafted to evoke a vintage textile aesthetic. The base material simulates a woven fabric substrate typical of mid-century wallpapers composed of tightly interlaced fibers that create a subtle textile weave pattern. This woven structure contributes to the tactile depth and softness of the surface while the matte finish reduces reflectivity enhancing the aged muted appearance. The color palette employs tone-on-tone pigments carefully blended to produce the faded vertical stripes replicating natural wear and sun exposure over time. The substrate is modeled with a slight porosity allowing for gentle weathering that adds to the authenticity without compromising surface integrity.
The material composition is designed to mimic traditional wallpaper construction where cellulose or linen fibers are bonded with organic adhesives resulting in a flexible yet durable surface. The vertical stripes arise from alternating bands of slightly varying fiber density and pigment concentration which are represented in the texture’s Normal and Height maps to simulate subtle surface undulations and fabric grain. The BaseColor (Albedo) channel captures the muted vintage hues with fine tonal gradations while the Roughness map defines the low-gloss matte finish preventing harsh reflections. The Metallic channel remains near zero as the textile fibers and pigments are non-metallic by nature and the Ambient Occlusion enhances the perception of depth around the weave intersections and stripe borders reinforcing the 3D effect.
Rendered at an impressive 8K resolution this PBR texture provides exceptional detail capturing even the finest threads and faded nuances in the wallpaper pattern making it well-suited for high-fidelity applications. It is fully optimized for use in Blender Unreal Engine and Unity ensuring compatibility with modern rendering pipelines. The Height/Displacement map is calibrated to subtly accentuate the woven texture without creating excessive geometric distortion preserving realism while maintaining performance efficiency in real-time environments.
For practical application it is advisable to adjust the UV scale carefully in your 3D scene to avoid repetitive patterns becoming visually obvious especially given the high resolution. Additionally fine-tuning the roughness map can help achieve the desired balance between matte softness and subtle light diffusion depending on lighting conditions. Blending the Height map with the Normal map will enhance the tactile feel of the fabric weave providing a convincing depth effect without requiring heavy tessellation which is particularly useful in game engines and interactive visualizations.
Using This PBR Texture in Blender
Import the texture maps into Blender with sRGB color space for albedo/base color and
Non-Color for normal, roughness, metallic, AO, height, and ORM maps. Connect normal maps
through a Normal Map node, then adjust UV scale with a Mapping node so the material repeats naturally on
your model.
- Albedo -> Principled BSDF Base Color
- Roughness -> Roughness, Metallic -> Metallic
- Normal -> Normal Map node -> Normal
- Height -> Bump or Displacement depending on render setup
For the full step-by-step setup, see
How to Use Seamless Textures in Blender.
Browse related material examples in
wood,
concrete, and
metal.
FAQ
Is this texture seamless and tileable?
Yes. This texture is designed as a seamless tileable PBR material, so it can repeat across large surfaces without visible borders.
Which resolutions and formats are available?
You can download PNG/WEBP versions and use 1K, 2K, 4K and 8K download options when available on the page.
Can I use it in Blender, Unreal Engine and Unity?
Yes. The download options and engine-mapped ZIP workflow are designed for Blender, Unreal Engine, Unity Standard, URP and HDRP material pipelines.
Is commercial use allowed?
Yes. The texture is available under the AITextured free commercial license. Review the license page for redistribution and AI-training restrictions.