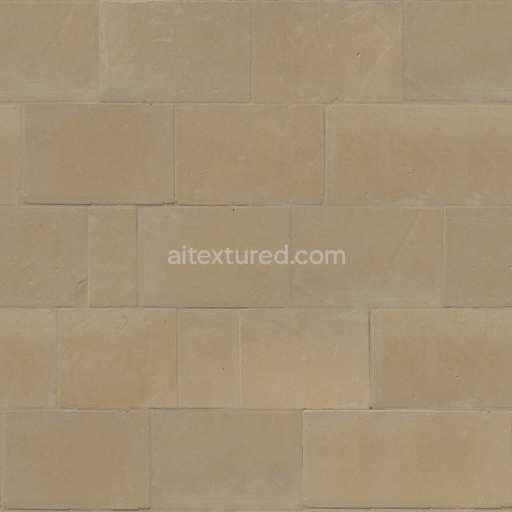
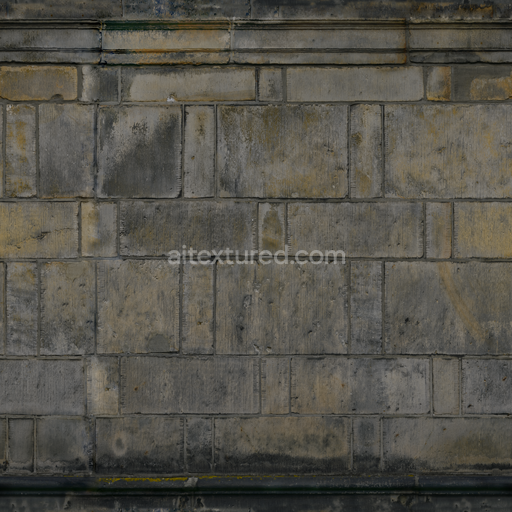
Uneven Large Sandstone - Blocks Uneven Large Large Sandstone Wall
Seamless texture (tileable) · PNG, WEBP, PBR ZIP. License: AITextured Free Commercial License (FCL) v1.1. Free personal and commercial use. Raw resale, standalone redistribution, mirroring/scraping, competing asset packs, and AI/ML training are not allowed without written permission. Attribution is not required, but appreciated..

| ID | seamless-3d-texture-pbr-8k-paisley-floral-wallpaper-with-satin-finish |
|---|---|
| Category | Wallpaper |
| Formats | PNG, WEBP, PBR ZIP |
| Size | 1k (1024x1024px), 2k (2048x2048px), 4k (4096x4096px), 8k (8192x8192px) |
| Color | sRGB |
| Tileable | Yes |
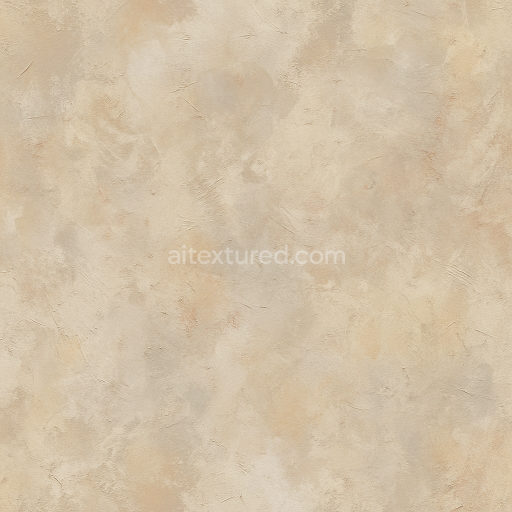
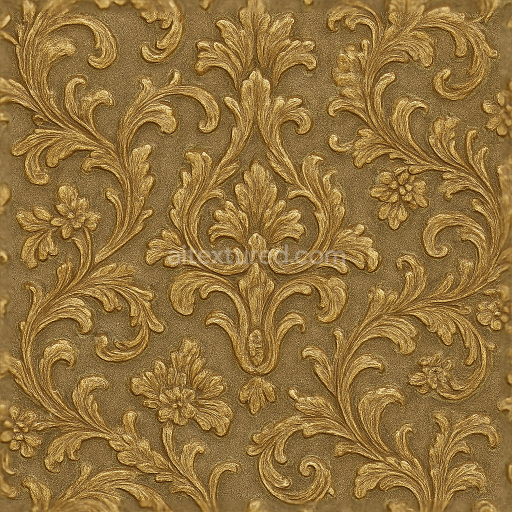
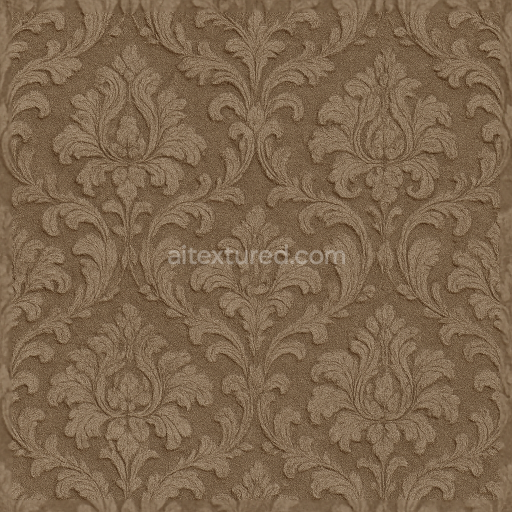
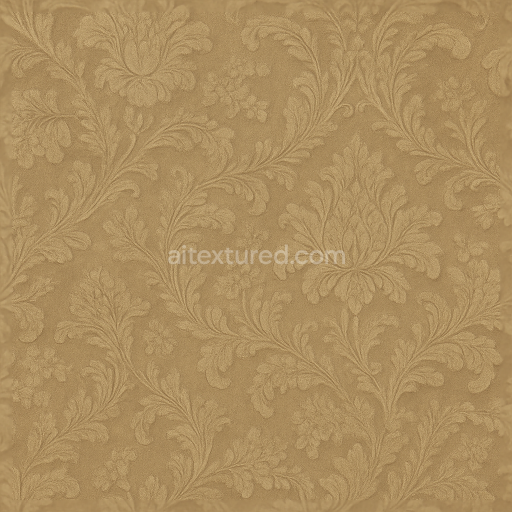
This seamless 3D texture presents a richly detailed paisley floral wallpaper pattern meticulously designed to replicate a high-quality textile surface with a satin finish. The base material resembles a finely woven fabric substrate combining natural fibers such as cotton and silk with a subtle embossed relief that forms the characteristic paisley and floral motifs. The substrate’s weave structure is simulated through the Normal and Height maps adding tactile depth that captures the interplay of light and shadow across the raised patterns. The satin finish is achieved through controlled roughness values that produce a smooth low-gloss sheen enhancing the perception of softness and subtle reflectivity typical of luxury wallpapers.
The texture’s composition is thoughtfully represented in its PBR channels. The BaseColor (Albedo) map reproduces the delicate color variations found in dyed textile fibers incorporating muted yet rich earth tones and pastel highlights that define each paisley curve and floral element. The Normal map encodes the fine embossing and fabric texture giving the pattern dimensionality without heavy geometric displacement. The Roughness map is finely calibrated to balance the satin finish’s gentle sheen against matte fabric areas ensuring realistic light diffusion. Ambient Occlusion emphasizes crevices within the embossed patterns enhancing depth perception. The Height (Displacement) map supports subtle parallax effects simulating the gentle elevation changes of the embossed design while the Metallic map remains neutral consistent with non-metallic textile materials.
Rendered at an impressive 8K resolution this texture provides exceptional clarity and surface detail making it ideal for high-end visualization projects. It integrates seamlessly into modern 3D workflows and is fully compatible with Blender Unreal Engine and Unity ensuring smooth application across various rendering engines and real-time environments. The seamless tiling nature of the texture allows it to cover large wall surfaces without visible repetition or seams maintaining visual continuity in expansive interior scenes.
For practical use it is recommended to carefully adjust the UV scale to preserve the fabric’s intricate detailing without distortion. Additionally fine-tuning the Roughness map can help achieve the desired balance between satin glossiness and fabric softness while blending the Height and Normal maps can enhance the embossed effect without introducing harsh geometry. This approach results in a realistic and visually compelling wallpaper texture that responds naturally to lighting and viewing angles in any 3D environment.
Import the texture maps into Blender with sRGB color space for albedo/base color and Non-Color for normal, roughness, metallic, AO, height, and ORM maps. Connect normal maps through a Normal Map node, then adjust UV scale with a Mapping node so the material repeats naturally on your model.
For the full step-by-step setup, see How to Use Seamless Textures in Blender. Browse related material examples in wood, concrete, and metal.
Yes. This texture is designed as a seamless tileable PBR material, so it can repeat across large surfaces without visible borders.
You can download PNG/WEBP versions and use 1K, 2K, 4K and 8K download options when available on the page.
Yes. The download options and engine-mapped ZIP workflow are designed for Blender, Unreal Engine, Unity Standard, URP and HDRP material pipelines.
Yes. The texture is available under the AITextured free commercial license. Review the license page for redistribution and AI-training restrictions.


Generate, preview, and export seamless PBR materials for Blender, Unity, and Unreal Engine—directly in your browser.
AI text-to-texture: type a prompt and get a seamless, tileable base image ready for PBR workflows (great starting point for materials).
Create a full PBR set (Normal, Roughness, AO, Metallic, etc.) from a single image. Seamless and tiling-friendly.
Instant WebGL viewer: inspect materials on a sphere, plane, and cube. Check tiling and lighting in real time.
Re-packages maps per engine: Unreal (BaseColor + ORM), Unity (Mask/MetallicSmoothness), Blender (separate channels).
PNG ↔ JPG ↔ SVG: fast convert, SVG rasterize, embed/trace options, quality & background controls.