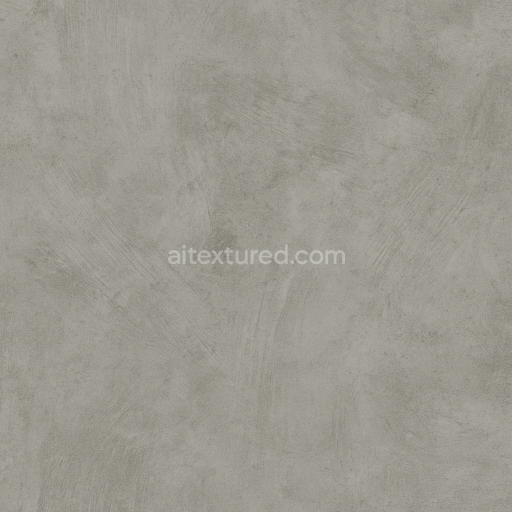
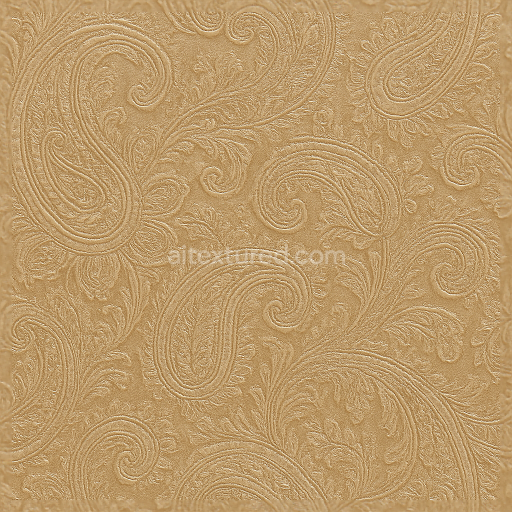
Minimalist Modern Wallpaper With Matte Concrete Finish And Subtle Brush Strokes
Seamless texture (tileable) · PNG, WEBP, PBR ZIP. License: AITextured Free Commercial License (FCL) v1.1. Free personal and commercial use. Raw resale, standalone redistribution, mirroring/scraping, competing asset packs, and AI/ML training are not allowed without written permission. Attribution is not required, but appreciated..

| ID | seamless-3d-texture-pbr-8k-wallpaper-with-retro-houndstooth-and-faux-leather-suede-finish |
|---|---|
| Category | Wallpaper |
| Formats | PNG, WEBP, PBR ZIP |
| Size | 1k (1024x1024px), 2k (2048x2048px), 4k (4096x4096px), 8k (8192x8192px) |
| Color | sRGB |
| Tileable | Yes |
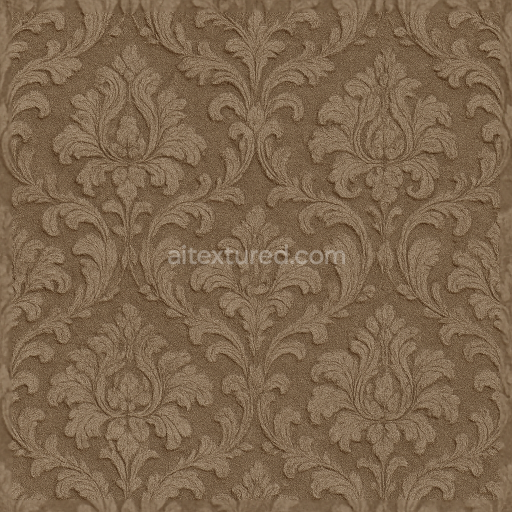
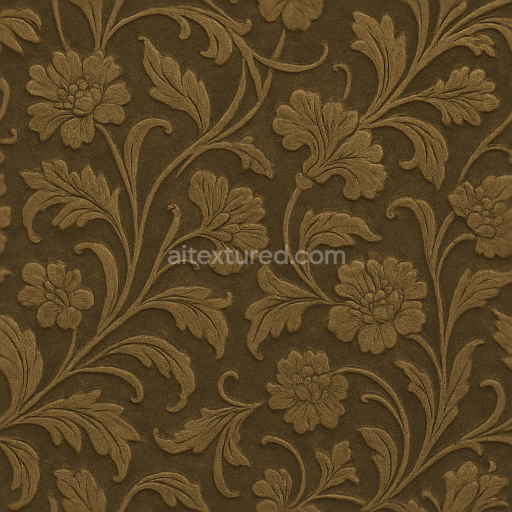
This seamless 3D texture wallpaper showcases a classic retro houndstooth pattern meticulously recreated with a sophisticated faux leather and suede finish. The geometric form is defined by the iconic tessellated houndstooth motif characterized by its repetitive broken checks and angular shapes which provide a structured yet dynamic surface. The base material simulates a synthetic leather substrate composed of a tightly woven fabric mesh impregnated with polyurethane binders that emulate the flexibility and durability of genuine leather. Overlaid on this is a delicate suede-like nap achieved through a microfiber aggregate that adds soft fine fibers to the surface enhancing the tactile appeal and creating subtle depth variations across the pattern.
The composition involves a multi-layered approach where the base color (Albedo) channel captures the rich warm tones typical of vintage leather interspersed with contrasting dark and light patches within the houndstooth pattern. The Normal map skillfully interprets the subtle embossing and weave texture defining the raised edges of the pattern and the gentle grain of the faux leather surface. Roughness is carefully calibrated to mimic the suede's matte softness while retaining the slightly polished sheen of aged leather providing realistic light diffusion and specular highlights. The Metallic channel remains minimal reflecting the non-metallic nature of the materials while Ambient Occlusion enhances the perception of depth in the recesses of the pattern. Height or Displacement maps add an additional layer of realism by simulating the slight elevation differences between the patterned weave and the soft suede background contributing to an authentic tactile dimension.
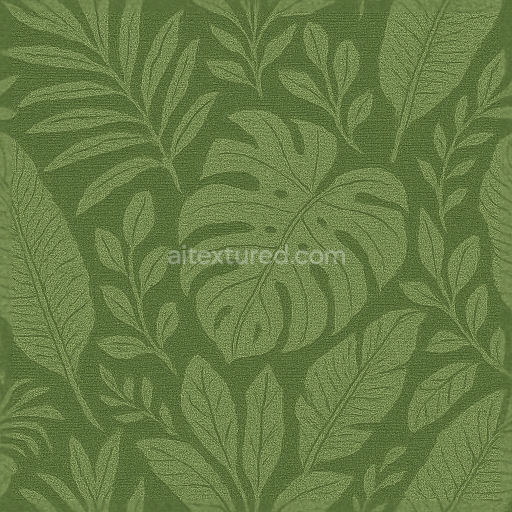
Rendered at an impressive 8K resolution this texture ensures exceptional detail and clarity making it ideal for high-fidelity visualization in professional 3D applications such as Blender Unreal Engine and Unity. The seamless design allows for flawless tiling across large wall surfaces without visible repetition or seams essential for immersive architectural renders or game environments. The texture’s high resolution preserves the integrity of fine details like the microfibers in the suede and the intricate edges of the houndstooth pattern even under close camera scrutiny.
For practical implementation consider adjusting the UV scale to balance the prominence of the houndstooth pattern according to room size and viewing distance; smaller scales emphasize detail in confined spaces while larger scales suit expansive walls. Additionally fine-tuning the roughness map can help achieve the desired balance between the soft matte quality of the suede and the subtle glossiness of faux leather. When using displacement or parallax mapping blending these with the normal map can greatly enhance the perception of depth without excessive geometry optimizing performance in real-time engines.
Import the texture maps into Blender with sRGB color space for albedo/base color and Non-Color for normal, roughness, metallic, AO, height, and ORM maps. Connect normal maps through a Normal Map node, then adjust UV scale with a Mapping node so the material repeats naturally on your model.
For the full step-by-step setup, see How to Use Seamless Textures in Blender. Browse related material examples in wood, concrete, and metal.
Yes. This texture is designed as a seamless tileable PBR material, so it can repeat across large surfaces without visible borders.
You can download PNG/WEBP versions and use 1K, 2K, 4K and 8K download options when available on the page.
Yes. The download options and engine-mapped ZIP workflow are designed for Blender, Unreal Engine, Unity Standard, URP and HDRP material pipelines.
Yes. The texture is available under the AITextured free commercial license. Review the license page for redistribution and AI-training restrictions.


Generate, preview, and export seamless PBR materials for Blender, Unity, and Unreal Engine—directly in your browser.
AI text-to-texture: type a prompt and get a seamless, tileable base image ready for PBR workflows (great starting point for materials).
Create a full PBR set (Normal, Roughness, AO, Metallic, etc.) from a single image. Seamless and tiling-friendly.
Instant WebGL viewer: inspect materials on a sphere, plane, and cube. Check tiling and lighting in real time.
Re-packages maps per engine: Unreal (BaseColor + ORM), Unity (Mask/MetallicSmoothness), Blender (separate channels).
PNG ↔ JPG ↔ SVG: fast convert, SVG rasterize, embed/trace options, quality & background controls.