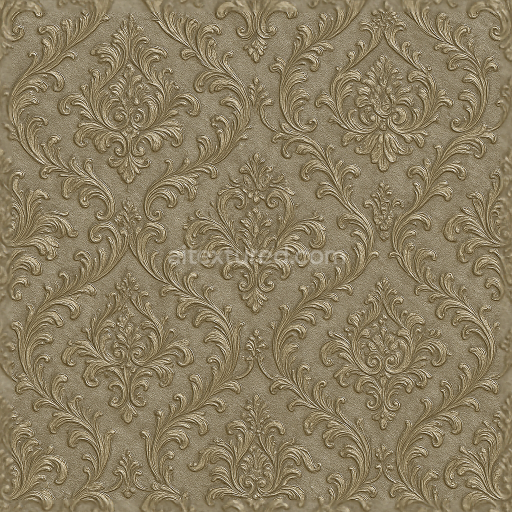
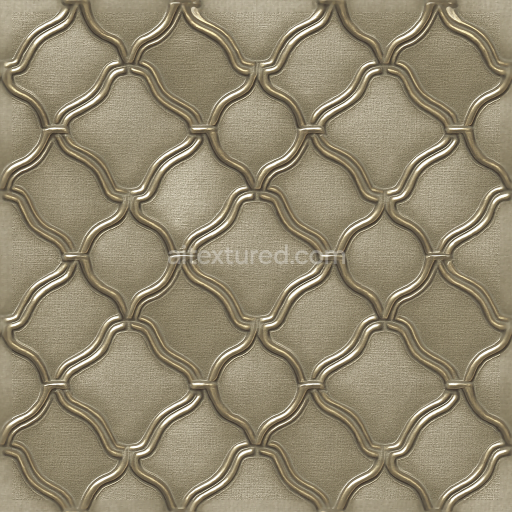
Baroque Ornate Wallpaper With Metallic Sheen
Seamless texture (tileable) · PNG, WEBP, PBR ZIP. License: AITextured Free Commercial License (FCL) v1.1. Free personal and commercial use. Raw resale, standalone redistribution, mirroring/scraping, competing asset packs, and AI/ML training are not allowed without written permission. Attribution is not required, but appreciated..

| ID | seamless-3d-texture-pbr-8k-industrial-concrete-finish-wallpaper-with-textured-plaster-stucco-and-weathered-aged-look |
|---|---|
| Category | Wallpaper |
| Formats | PNG, WEBP, PBR ZIP |
| Size | 1k (1024x1024px), 2k (2048x2048px), 4k (4096x4096px), 8k (8192x8192px) |
| Color | sRGB |
| Tileable | Yes |
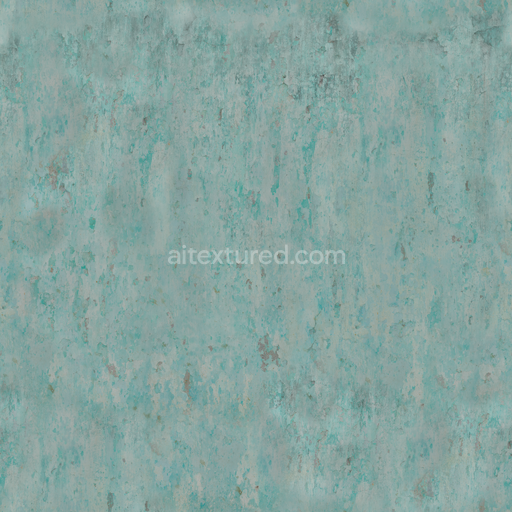
This seamless 3D texture in 8K resolution accurately replicates an industrial concrete finish combined with textured plaster stucco presenting a weathered and aged surface suitable for detailed digital environments. The base material suggests a composite substrate of rough-cast concrete layered with a coarse plaster binder composed primarily of lime and cementitious compounds. This creates a robust yet porous surface characterized by visible aggregates such as fine sand grains and subtle mineral fibers that contribute to the overall tactile complexity. The plaster’s uneven application results in an intricate stucco pattern with naturally occurring depressions cracks and slight ridges reflecting years of exposure to environmental wear.
The geometric form is irregular and organic mimicking hand-applied plaster with no repetitive tile or panel motif which emphasizes the seamlessness for continuous coverage. The texture incorporates weathering effects including subtle discoloration surface erosion and mottled rust-like stains suggesting oxidation and mineral leaching over time. Surface roughness varies across the texture from smoother worn-down patches to heavily pitted areas enhancing the authenticity of an aged facade. The finish is matte with a slightly dusty brushed quality rather than polished or glossy which reduces specular highlights and accentuates micro-roughness details.
In the physically based rendering (PBR) workflow the BaseColor (Albedo) channel captures muted grays and earthy tones with soft gradients of warm and cool hues reflecting mineral deposits and weathered plaster pigments. The Normal map conveys the fine relief of plaster ridges cracks and aggregate bumps providing depth and surface irregularity. Roughness values are high overall but with localized variations to simulate the contrast between eroded and intact plaster. Metallic is negligible as the texture represents non-metallic materials ensuring realistic light absorption and diffuse reflection. Ambient Occlusion enhances the perception of depth in crevices and undercuts while the Height/Displacement map enables subtle parallax effects that emphasize the stucco’s layered structure and surface imperfections.
This texture is optimized for use in Blender Unreal Engine and Unity supporting detailed close-ups and large-scale wall applications without visible seams or tiling artifacts. For practical implementation adjusting the UV scale to emphasize the plaster’s grain and cracking size can significantly affect realism especially in close camera shots. Additionally fine-tuning the roughness channel can help balance the weathered matte finish against the desired ambient lighting conditions. Blending the height and normal maps carefully will enhance the perception of depth without causing overly harsh surface distortions making it ideal for industrial-themed urban or rustic virtual environments.
Import the texture maps into Blender with sRGB color space for albedo/base color and Non-Color for normal, roughness, metallic, AO, height, and ORM maps. Connect normal maps through a Normal Map node, then adjust UV scale with a Mapping node so the material repeats naturally on your model.
For the full step-by-step setup, see How to Use Seamless Textures in Blender. Browse related material examples in wood, concrete, and metal.
Yes. This texture is designed as a seamless tileable PBR material, so it can repeat across large surfaces without visible borders.
You can download PNG/WEBP versions and use 1K, 2K, 4K and 8K download options when available on the page.
Yes. The download options and engine-mapped ZIP workflow are designed for Blender, Unreal Engine, Unity Standard, URP and HDRP material pipelines.
Yes. The texture is available under the AITextured free commercial license. Review the license page for redistribution and AI-training restrictions.


Generate, preview, and export seamless PBR materials for Blender, Unity, and Unreal Engine—directly in your browser.
AI text-to-texture: type a prompt and get a seamless, tileable base image ready for PBR workflows (great starting point for materials).
Create a full PBR set (Normal, Roughness, AO, Metallic, etc.) from a single image. Seamless and tiling-friendly.
Instant WebGL viewer: inspect materials on a sphere, plane, and cube. Check tiling and lighting in real time.
Re-packages maps per engine: Unreal (BaseColor + ORM), Unity (Mask/MetallicSmoothness), Blender (separate channels).
PNG ↔ JPG ↔ SVG: fast convert, SVG rasterize, embed/trace options, quality & background controls.