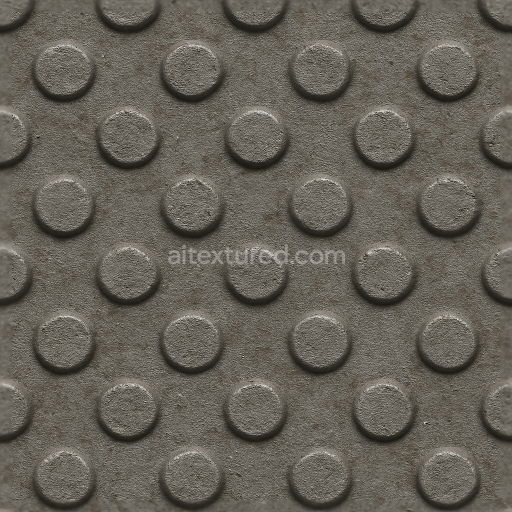
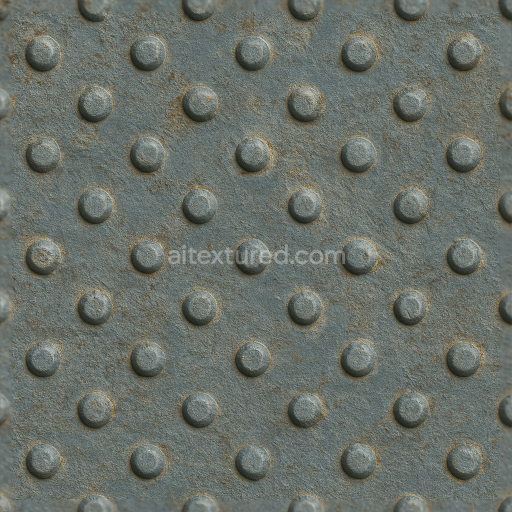
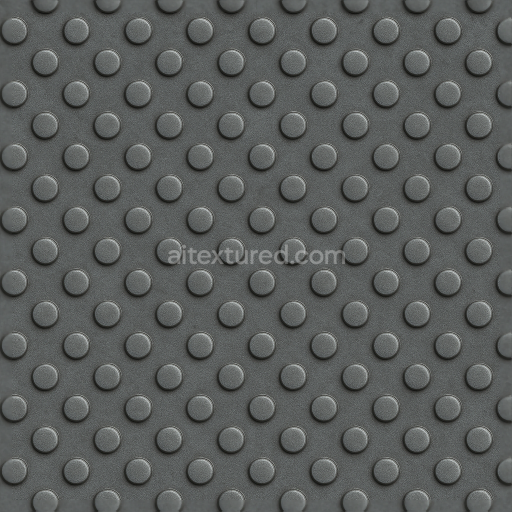
Tactile Plate With Raised Pattern On Scratched Metal Sheet
Seamless texture (tileable) · PNG, WEBP, PBR ZIP. License: AITextured Free Commercial License (FCL) v1.1. Free personal and commercial use. Raw resale, standalone redistribution, mirroring/scraping, competing asset packs, and AI/ML training are not allowed without written permission. Attribution is not required, but appreciated..

| ID | seamless-3d-texture-pbr-8k-tactile-plate-hexagonal-bumps-on-stainless-steel-sheet |
|---|---|
| Category | Tactile Plate |
| Formats | PNG, WEBP, PBR ZIP |
| Size | 1k (1024x1024px), 2k (2048x2048px), 4k (4096x4096px), 8k (8192x8192px) |
| Color | sRGB |
| Tileable | Yes |
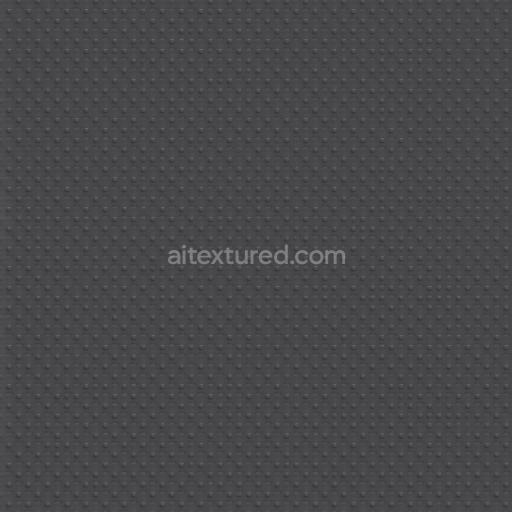
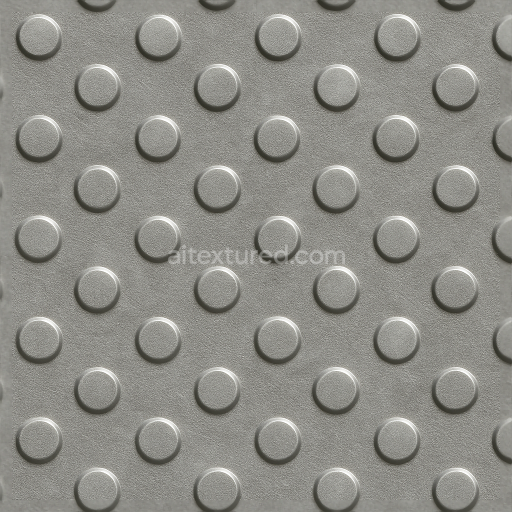
This seamless 3D texture features a high-resolution 8K PBR tactile plate design showcasing hexagonal bumps meticulously arranged on a stainless steel sheet. The base material is premium stainless steel known for its corrosion resistance and exceptional durability making it perfectly suited for demanding industrial environments. The surface is characterized by visible abrasion marks and subtle wear patterns that add realism and convey heavy-duty usage without compromising functionality. These abrasion marks create a nuanced roughness and visual complexity enhancing the tactile feedback and anti skid properties essential for safety applications. The texture’s surface finish simulates a brushed stainless steel look where fine grain orientation and slight oxidation effects contribute to a natural metallic sheen and realistic light interaction across the PBR channels.
Within the Physically Based Rendering workflow this texture’s BaseColor channel captures the cool slightly desaturated silver-gray tones of stainless steel interspersed with darker abrasion streaks and subtle discoloration from wear. The Normal and Height maps define the pronounced hexagonal bumps and the fine surface irregularities enabling detailed parallax and displacement effects that amplify depth perception. Roughness values vary to replicate the contrast between smooth steel and textured bumps while the Metallic channel remains high to reflect the intrinsic metal properties. Ambient Occlusion enhances shadowing around the hexagonal geometry reinforcing the pattern’s three-dimensional appearance. This comprehensive channel setup ensures compatibility and photorealistic results in Blender Unreal Engine and Unity streamlining integration into any project requiring industrial-grade wear-resistant surfaces.
Primarily designed for applications demanding durable and anti skid surfaces this texture excels in environments where grip and safety are paramount. Its hexagonal bumps increase traction while the abrasion marks visually indicate long-term use offering both functional and aesthetic benefits. When applying this texture adjusting the UV scale can optimize the bump pattern size relative to the model and fine-tuning roughness can control the reflectivity to match specific lighting conditions. This approach helps achieve a convincing balance between wear realism and material performance ensuring the tactile plate maintains its protective qualities under heavy foot or equipment traffic.
Import the texture maps into Blender with sRGB color space for albedo/base color and Non-Color for normal, roughness, metallic, AO, height, and ORM maps. Connect normal maps through a Normal Map node, then adjust UV scale with a Mapping node so the material repeats naturally on your model.
For the full step-by-step setup, see How to Use Seamless Textures in Blender. Browse related material examples in wood, concrete, and metal.
Yes. This texture is designed as a seamless tileable PBR material, so it can repeat across large surfaces without visible borders.
You can download PNG/WEBP versions and use 1K, 2K, 4K and 8K download options when available on the page.
Yes. The download options and engine-mapped ZIP workflow are designed for Blender, Unreal Engine, Unity Standard, URP and HDRP material pipelines.
Yes. The texture is available under the AITextured free commercial license. Review the license page for redistribution and AI-training restrictions.


Build, preview, and export seamless PBR materials. Generate full map sets from a single image, inspect them in a real-time WebGL viewer, and re-package maps for Unreal, Unity, and Blender—directly in your browser.
AI text-to-texture: type a prompt and get a seamless, tileable base image ready for PBR workflows (great starting point for materials).
Create a full PBR set (Normal, Roughness, AO, Metallic, etc.) from a single image. Seamless and tiling-friendly.
Instant WebGL viewer: inspect materials on a sphere, plane, and cube. Check tiling and lighting in real time.
Re-packages maps per engine: Unreal (BaseColor + ORM), Unity (Mask/MetallicSmoothness), Blender (separate channels).
PNG ↔ JPG ↔ SVG: fast convert, SVG rasterize, embed/trace options, quality & background controls.