
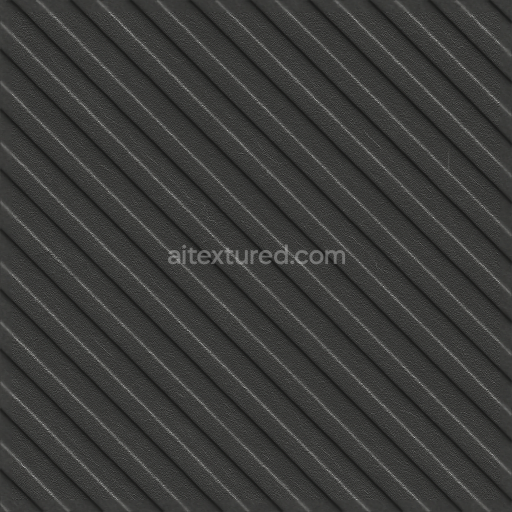
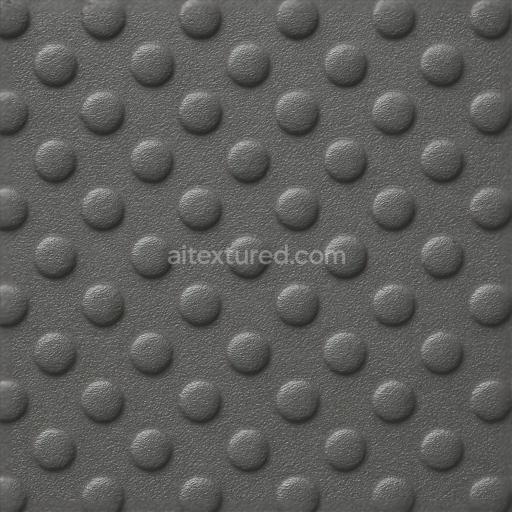
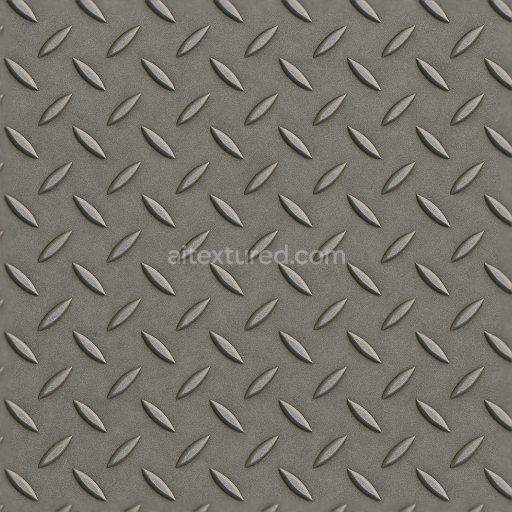
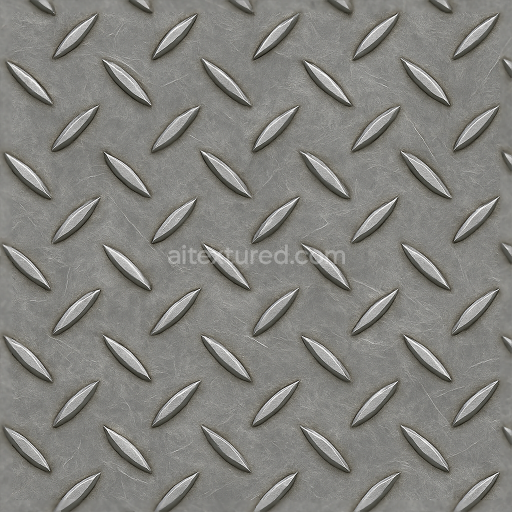
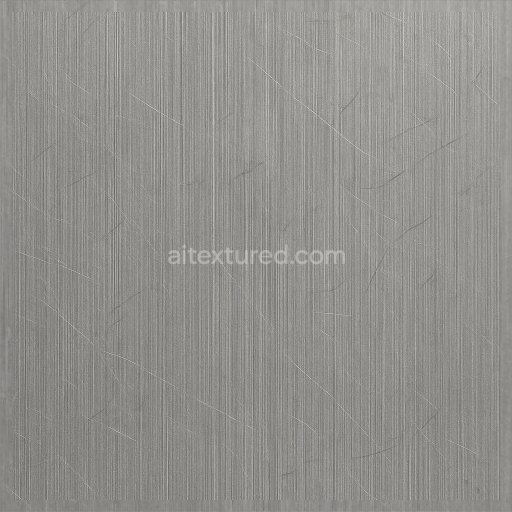
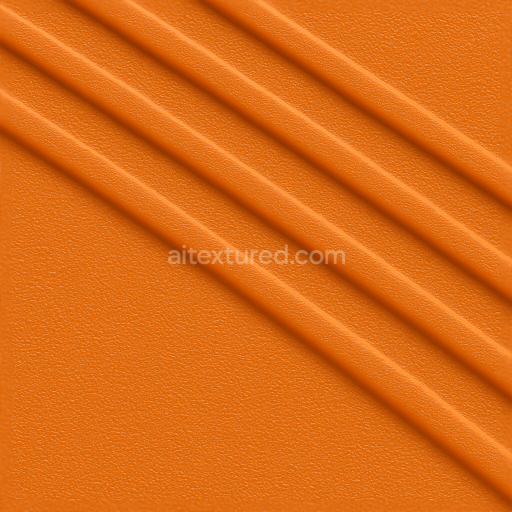
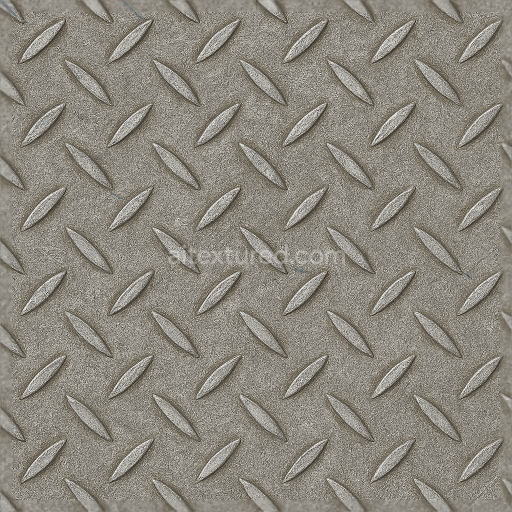
Tactile Plate Linear Ridges On Powder Coated Dark Gray Metal Plate
Seamless texture (tileable) · PNG, WEBP, PBR ZIP. License: AITextured Free Commercial License (FCL) v1.1. Free personal and commercial use. Raw resale, standalone redistribution, mirroring/scraping, competing asset packs, and AI/ML training are not allowed without written permission. Attribution is not required, but appreciated..

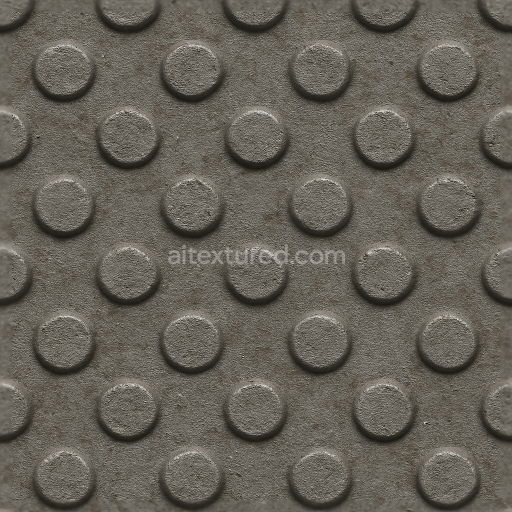
| ID | seamless-3d-texture-pbr-8k-tactile-plate-embossed-dots-on-rubberized-surface |
|---|---|
| Category | Tactile Plate |
| Formats | PNG, WEBP, PBR ZIP |
| Size | 1k (1024x1024px), 2k (2048x2048px), 4k (4096x4096px), 8k (8192x8192px) |
| Color | sRGB |
| Tileable | Yes |
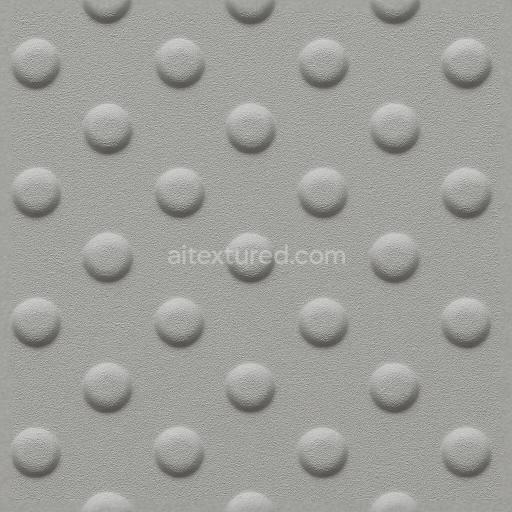
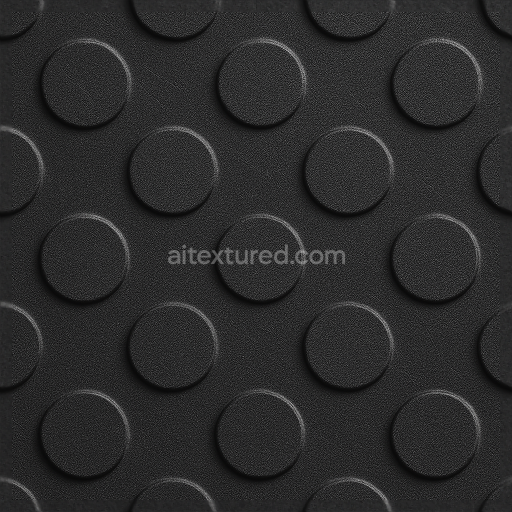
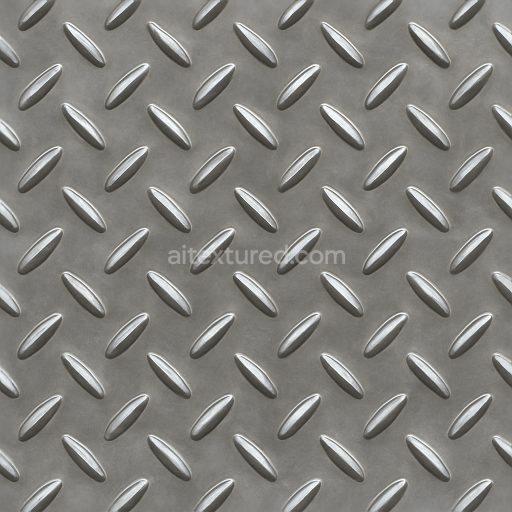
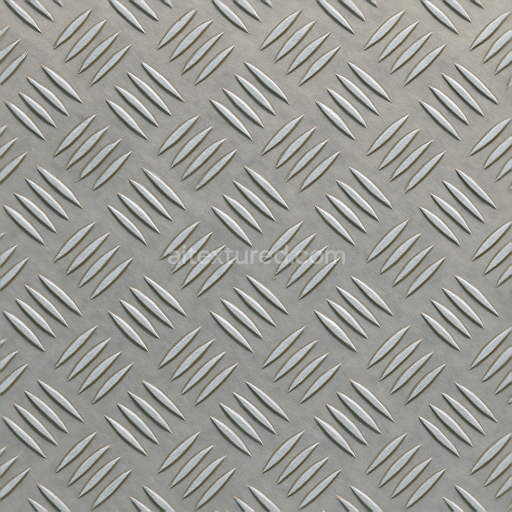
This seamless 3D texture PBR 8K tactile plate features a sophisticated design of embossed dots meticulously crafted on a rubberized surface combining both functionality and durability for advanced floor safety applications. The base material is a high-grade polymer rubber blend selected for its excellent elasticity and wear resistance ensuring superior anti-skid properties even under heavy foot traffic. The tactile plate’s construction integrates specialized binders that enhance adhesion between the rubber matrix and the embossed dot pattern which is composed of slightly raised uniform polymer aggregates. These aggregates are engineered to maintain consistent porosity balancing grip and comfort while preventing water accumulation making the surface reliable in wet or oily environments. The surface finish exhibits a matte yet subtly textured appearance achieved through micro-roughened treatment and controlled pigment dispersion to create a natural black rubber tone with slight variations in shading for realism. This finish translates into realistic BaseColor and Albedo maps that emphasize subtle color shifts and depth variations critical for photorealistic rendering.
In the PBR workflow the embossed dots are defined with a high-precision Normal map that captures their raised geometry in exquisite detail at an 8K resolution ensuring crisp edges and fine surface nuances. The Roughness channel reflects the rubberized texture’s moderate matte finish providing balanced light diffusion for realistic reflections without glossiness. The Metallic map is minimal or null consistent with the non-metallic polymer composition while Ambient Occlusion enhances the shadowing around the dots and plate edges for spatial depth. The Height/Displacement map precisely depicts the raised dot pattern’s relief optimizing parallax effects in real-time engines. This texture is fully Unreal Blender and Unity ready designed to integrate seamlessly into physically based rendering pipelines for both visualization and game development projects.
For practical use adjusting the UV scale to align with standard floor tile dimensions (approximately 30–50 cm per tile) is recommended to maintain the tactile pattern’s functional clarity and visual realism. Additionally fine-tuning the Roughness parameter can enhance skid resistance simulation in wet conditions by increasing surface micro-roughness thereby improving grip appearance without compromising overall material authenticity. This high-quality seamless texture is ideal for indoor industrial flooring safety zones and tactile guidance systems where durable heavy-duty floor plates are essential for preventing slips and ensuring long-lasting performance in demanding environments.
Import the texture maps into Blender with sRGB color space for albedo/base color and Non-Color for normal, roughness, metallic, AO, height, and ORM maps. Connect normal maps through a Normal Map node, then adjust UV scale with a Mapping node so the material repeats naturally on your model.
For the full step-by-step setup, see How to Use Seamless Textures in Blender. Browse related material examples in wood, concrete, and metal.
Yes. This texture is designed as a seamless tileable PBR material, so it can repeat across large surfaces without visible borders.
You can download PNG/WEBP versions and use 1K, 2K, 4K and 8K download options when available on the page.
Yes. The download options and engine-mapped ZIP workflow are designed for Blender, Unreal Engine, Unity Standard, URP and HDRP material pipelines.
Yes. The texture is available under the AITextured free commercial license. Review the license page for redistribution and AI-training restrictions.

Build, preview, and export seamless PBR materials. Generate full map sets from a single image, inspect them in a real-time WebGL viewer, and re-package maps for Unreal, Unity, and Blender—directly in your browser.
AI text-to-texture: type a prompt and get a seamless, tileable base image ready for PBR workflows (great starting point for materials).
Create a full PBR set (Normal, Roughness, AO, Metallic, etc.) from a single image. Seamless and tiling-friendly.
Instant WebGL viewer: inspect materials on a sphere, plane, and cube. Check tiling and lighting in real time.
Re-packages maps per engine: Unreal (BaseColor + ORM), Unity (Mask/MetallicSmoothness), Blender (separate channels).
PNG ↔ JPG ↔ SVG: fast convert, SVG rasterize, embed/trace options, quality & background controls.