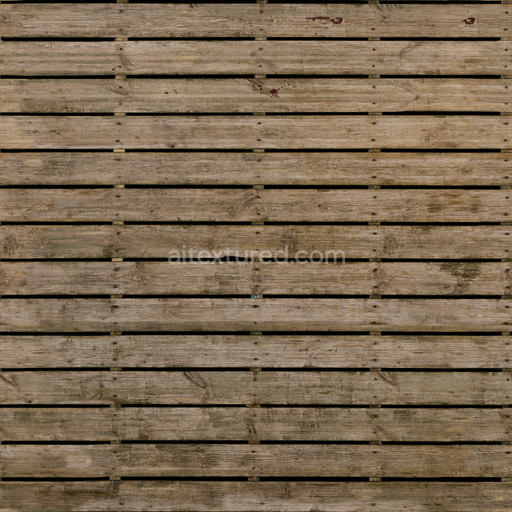
Decorative Floor Tiles Seamless Texture
Seamless texture (tileable) · PNG, WEBP, PBR ZIP. License: AITextured Free Commercial License (FCL) v1.1. Free personal and commercial use. Raw resale, standalone redistribution, mirroring/scraping, competing asset packs, and AI/ML training are not allowed without written permission. Attribution is not required, but appreciated..

| ID | terrazzo-tiles-floor-home-decor-flooring-terrazzo-decorative-tiles-speckled-tile |
|---|---|
| Category | Flooring |
| Formats | PNG, WEBP, PBR ZIP |
| Size | 1k (1024x1024px), 2k (2048x2048px), 4k (4096x4096px), 8k (8192x8192px) |
| Color | sRGB |
| Tileable | Yes |
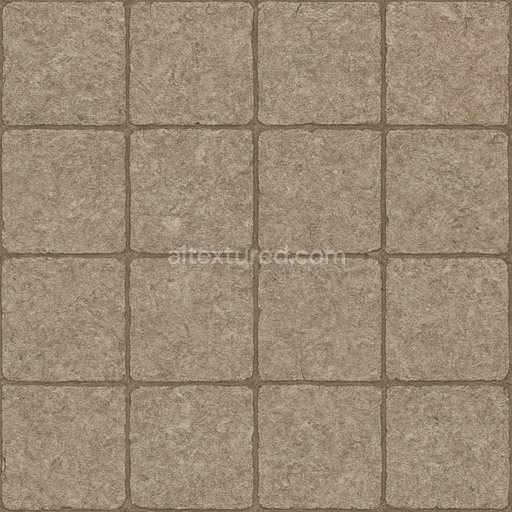
This physically based seamless 3D texture features interior grid tiles inspired by authentic terrazzo flooring crafted to elevate modern home decor and upscale interior design projects. The material emulates a composite substrate where mineral aggregates—such as marble and quartz chips—are embedded within a durable polymer or cementitious binder. This combination produces a robust decorative surface that convincingly replicates the natural speckled appearance of terrazzo tiles. Each square tile displays subtle porosity and natural variations in aggregate distribution accurately reflecting the traditional terrazzo microstructure. The surface finish is polished to a refined sheen offering a balanced interplay between smooth reflectivity and fine imperfections that contribute to the texture’s realism and depth.
The texture set includes a complete collection of PBR maps at high 4K resolution with an optional 8K version available for projects requiring ultra-detailed visuals. The Albedo (BaseColor) map captures the rich multicolored pigments and oxide layers responsible for the distinctive speckled terrazzo pattern. The Normal map introduces detailed surface relief including grout lines subtle undulations and composite grain orientation adding tactile dimension to flat geometry. Roughness maps are precisely calibrated to reflect the polished yet slightly textured surface enabling consistent light interaction across real-time renderers and offline visualization tools. Metallic channels are minimal to emphasize the non-metallic nature of the terrazzo composite. Ambient Occlusion maps enhance depth perception in grout and crevice areas while Height maps supply accurate displacement data ideal for realistic parallax effects in close-up renderings.
Designed for seamless tileability and optimized compatibility with major digital content creation platforms such as Blender Unreal Engine and Unity this 3D texture delivers reliable realistic results for flooring decorative tiles and interior grid applications without extensive manual tweaking. To maximize realism it is recommended to adjust the UV scale to match actual tile dimensions and to fine-tune the roughness map according to specific lighting conditions—balancing glossiness and matte finishes as desired. Available in versatile PNG and EXR formats this texture supports high-fidelity workflows and is perfect for architectural visualization virtual interior design and interactive environments where detailed physically based materials are essential.
Import the texture maps into Blender with sRGB color space for albedo/base color and Non-Color for normal, roughness, metallic, AO, height, and ORM maps. Connect normal maps through a Normal Map node, then adjust UV scale with a Mapping node so the material repeats naturally on your model.
For the full step-by-step setup, see How to Use Seamless Textures in Blender. Browse related material examples in wood, concrete, and metal.
Yes. This texture is designed as a seamless tileable PBR material, so it can repeat across large surfaces without visible borders.
You can download PNG/WEBP versions and use 1K, 2K, 4K and 8K download options when available on the page.
Yes. The download options and engine-mapped ZIP workflow are designed for Blender, Unreal Engine, Unity Standard, URP and HDRP material pipelines.
Yes. The texture is available under the AITextured free commercial license. Review the license page for redistribution and AI-training restrictions.


Build, preview, and export seamless PBR materials. Generate full map sets from a single image, inspect them in a real-time WebGL viewer, and re-package maps for Unreal, Unity, and Blender—directly in your browser.
AI text-to-texture: type a prompt and get a seamless, tileable base image ready for PBR workflows (great starting point for materials).
Create a full PBR set (Normal, Roughness, AO, Metallic, etc.) from a single image. Seamless and tiling-friendly.
Instant WebGL viewer: inspect materials on a sphere, plane, and cube. Check tiling and lighting in real time.
Re-packages maps per engine: Unreal (BaseColor + ORM), Unity (Mask/MetallicSmoothness), Blender (separate channels).
PNG ↔ JPG ↔ SVG: fast convert, SVG rasterize, embed/trace options, quality & background controls.