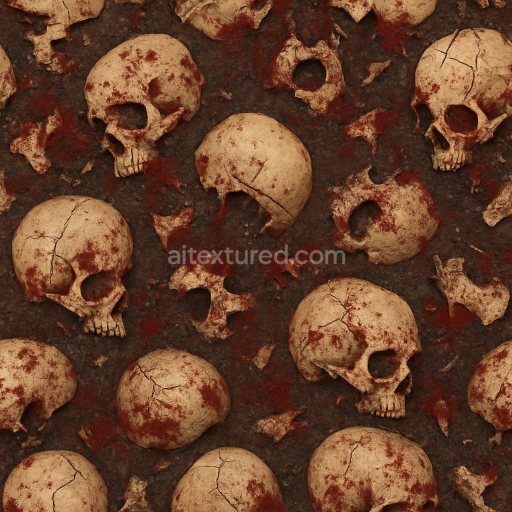
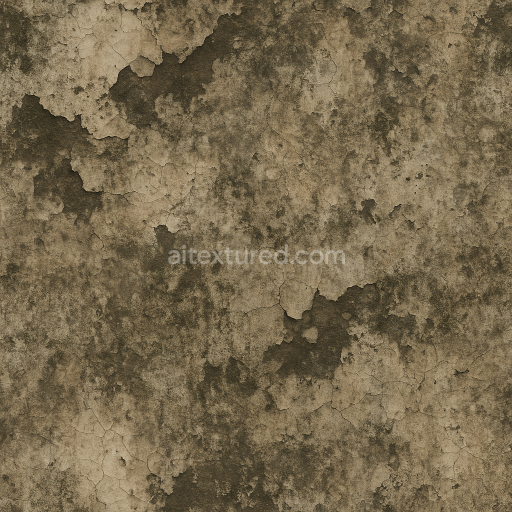
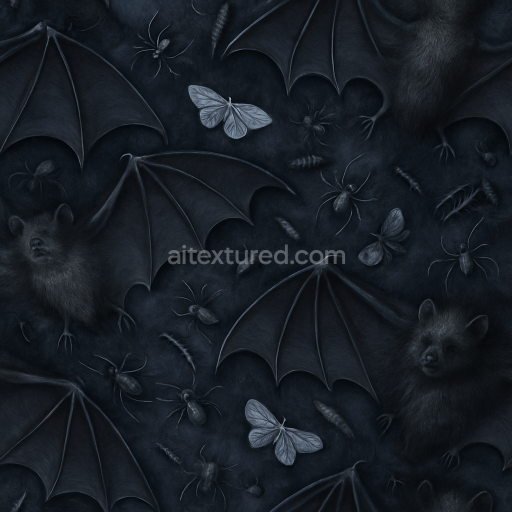
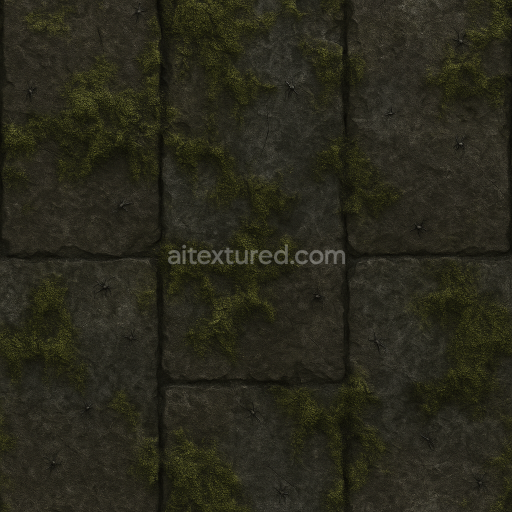
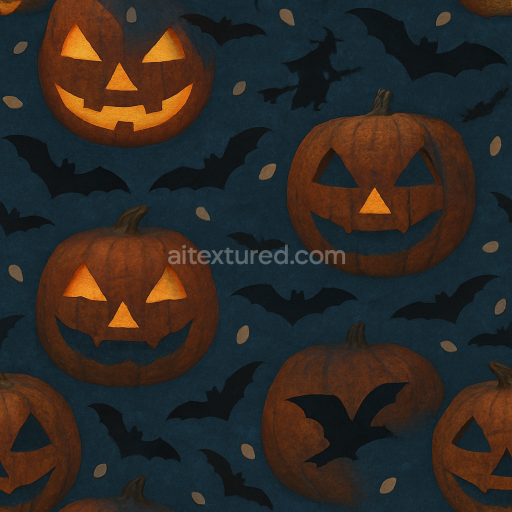
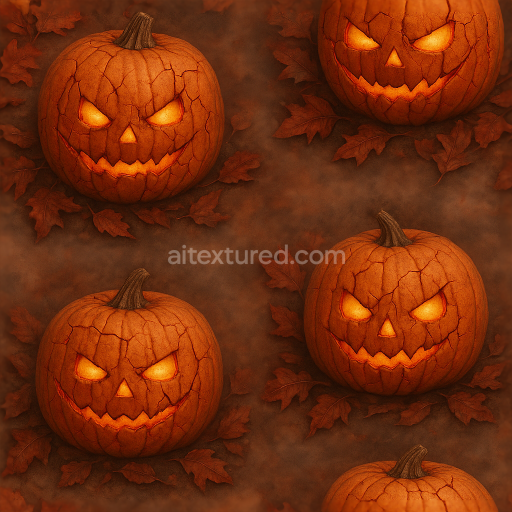
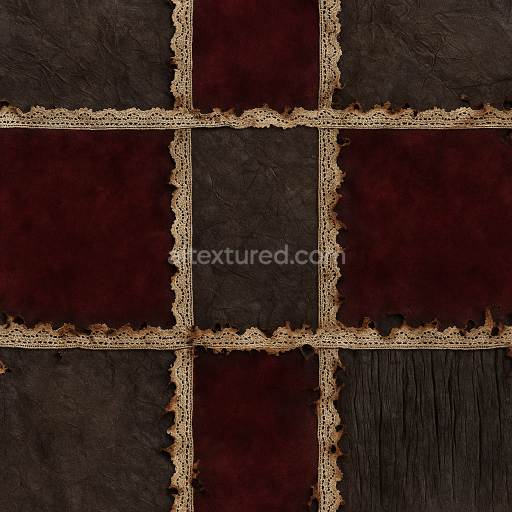
Cracked Bone And Skull Surface Halloween
Seamless texture (tileable) · PNG, WEBP, PBR ZIP. License: AITextured Free Commercial License (FCL) v1.1. Free personal and commercial use. Raw resale, standalone redistribution, mirroring/scraping, competing asset packs, and AI/ML training are not allowed without written permission. Attribution is not required, but appreciated..

| ID | seamless-3d-texture-pbr-8k-blood-splatter-and-dried-blood-stains-for-horror-effects |
|---|---|
| Category | Halloween |
| Formats | PNG, WEBP, PBR ZIP |
| Size | 1k (1024x1024px), 2k (2048x2048px), 4k (4096x4096px), 8k (8192x8192px) |
| Color | sRGB |
| Tileable | Yes |
This seamless 3D texture in ultra-high 8K resolution meticulously depicts blood splatter and dried blood stains layered over a grimy weathered surface that conveys a hauntingly realistic appearance. The base substrate resembles aged metal or oxidized ceramic featuring subtle rust and corrosion marks that add natural variation and depth to the composition. Fine particulate grime and organic debris are integrated into the texture’s microstructure simulating porous surfaces where viscous blood has adhered and dried unevenly. The blood’s binders and adhesive qualities are evident in the sticky congealed patches while scattered wet blood accents create a dynamic contrast against the matte dried stains. Deep red pigment layers and oxide-based colorants combine to produce rich natural color variation throughout the Albedo channel enhancing the disturbing and visceral quality of the material.
In the PBR workflow the Normal map captures the intricate topography of blood droplets and dried crusts generating realistic depth and surface irregularities. The Roughness map varies from glossy wet blood areas to rough desiccated patches accurately reflecting the material’s changing surface finish—ranging from slick and sticky to coarse and weathered. The Metallic channel remains minimal as the texture simulates organic matter on non-metallic substrates while Ambient Occlusion enhances shadowing around blood clots and grime accumulations adding to the immersive visual complexity. Height and Displacement maps emphasize the raised splatter shapes and recessed cracks in dried blood stains allowing for enhanced parallax effects in real-time rendering. This texture is optimized and Unreal Blender and Unity ready ensuring seamless integration into horror-themed game assets Halloween decorations or gore effects in 3D projects.
For practical application adjusting the UV scale can dramatically influence the perceived blood splatter size allowing artists to fine-tune the texture’s impact within their scenes. Additionally tweaking roughness values can help balance the wet and dried blood contrasts to suit different lighting conditions or storytelling needs. This Blood Splatter Seamless 3D Texture PBR 8K asset offers a versatile and highly detailed resource for creating authentic and unsettling horror visuals enhancing any violent or haunted environment with unmatched realism and material fidelity.
Import the texture maps into Blender with sRGB color space for albedo/base color and Non-Color for normal, roughness, metallic, AO, height, and ORM maps. Connect normal maps through a Normal Map node, then adjust UV scale with a Mapping node so the material repeats naturally on your model.
For the full step-by-step setup, see How to Use Seamless Textures in Blender. Browse related material examples in wood, concrete, and metal.
Yes. This texture is designed as a seamless tileable PBR material, so it can repeat across large surfaces without visible borders.
You can download PNG/WEBP versions and use 1K, 2K, 4K and 8K download options when available on the page.
Yes. The download options and engine-mapped ZIP workflow are designed for Blender, Unreal Engine, Unity Standard, URP and HDRP material pipelines.
Yes. The texture is available under the AITextured free commercial license. Review the license page for redistribution and AI-training restrictions.

Build, preview, and export seamless PBR materials. Generate full map sets from a single image, inspect them in a real-time WebGL viewer, and re-package maps for Unreal, Unity, and Blender—directly in your browser.
AI text-to-texture: type a prompt and get a seamless, tileable base image ready for PBR workflows (great starting point for materials).
Create a full PBR set (Normal, Roughness, AO, Metallic, etc.) from a single image. Seamless and tiling-friendly.
Instant WebGL viewer: inspect materials on a sphere, plane, and cube. Check tiling and lighting in real time.
Re-packages maps per engine: Unreal (BaseColor + ORM), Unity (Mask/MetallicSmoothness), Blender (separate channels).
PNG ↔ JPG ↔ SVG: fast convert, SVG rasterize, embed/trace options, quality & background controls.