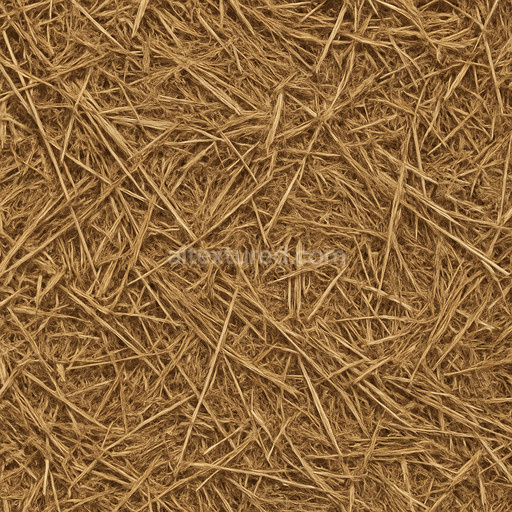
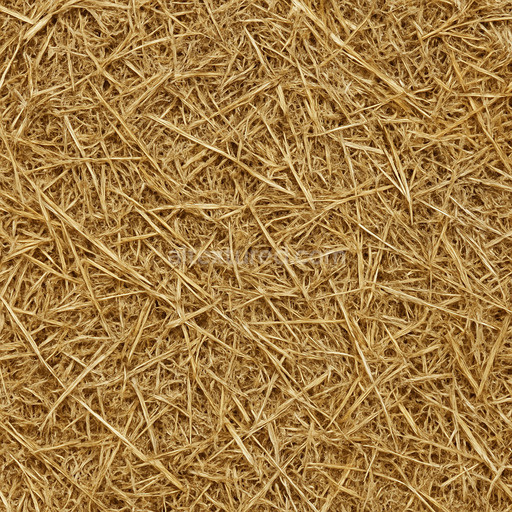
Ancient Farm Hay Seamless Texture
Seamless texture (tileable) · PNG, WEBP, PBR ZIP. License: AITextured Free Commercial License (FCL) v1.1. Free personal and commercial use. Raw resale, standalone redistribution, mirroring/scraping, competing asset packs, and AI/ML training are not allowed without written permission. Attribution is not required, but appreciated..

| ID | loose-straw-seamless-texture |
|---|---|
| Category | Hay-straw |
| Formats | PNG, WEBP, PBR ZIP |
| Size | 1k (1024x1024px), 2k (2048x2048px), 4k (4096x4096px), 8k (8192x8192px) |
| Color | sRGB |
| Tileable | Yes |
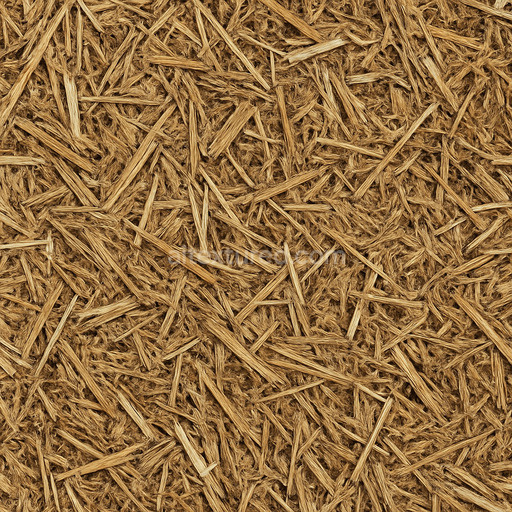
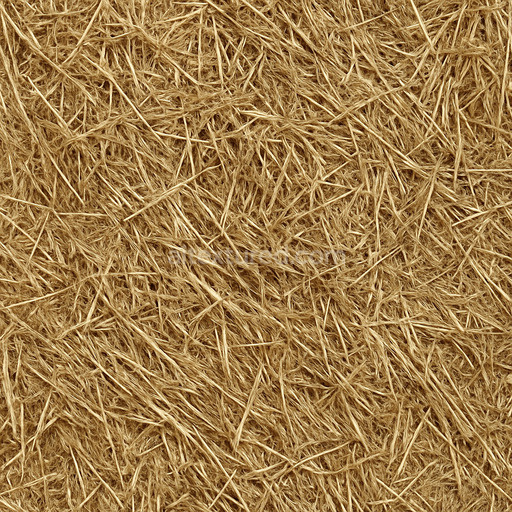
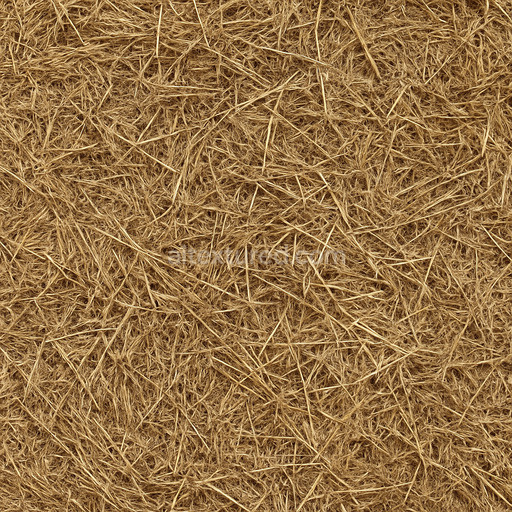
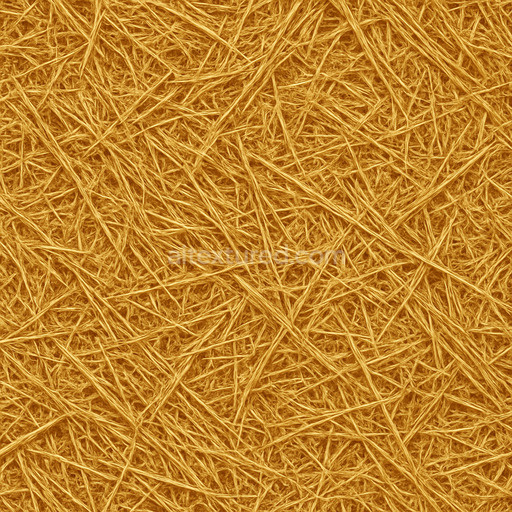
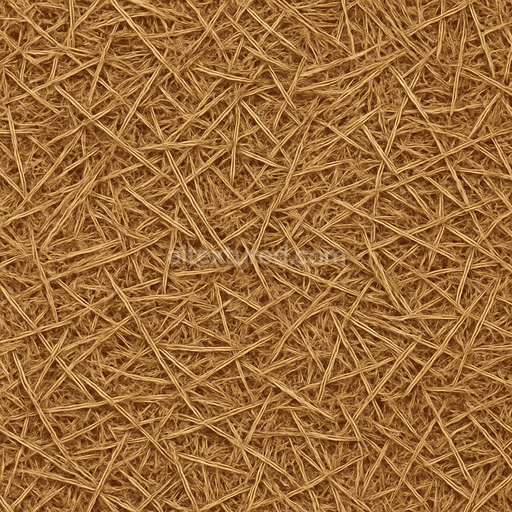
The Loose Straw Seamless Texture is a meticulously designed tileable material that captures the natural intricacies of loose hay-straw in stunning detail. This texture replicates the interwoven organic fibers slight porosity and subtle weathering typical of dried straw bundles used in agricultural or rustic settings. The base substrate evokes the fibrous cellulose structure of straw featuring fine grain orientation and natural color variations ranging from pale yellow to warm golden hues. The surface finish is matte and slightly rough reflecting the fibrous uneven nature of loose straw with occasional darker strands adding depth and realism. Pigments and natural colorants are subtly embedded in the BaseColor/Albedo channel while the Normal map enhances the tactile quality by emphasizing the fibrous ridges and gentle curvature of individual straw pieces. The Roughness channel is calibrated to convey the straw’s dry non-reflective surface avoiding gloss while maintaining a believable tactile feel. Metallic values remain near zero consistent with organic non-metallic materials while Ambient Occlusion adds depth to the weave and crevices between strands. Height and Displacement maps contribute to the sense of volume accentuating lifted edges and subtle overlaps ideal for realistic shading in 3D environments.
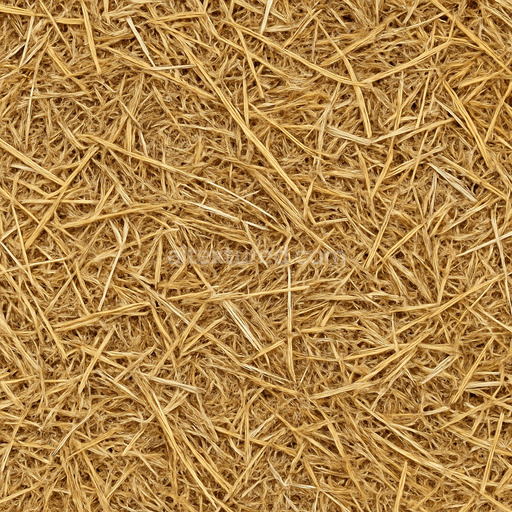
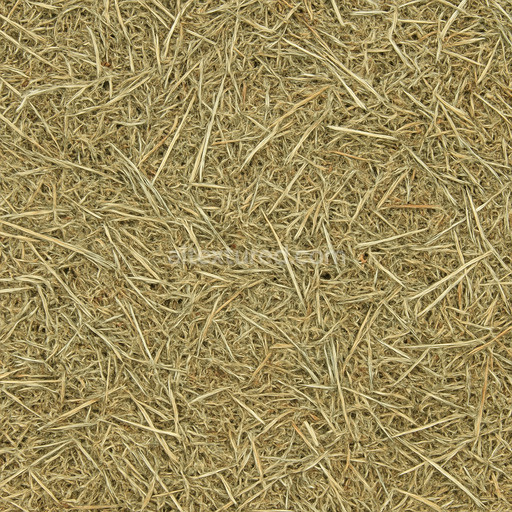
This high-resolution loose straw seamless texture is optimized up to 8K ensuring exceptional clarity and fidelity even on large surfaces without visible seams or repetition artifacts. It is crafted to integrate smoothly with popular 3D engines such as Blender Unity and Unreal Engine allowing artists to maintain a fast iteration loop while achieving cinematic renders real-time scenes or detailed level dressing. The texture’s tileable design ensures it scales elegantly across broad areas making it a versatile asset for material studies or environmental assets in both game development and visualization projects. The asset’s technical tuning eliminates the common issues found in auto-generated textures providing consistent quality and stable output across various lighting scenarios.
For optimal results it is recommended to maintain uniform UV scaling across your models to prevent any stretching or distortion of the straw pattern. Adjusting the roughness slightly can simulate different moisture or weathering states giving you greater control over the material’s appearance. The height or parallax maps can be fine-tuned to enhance the perception of depth in close-up renders adding realism without compromising performance. Incorporating this loose straw seamless texture into your material library empowers you to quickly prototype and refine organic natural surfaces with accuracy and efficiency.
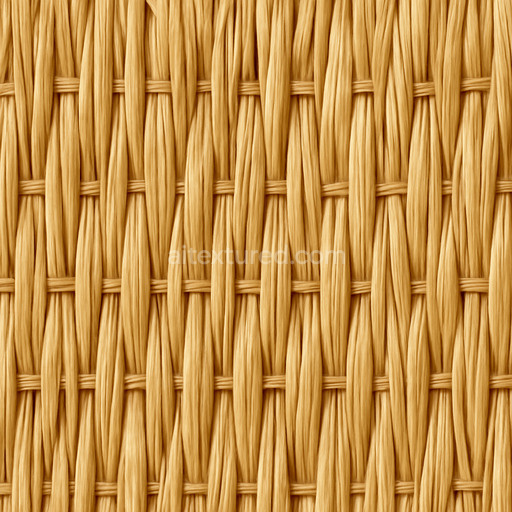
The generated tileable loose straw seamless texture offers a highly detailed 3D preview of hay-straw textures providing a realistic and consistent PBR appearance ideal for various material compositions.
Import the texture maps into Blender with sRGB color space for albedo/base color and Non-Color for normal, roughness, metallic, AO, height, and ORM maps. Connect normal maps through a Normal Map node, then adjust UV scale with a Mapping node so the material repeats naturally on your model.
For the full step-by-step setup, see How to Use Seamless Textures in Blender. Browse related material examples in wood, concrete, and metal.
Yes. This texture is designed as a seamless tileable PBR material, so it can repeat across large surfaces without visible borders.
You can download PNG/WEBP versions and use 1K, 2K, 4K and 8K download options when available on the page.
Yes. The download options and engine-mapped ZIP workflow are designed for Blender, Unreal Engine, Unity Standard, URP and HDRP material pipelines.
Yes. The texture is available under the AITextured free commercial license. Review the license page for redistribution and AI-training restrictions.


Generate, preview, and export seamless PBR materials for Blender, Unity, and Unreal Engine—directly in your browser.
AI text-to-texture: type a prompt and get a seamless, tileable base image ready for PBR workflows (great starting point for materials).
Create a full PBR set (Normal, Roughness, AO, Metallic, etc.) from a single image. Seamless and tiling-friendly.
Instant WebGL viewer: inspect materials on a sphere, plane, and cube. Check tiling and lighting in real time.
Re-packages maps per engine: Unreal (BaseColor + ORM), Unity (Mask/MetallicSmoothness), Blender (separate channels).
PNG ↔ JPG ↔ SVG: fast convert, SVG rasterize, embed/trace options, quality & background controls.