
Seamless 8K PBR 3D Texture of Snow Powder Soft Cotton Fluff Winter Surface
Seamless texture (tileable) · PNG, WEBP, PBR ZIP. License: AITextured Free Commercial License (FCL) v1.1. Free personal and commercial use. Raw resale, standalone redistribution, mirroring/scraping, competing asset packs, and AI/ML training are not allowed without written permission. Attribution is not required, but appreciated..

| ID | seamless-3d-texture-pbr-8k-fireplace-bricks-holiday-candle-candle-wax-candle-flame |
|---|---|
| Category | Merry christmas |
| Formats | PNG, WEBP, PBR ZIP |
| Size | 1k (1024x1024px), 2k (2048x2048px), 4k (4096x4096px), 8k (8192x8192px) |
| Color | sRGB |
| Tileable | Yes |
This seamless 3D texture features a highly detailed geometric pattern of traditional fireplace bricks arranged in a classic staggered bond. The base material simulates fired clay bricks characterized by a slightly rough porous surface with subtle weathering effects such as fine cracks and mortar residue. The bricks exhibit a warm red-brown coloration enhanced with darker and lighter pigment variations to reflect natural clay firing inconsistencies. The mortar joints between bricks have a slightly recessed form with a coarse sandy aggregate appearance that contrasts with the brick faces. The overall substrate captures the tactile quality of aged masonry with a matte but slightly uneven surface finish that diffuses light realistically.
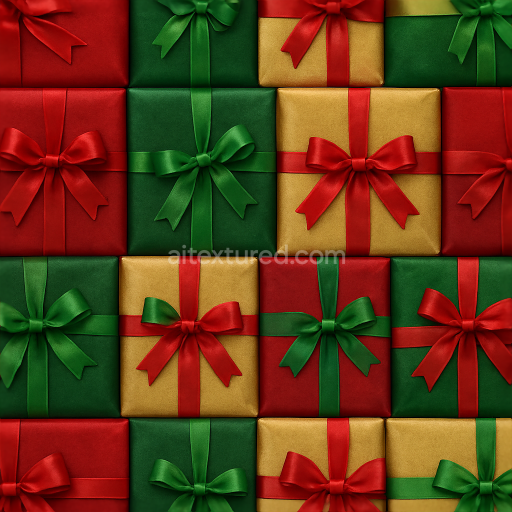
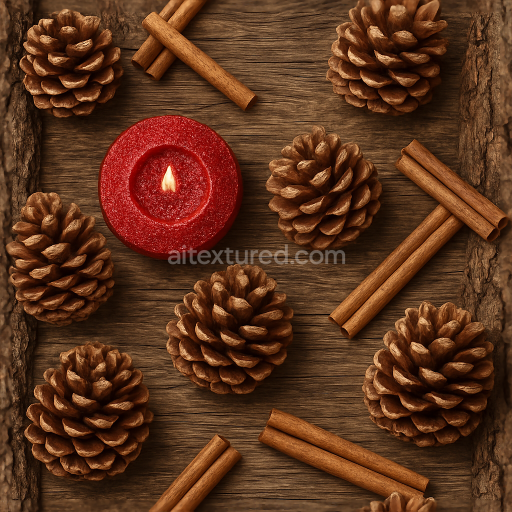
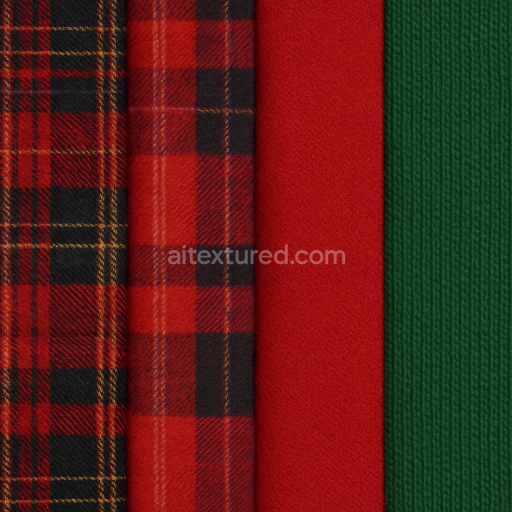
Complementing the bricks the texture integrates holiday candle elements composed of waxy candle bodies and glowing flames. The candle wax surface is rendered to imitate a semi-translucent soft material with subtle surface imperfections like drips and gentle undulations. The wax’s base color ranges from creamy white to warm beige tones occasionally accented by red and gold glitter flecks that add festive sparkle. The candle flame is depicted with smooth gradient shading combining emissive qualities with a realistic flickering shape. Surrounding the candles plush velvet and fabric textures provide a tactile contrast showing finely woven fibers with a soft sheen and rich red and gold hues enhancing the seasonal atmosphere.
The photorealism is achieved through physically based rendering (PBR) techniques at an 8K resolution ensuring exceptional detail and sharpness across all material channels. The BaseColor (Albedo) map captures the precise pigment distribution and subtle color shifts in bricks wax and fabric. The Normal map defines the micro-geometry of brick roughness mortar depth candle wax undulations and fabric weave. Roughness maps vary accordingly: bricks present moderate roughness with slight glossiness on worn edges candle wax has low roughness to simulate soft reflections while velvet fabric shows higher roughness with directional anisotropy. The Metallic map remains near zero reflecting the non-metallic nature of these organic materials. Ambient Occlusion enhances shading depth in mortar joints wax crevices and fabric folds. Height/Displacement maps provide accurate relief for brick edges wax drips and fabric pile contributing to realistic parallax effects.
This texture is fully compatible and optimized for real-time engines such as Unreal Engine and Unity as well as offline rendering in Blender. Due to its seamless tiling it can cover extensive surfaces without visible repetition ideal for virtual fireplaces holiday scene decorations or product visualizations requiring warm cozy lighting. For best results it’s recommended to adjust UV scaling to maintain brick proportions and fine detail and to fine-tune roughness values to balance between glossy candle wax and matte brick surfaces. Blending height and normal maps can enhance depth perception especially when combined with subtle parallax mapping for interactive camera angles.
Import the texture maps into Blender with sRGB color space for albedo/base color and Non-Color for normal, roughness, metallic, AO, height, and ORM maps. Connect normal maps through a Normal Map node, then adjust UV scale with a Mapping node so the material repeats naturally on your model.
For the full step-by-step setup, see How to Use Seamless Textures in Blender. Browse related material examples in wood, concrete, and metal.
Yes. This texture is designed as a seamless tileable PBR material, so it can repeat across large surfaces without visible borders.
You can download PNG/WEBP versions and use 1K, 2K, 4K and 8K download options when available on the page.
Yes. The download options and engine-mapped ZIP workflow are designed for Blender, Unreal Engine, Unity Standard, URP and HDRP material pipelines.
Yes. The texture is available under the AITextured free commercial license. Review the license page for redistribution and AI-training restrictions.


Build, preview, and export seamless PBR materials. Generate full map sets from a single image, inspect them in a real-time WebGL viewer, and re-package maps for Unreal, Unity, and Blender—directly in your browser.
AI text-to-texture: type a prompt and get a seamless, tileable base image ready for PBR workflows (great starting point for materials).
Create a full PBR set (Normal, Roughness, AO, Metallic, etc.) from a single image. Seamless and tiling-friendly.
Instant WebGL viewer: inspect materials on a sphere, plane, and cube. Check tiling and lighting in real time.
Re-packages maps per engine: Unreal (BaseColor + ORM), Unity (Mask/MetallicSmoothness), Blender (separate channels).
PNG ↔ JPG ↔ SVG: fast convert, SVG rasterize, embed/trace options, quality & background controls.