
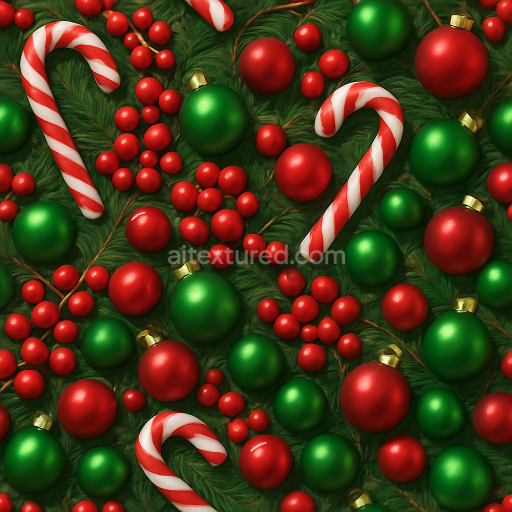
Seamless 8K PBR 3D Texture of Frosted Glass Holiday Ornament Surface
Seamless texture (tileable) · PNG, WEBP, PBR ZIP. License: AITextured Free Commercial License (FCL) v1.1. Free personal and commercial use. Raw resale, standalone redistribution, mirroring/scraping, competing asset packs, and AI/ML training are not allowed without written permission. Attribution is not required, but appreciated..

| ID | seamless-3d-texture-pbr-8k-satin-fabric-velvet-fabric-knit-fabric-christmas-lights-glow-glitter-dust |
|---|---|
| Category | Merry christmas |
| Formats | PNG, WEBP, PBR ZIP |
| Size | 1k (1024x1024px), 2k (2048x2048px), 4k (4096x4096px), 8k (8192x8192px) |
| Color | sRGB |
| Tileable | Yes |
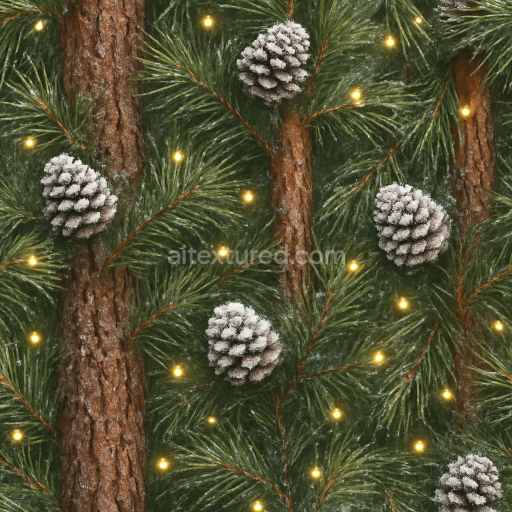
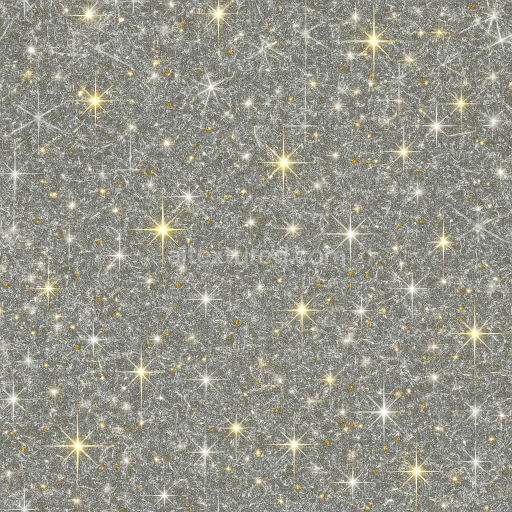
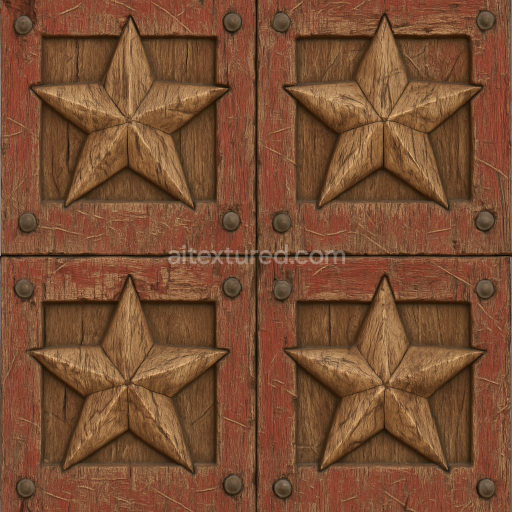
This seamless 3D texture presents a sophisticated blend of satin velvet and knit fabrics designed to evoke a festive Christmas ambiance. The base material combines the smooth lustrous qualities of satin with the plush dense pile of velvet complemented by the intricate interlocking loops characteristic of knit fabric. The overall geometric pattern is a finely woven textile surface where the satin’s sleek weave flows seamlessly into the soft velvet’s slightly raised fibers and the subtle knit’s rhythmic stitch formation creating a rich tactile depth enhanced by a scattered overlay of glitter dust and a warm glow reminiscent of holiday lights.
The substrate of this texture mimics natural fibers likely a blend of silk and wool providing a durable yet flexible foundation. The satin component exhibits a tightly woven weave with minimal porosity achieved through high-twist silk fibers that reflect light smoothly. Velvet adds a dense pile constructed from tufted fibers that catch light variably while the knit fabric introduces elasticity and a tactile surface with interlaced yarns forming a delicate mesh. Binders and adhesives are implied through the tight fiber bonding to ensure the fabric’s structural integrity while the glitter dust suggests fine particulate matter lightly adhered to the surface enhancing the reflective properties without compromising fabric softness.
The surface finish balances a polished satin sheen with the matte softness of velvet and the textured feel of knit creating a complex interplay of diffuse and specular reflections. Colorants are rich and deep featuring traditional Christmas reds and greens subtly blended with metallic gold and silver glitter particles imparting a festive character. These pigment distributions are carefully captured in the BaseColor (Albedo) channel while the Normal map defines the intricate weave pile height and knit stitch relief providing realistic light interaction. Roughness values vary smoothly across the fabric from the low-roughness satin areas producing sharp specular highlights to the higher-roughness velvet and knit zones that scatter light softly. The Metallic channel remains near zero as the materials are primarily non-metallic but ambient occlusion enhances shadowing within the fiber interstices adding depth and realism. The Height/Displacement map subtly accentuates the piled velvet and knit relief enabling enhanced parallax effects in 3D environments.
Rendered in an ultra-high 8K resolution this PBR texture is optimized for seamless tiling ensuring flawless repetition without visible seams when applied to large surfaces. It is fully compatible and ready for use in Blender Unreal Engine and Unity facilitating versatile application across 3D fashion visualizations holiday-themed textiles and interior design projects requiring high fidelity and photorealistic fabric representation. For practical use adjusting the UV scale to a finer grid can emphasize the knit pattern’s intricacies while tuning roughness parameters can balance the satin’s glossiness against the velvet’s softness. Additionally blending height and normal maps helps achieve an optimal depth effect without overly pronounced displacement artifacts maintaining performance and visual quality.
Import the texture maps into Blender with sRGB color space for albedo/base color and Non-Color for normal, roughness, metallic, AO, height, and ORM maps. Connect normal maps through a Normal Map node, then adjust UV scale with a Mapping node so the material repeats naturally on your model.
For the full step-by-step setup, see How to Use Seamless Textures in Blender. Browse related material examples in wood, concrete, and metal.
Yes. This texture is designed as a seamless tileable PBR material, so it can repeat across large surfaces without visible borders.
You can download PNG/WEBP versions and use 1K, 2K, 4K and 8K download options when available on the page.
Yes. The download options and engine-mapped ZIP workflow are designed for Blender, Unreal Engine, Unity Standard, URP and HDRP material pipelines.
Yes. The texture is available under the AITextured free commercial license. Review the license page for redistribution and AI-training restrictions.


Build, preview, and export seamless PBR materials. Generate full map sets from a single image, inspect them in a real-time WebGL viewer, and re-package maps for Unreal, Unity, and Blender—directly in your browser.
AI text-to-texture: type a prompt and get a seamless, tileable base image ready for PBR workflows (great starting point for materials).
Create a full PBR set (Normal, Roughness, AO, Metallic, etc.) from a single image. Seamless and tiling-friendly.
Instant WebGL viewer: inspect materials on a sphere, plane, and cube. Check tiling and lighting in real time.
Re-packages maps per engine: Unreal (BaseColor + ORM), Unity (Mask/MetallicSmoothness), Blender (separate channels).
PNG ↔ JPG ↔ SVG: fast convert, SVG rasterize, embed/trace options, quality & background controls.