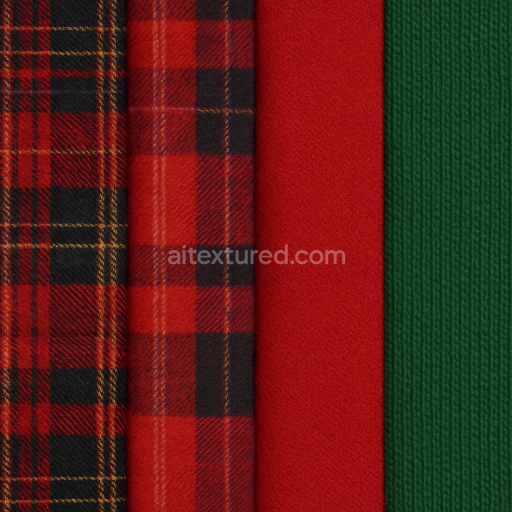
Seamless 8K PBR 3D Texture of Plaid Wool Warm Flannel Holiday Fabric Surface
Seamless texture (tileable) · PNG, WEBP, PBR ZIP. License: AITextured Free Commercial License (FCL) v1.1. Free personal and commercial use. Raw resale, standalone redistribution, mirroring/scraping, competing asset packs, and AI/ML training are not allowed without written permission. Attribution is not required, but appreciated..

| ID | seamless-3d-texture-pbr-8k-gift-wrap-wrapping-paper-red-wrapping-green-wrapping-gold-wrapping |
|---|---|
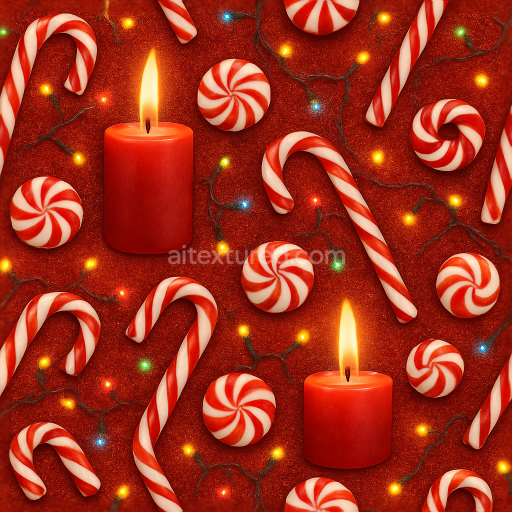
| Category | Merry christmas |
| Formats | PNG, WEBP, PBR ZIP |
| Size | 1k (1024x1024px), 2k (2048x2048px), 4k (4096x4096px), 8k (8192x8192px) |
| Color | sRGB |
| Tileable | Yes |
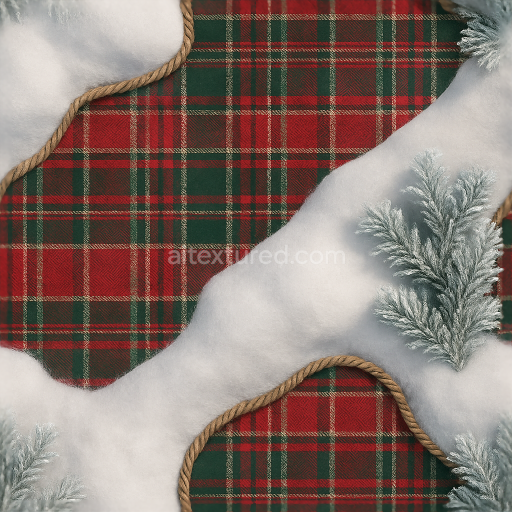
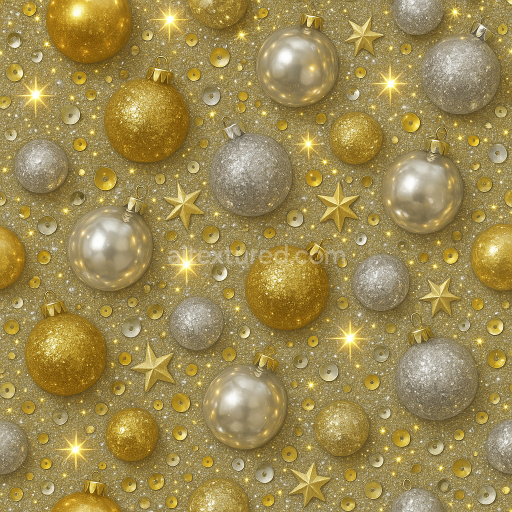
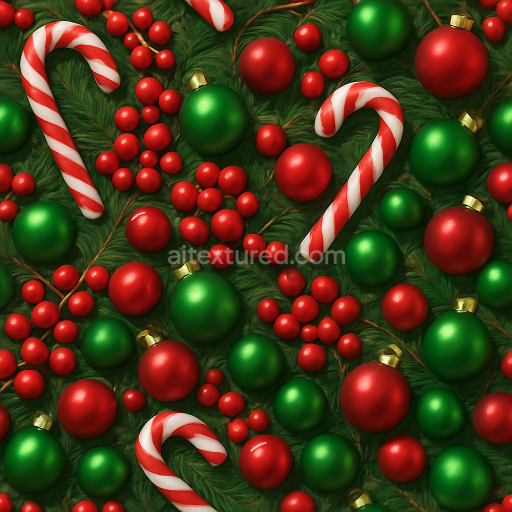
This seamless 3D texture represents high-quality gift wrap paper designed with a classic holiday palette of red green and gold. The base material simulates a fine cellulose fiber paper substrate enhanced with a subtle fabric-like weave that adds tactile depth to the surface. The composition suggests a tightly pressed fiber network combined with adhesive binders that create a smooth yet slightly textured finish. This results in a moderately porous surface that captures light softly reflecting the feel of premium wrapping paper often used for festive occasions. The ribbon details shown in both red and green appear as glossy satin fabric with a finely woven pattern giving a realistic contrast to the paper’s matte areas.
The geometric form is composed of gently curved folds and creases typical of wrapped gifts with an emphasis on smooth transitions and slight embossing that simulate the wrapping process. The gold wrapping elements exhibit a subtle metallic sheen achieved through fine metallic pigments embedded in the paper’s surface providing a polished yet slightly brushed finish that catches light dynamically without appearing overly reflective. The 3D nature of the texture is enhanced through carefully crafted normal and height maps which replicate the micro-creases and ribbon edges while the roughness map controls the balance between matte and glossy areas allowing for realistic specular highlights and soft shadows around folds and ribbon contours.
In terms of PBR channels the BaseColor (Albedo) map delivers rich saturated reds greens and warm gold tones with natural variation to mimic pigment dispersion on paper fibers. The Normal map encodes fine surface irregularities such as fabric grain and embossed ribbon details contributing to accurate light interaction. Roughness values vary across the texture with paper areas showing moderate roughness for a soft matte appearance and ribbons demonstrating lower roughness for a subtle gloss. The Metallic map is primarily used in the gold wrapping zones to simulate metallic flakes within the paper while Ambient Occlusion enhances shadowing in creases and overlaps adding depth and realism. The Height/Displacement map captures the raised ribbons and paper folds enabling convincing parallax effects when applied in compatible render engines.
Rendered at an impressive 8K resolution this texture ensures exceptional detail and sharpness suitable for close-up shots and high-quality visualizations. It is fully optimized for seamless tiling making it ideal for wrapping complex 3D models without visible seams or distortion. This texture is compatible with leading platforms such as Blender Unreal Engine and Unity supporting physically based rendering workflows to achieve photorealistic results. For best results it is recommended to carefully adjust the UV scale to maintain natural proportions of the ribbon and paper grain. Additionally fine-tuning the roughness map can help balance the matte paper and glossy ribbon finishes while blending height and normal maps allows for enhanced surface depth without excessive displacement artifacts.
Import the texture maps into Blender with sRGB color space for albedo/base color and Non-Color for normal, roughness, metallic, AO, height, and ORM maps. Connect normal maps through a Normal Map node, then adjust UV scale with a Mapping node so the material repeats naturally on your model.
For the full step-by-step setup, see How to Use Seamless Textures in Blender. Browse related material examples in wood, concrete, and metal.
Yes. This texture is designed as a seamless tileable PBR material, so it can repeat across large surfaces without visible borders.
You can download PNG/WEBP versions and use 1K, 2K, 4K and 8K download options when available on the page.
Yes. The download options and engine-mapped ZIP workflow are designed for Blender, Unreal Engine, Unity Standard, URP and HDRP material pipelines.
Yes. The texture is available under the AITextured free commercial license. Review the license page for redistribution and AI-training restrictions.


Build, preview, and export seamless PBR materials. Generate full map sets from a single image, inspect them in a real-time WebGL viewer, and re-package maps for Unreal, Unity, and Blender—directly in your browser.
AI text-to-texture: type a prompt and get a seamless, tileable base image ready for PBR workflows (great starting point for materials).
Create a full PBR set (Normal, Roughness, AO, Metallic, etc.) from a single image. Seamless and tiling-friendly.
Instant WebGL viewer: inspect materials on a sphere, plane, and cube. Check tiling and lighting in real time.
Re-packages maps per engine: Unreal (BaseColor + ORM), Unity (Mask/MetallicSmoothness), Blender (separate channels).
PNG ↔ JPG ↔ SVG: fast convert, SVG rasterize, embed/trace options, quality & background controls.