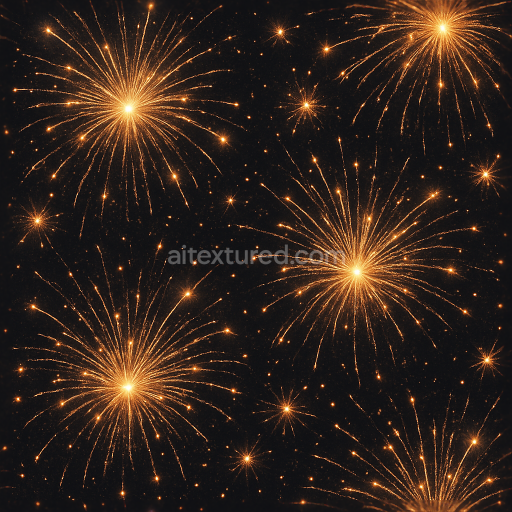
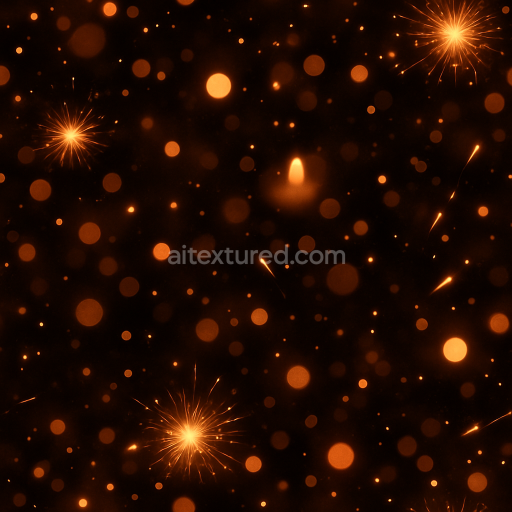
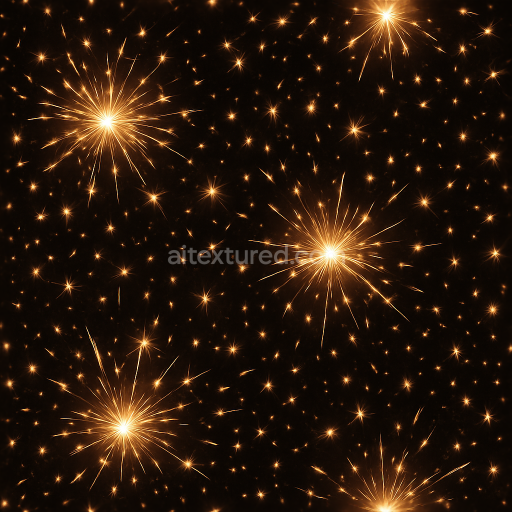
Sparkling Firework Explosions With Sparkling Fireworks Sparks For New Year
Seamless texture (tileable) · PNG, WEBP, PBR ZIP. License: AITextured Free Commercial License (FCL) v1.1. Free personal and commercial use. Raw resale, standalone redistribution, mirroring/scraping, competing asset packs, and AI/ML training are not allowed without written permission. Attribution is not required, but appreciated..

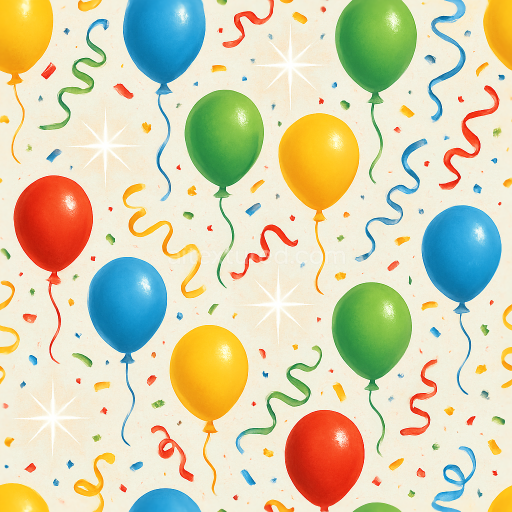
| ID | seamless-3d-texture-pbr-8k-glitter-party-hats-and-ribbons-for-new-year |
|---|---|
| Category | New Year |
| Formats | PNG, WEBP, PBR ZIP |
| Size | 1k (1024x1024px), 2k (2048x2048px), 4k (4096x4096px), 8k (8192x8192px) |
| Color | sRGB |
| Tileable | Yes |
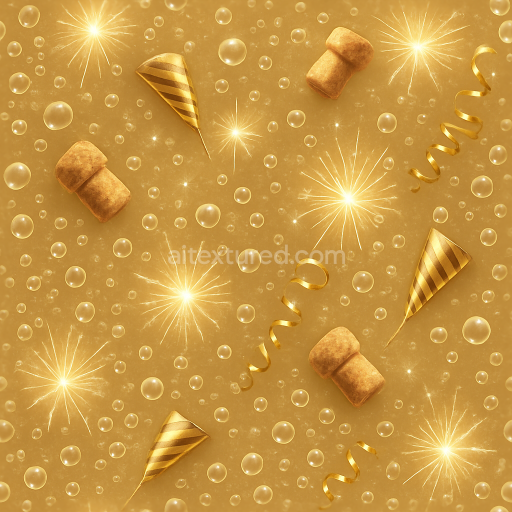
This seamless 3D texture, rendered at an impressive 8K resolution, showcases a detailed pattern of glittering party hats intertwined with curling festive ribbons, perfectly suited for New Year celebration scenes. The base materials consist primarily of a lightweight, semi-rigid paper substrate for the hats, combined with glossy synthetic ribbons. The paper substrate exhibits a fine grain with subtle fiber inclusions, providing a slightly textured surface that interacts naturally with light. The glitter particles are incorporated as reflective aggregates embedded within a clear adhesive binder, creating a sparkling effect that simulates tiny metallic flakes scattered across the surface. This composition results in a complex, multi-layered material where the paper’s matte finish contrasts with the high-gloss ribbons and the shimmering glitter, enhancing the depth and realism of the pattern.
From a geometric perspective, the texture features a repeating arrangement of conical party hats and flowing ribbons, forming an interlaced pattern that maintains seamless continuity when tiled. The hats themselves show gentle creases and folds, modeled through height and normal maps to convey subtle three-dimensional form without excessive distortion. The ribbons twist and curl with smooth curvature, their edges softly raised to catch highlights. The texture’s porosity is minimal, as the adhesive binder seals the paper fibers and encapsulates the glitter, resulting in a low-porosity surface that minimizes weathering effects. Surface finishes vary: the hats retain a lightly brushed paper texture, while the ribbons and glitter have polished, reflective finishes that contribute to the overall holiday glow.
In terms of PBR channel mapping, the BaseColor (Albedo) captures the vibrant hues of the party hats—rich reds, blues, and golds—and the multicolored ribbons, with pigments embedded in the paper and synthetic fibers. The Normal map defines the subtle folds of the hats and the raised edges of the ribbons, enhancing the perceived depth and curvature. Roughness values are finely tuned to differentiate materials: a higher roughness for the paper hats to reflect diffused light softly, contrasted with low roughness on the ribbons and glitter particles to create sharp specular highlights and sparkle effects. The Metallic channel is selectively used to simulate the reflective properties of the glitter flakes, giving them a metallic luster, while Ambient Occlusion adds shading to accentuate crevices and overlaps between hats and ribbons. The Height/Displacement map provides gentle relief for the creases and curled ribbons, adding dimensionality without excessive geometry.
This texture is fully optimized for use in Blender, Unreal Engine, and Unity, ensuring compatibility with physically based rendering workflows across these platforms. For practical application, it is recommended to carefully adjust the UV scale to maintain the balance between visible detail and pattern repetition, especially on larger surfaces. Additionally, fine-tuning the roughness channel can help achieve the desired sparkle intensity, while blending normal and height maps can enhance the subtle three-dimensionality of the hats and ribbons without creating harsh transitions. This approach enables artists to create immersive, festive environments with authentic holiday glow and celebration sparkles.
Import the texture maps into Blender with sRGB color space for albedo/base color and Non-Color for normal, roughness, metallic, AO, height, and ORM maps. Connect normal maps through a Normal Map node, then adjust UV scale with a Mapping node so the material repeats naturally on your model.
For the full step-by-step setup, see How to Use Seamless Textures in Blender. Browse related material examples in wood, concrete, and metal.
Yes. This texture is designed as a seamless tileable PBR material, so it can repeat across large surfaces without visible borders.
You can download PNG/WEBP versions and use 1K, 2K, 4K and 8K download options when available on the page.
Yes. The download options and engine-mapped ZIP workflow are designed for Blender, Unreal Engine, Unity Standard, URP and HDRP material pipelines.
Yes. The texture is available under the AITextured free commercial license. Review the license page for redistribution and AI-training restrictions.

Build, preview, and export seamless PBR materials. Generate full map sets from a single image, inspect them in a real-time WebGL viewer, and re-package maps for Unreal, Unity, and Blender—directly in your browser.
AI text-to-texture: type a prompt and get a seamless, tileable base image ready for PBR workflows (great starting point for materials).
Create a full PBR set (Normal, Roughness, AO, Metallic, etc.) from a single image. Seamless and tiling-friendly.
Instant WebGL viewer: inspect materials on a sphere, plane, and cube. Check tiling and lighting in real time.
Re-packages maps per engine: Unreal (BaseColor + ORM), Unity (Mask/MetallicSmoothness), Blender (separate channels).
PNG ↔ JPG ↔ SVG: fast convert, SVG rasterize, embed/trace options, quality & background controls.